Text to imageProductStyle guide
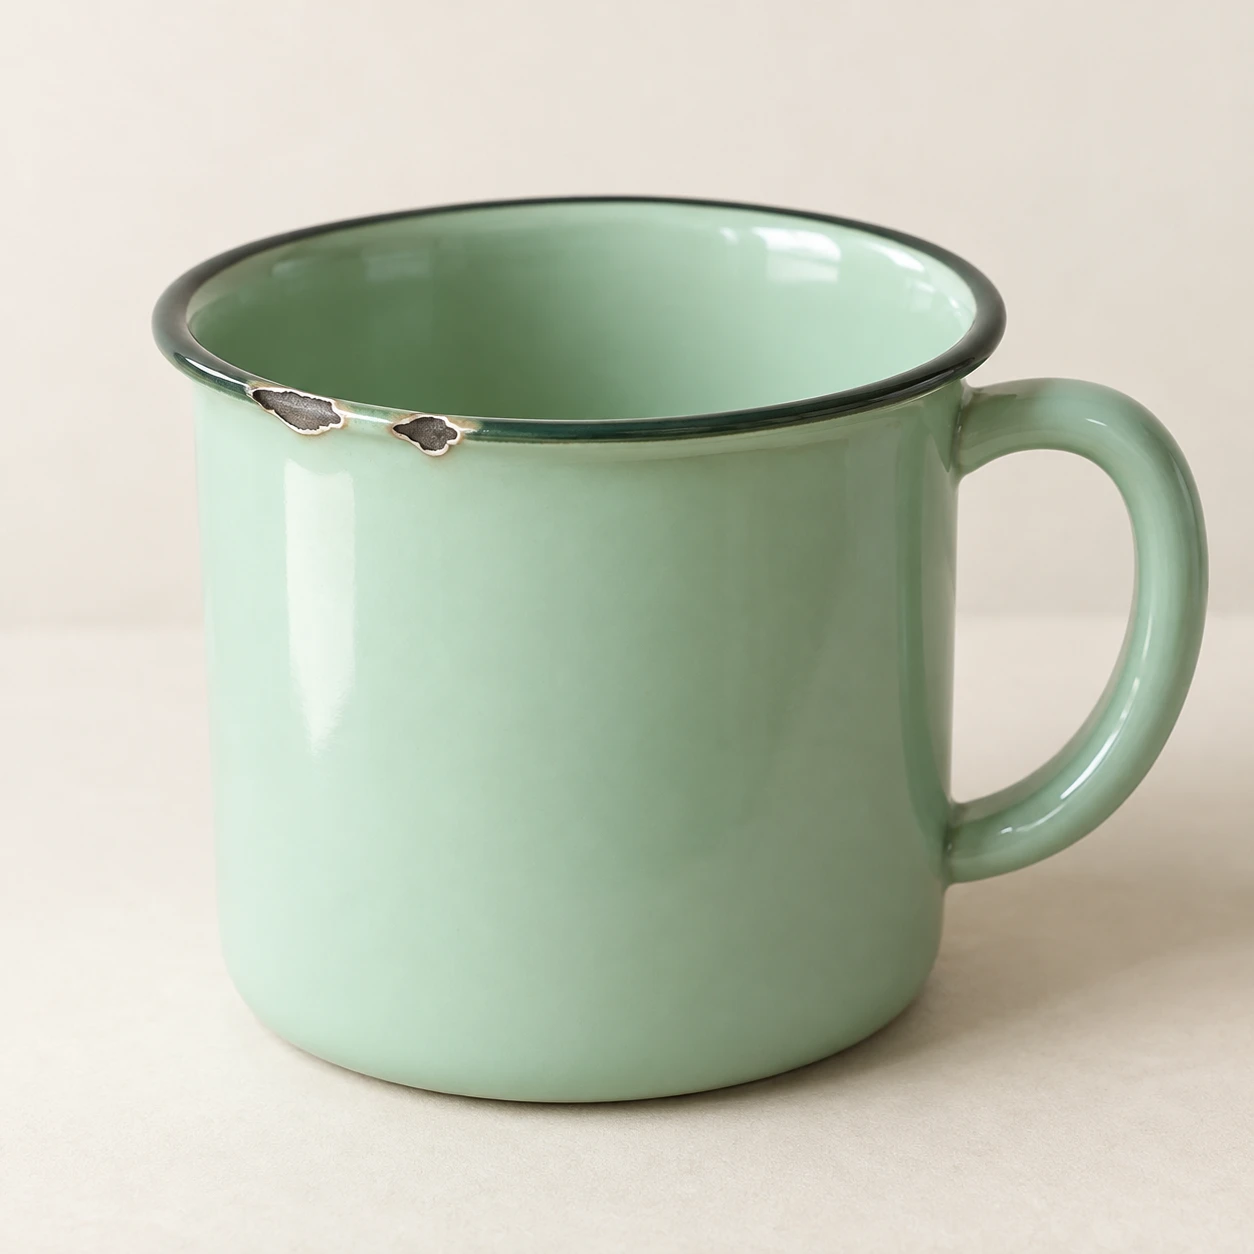
Mint Enamel Cup · Chipped Coating Layers
Reveal a bright coating edge around dark exposed metal in small rim chips to make a thin surface layer readable.
Mint Enamel Cup · Chipped Coating Layers
- Shape & line
- Build a gently tapered cylindrical body with an elliptical opening and a rounded loop handle on image-right; interrupt only the front-left rim with two unequal, jagged chips while keeping the cup's overall silhouette continuous.
- Color & light
- Light the cup from image-upper-left so the mint enamel carries a broad soft highlight on its left side and a darker gradient toward image-right; keep exposed metal charcoal gray and place a fine bright edge on the upper-left lip of each chip.
- Texture & material
- Render the intact enamel as smooth and glossy, but make each exposed metal patch matte and subtly mottled; surround it with a narrow pale coating cross-section and a short dark undercut along the lower-right boundary so the chip reads as missing coating rather than a painted spot.
- Composition
- Keep the full cup and handle sharply readable, with the front-left chips large enough to distinguish their layered edges; use an uncluttered warm off-white setting and a soft cast shadow extending toward image-lower-right to anchor the base.
Priority
Prioritize the visible transition from glossy enamel through a thin coating edge to matte exposed metal.
What to avoid & what to check
Avoid flat dark decals, oversized fractures, and widespread rust that obscures the coating layers.
Check that both front-left chips show dark metal enclosed by a readable thin enamel edge.
Exact prompt for this example
SUBJECT
One mint-green enamel drinking cup with one curved handle on image-right. Its otherwise intact coating has two small irregular chips on the front-left rim, exposing dark gray metal beneath a thin enamel edge.

COMPOSITION
Show the entire upright cup in a close three-quarter view from slightly above, with the opening and front-left chipped rim clearly visible. Place it centrally on a warm off-white tabletop against a plain matching background, leaving comfortable space around the handle.

STYLE GUIDE
1. Shape & line
Build a gently tapered cylindrical body with an elliptical opening and a rounded loop handle on image-right; interrupt only the front-left rim with two unequal, jagged chips while keeping the cup's overall silhouette continuous.

2. Color & light
Light the cup from image-upper-left so the mint enamel carries a broad soft highlight on its left side and a darker gradient toward image-right; keep exposed metal charcoal gray and place a fine bright edge on the upper-left lip of each chip.

3. Texture & material
Render the intact enamel as smooth and glossy, but make each exposed metal patch matte and subtly mottled; surround it with a narrow pale coating cross-section and a short dark undercut along the lower-right boundary so the chip reads as missing coating rather than a painted spot.

4. Composition
Keep the full cup and handle sharply readable, with the front-left chips large enough to distinguish their layered edges; use an uncluttered warm off-white setting and a soft cast shadow extending toward image-lower-right to anchor the base.

PRIORITY
Preserve the requested identity, count, action, composition and output settings. Apply the style rules within those constraints; a style reference must not replace the subject or layout. Within the style: Prioritize the visible transition from glossy enamel through a thin coating edge to matte exposed metal.

AVOID
Avoid flat dark decals, oversized fractures, and widespread rust that obscures the coating layers.

OUTPUT
Create one realistic product-reference image in a square 1:1 aspect ratio, without lettering, logos, labels, or watermarks.

SELF-CHECK
Check that both front-left chips show dark metal enclosed by a readable thin enamel edge.
Model information comes from image provenance. The same prompt may produce a different result.