Text to imageLandscapeStyle guide
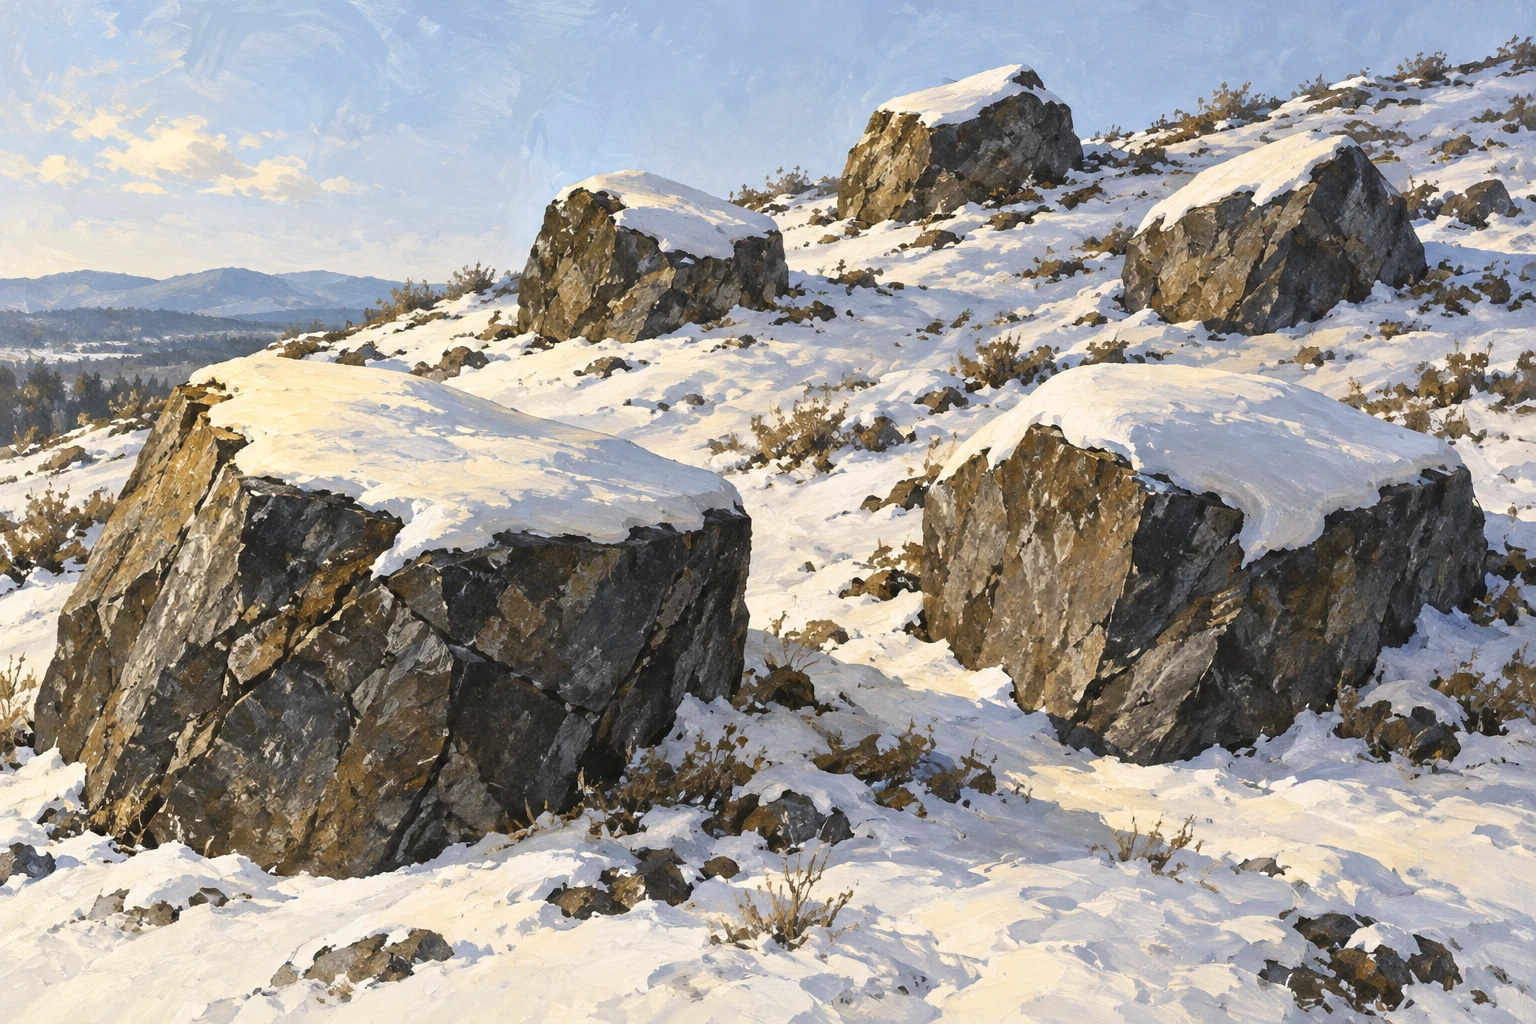
Rocky Slope · Snow on Upward Faces
Reveal rock orientation and volume on a gentle slope by placing bright snow caps on upward-facing surfaces while keeping steep sides dark.
Rocky Slope · Snow on Upward Faces
- Shape & line
- Build the boulders from broad angular planes, then draw snow caps that follow their upper shelves; let rounded snow lips overlap sharp rock edges while leaving the steep faces visibly uncovered.
- Color & light
- Use muted charcoal and brown for exposed rock and pale ivory for snow. Light the scene from the upper image-left, giving snow tops warm highlights and placing cool blue-gray shadows beneath overhanging snow lips on the image-right sides.
- Texture & material
- Render the scene in opaque gouache, using broken dry-brush marks on exposed stone and smoother, broad paint shapes on snow; concentrate small chips and rough marks below the snow boundary so the two materials remain easy to distinguish.
- Composition
- Keep clear gaps between the five main boulders and connect those gaps with a quiet strip of ground snow. Make the foreground snow-to-rock boundaries largest and clearest, then simplify uphill caps so the deposition pattern remains readable across the whole slope.
Priority
Prioritize the relationship between bright snow caps and exposed steep rock faces.
What to avoid & what to check
Avoid coating every rock face evenly or turning the snow caps into detached white blobs.
Check that each main snow cap rests visibly on an upper rock surface and leaves a dark side face exposed.
Exact prompt for this example
SUBJECT
A single low rocky hillside with five prominent angular boulders and a thin covering of settled snow. Snow rests on upward-facing rock shelves and the ground between the boulders; steep rock faces remain mostly exposed.

COMPOSITION
A horizontal view from slightly below the hillside, with the slope rising from image-left to image-right. Place two large boulders in the lower foreground and three smaller boulders farther uphill, beneath a narrow strip of pale sky.

STYLE GUIDE
1. Shape & line
Build the boulders from broad angular planes, then draw snow caps that follow their upper shelves; let rounded snow lips overlap sharp rock edges while leaving the steep faces visibly uncovered.

2. Color & light
Use muted charcoal and brown for exposed rock and pale ivory for snow. Light the scene from the upper image-left, giving snow tops warm highlights and placing cool blue-gray shadows beneath overhanging snow lips on the image-right sides.

3. Texture & material
Render the scene in opaque gouache, using broken dry-brush marks on exposed stone and smoother, broad paint shapes on snow; concentrate small chips and rough marks below the snow boundary so the two materials remain easy to distinguish.

4. Composition
Keep clear gaps between the five main boulders and connect those gaps with a quiet strip of ground snow. Make the foreground snow-to-rock boundaries largest and clearest, then simplify uphill caps so the deposition pattern remains readable across the whole slope.

PRIORITY
Preserve the requested identity, count, action, composition and output settings. Apply the style rules within those constraints; a style reference must not replace the subject or layout. Within the style: Prioritize the relationship between bright snow caps and exposed steep rock faces.

AVOID
Avoid coating every rock face evenly or turning the snow caps into detached white blobs.

OUTPUT
Create one landscape illustration in a 3:2 aspect ratio, with no lettering, captions, borders, or watermark.

SELF-CHECK
Check that each main snow cap rests visibly on an upper rock surface and leaves a dark side face exposed.
Model information comes from image provenance. The same prompt may produce a different result.