Text to imageIllustrationStyle guide
Two Overlapping Envelopes · T-Junction Occlusion
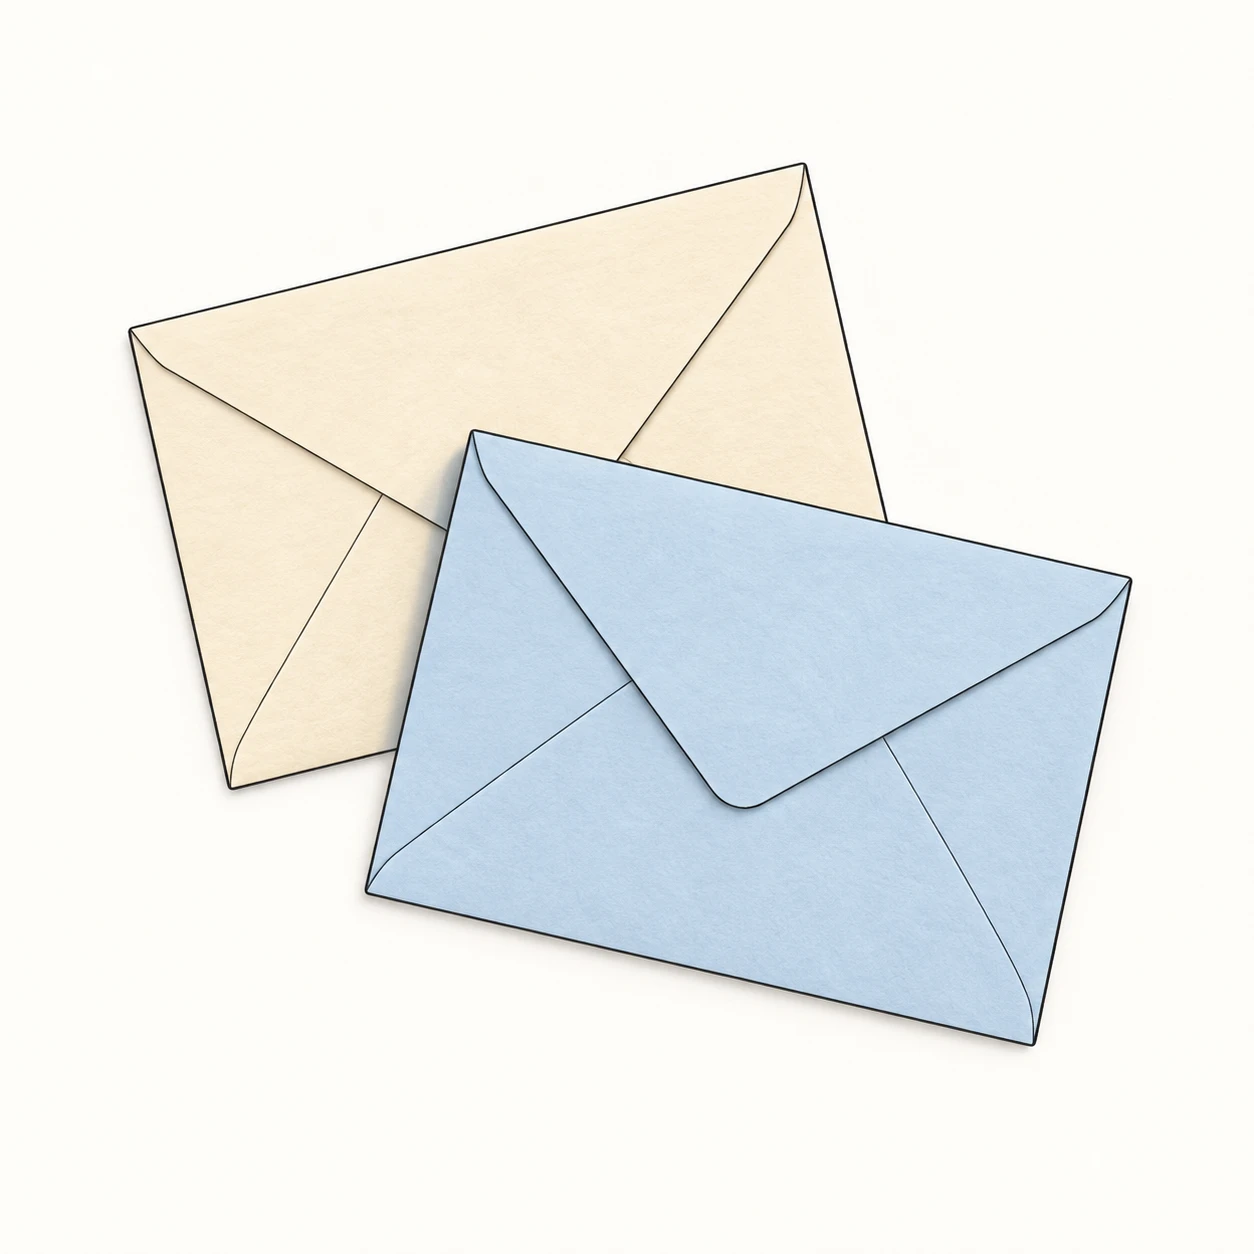
A simple ink-and-flat-color illustration that establishes overlap by ending the rear envelope’s lines against the front envelope’s continuous contour.
Two Overlapping Envelopes · T-Junction Occlusion
- Shape & line
- Draw crisp, moderately weighted ink contours and finer triangular flap seams. Keep the front envelope’s boundary continuous at every overlap; terminate each covered rear contour or seam exactly against that boundary, forming readable T-junctions without drawing through the front paper.
- Color & light
- Fill the rear envelope with warm cream and the front envelope with pale blue. Place a restrained cool shadow on the exposed rear paper immediately beside the front envelope’s image-upper-left edge, making that edge visibly sit above the rear surface while keeping the fills mostly flat.
- Texture & material
- Render matte paper with a faint, broad grain inside the colored areas. Keep the cut edges smooth and the flap folds as clean thin lines, so surface texture remains quieter than the contour interruptions that explain the overlap.
- Composition
- Leave generous empty space around the pair and keep both envelopes fully inside the frame. Position the overlap so a rear outer edge and at least one rear flap seam visibly meet the front boundary, giving the viewer two clear examples of the same occlusion cue.
Priority
Prioritize clear T-junctions that establish the blue envelope as the front layer.
What to avoid & what to check
Avoid rear lines showing through the front envelope or ambiguous edge tangencies.
Check that the rear lines stop at the unbroken front boundary and both envelopes remain recognizable.
Exact prompt for this example
SUBJECT
Exactly two closed rectangular paper envelopes, both viewed from their flap sides. The pale blue envelope at image lower right lies over the warm cream envelope at image upper left, covering part of its body and flap seams.

COMPOSITION
Use a nearly overhead view with both envelopes forming one compact central group. Rotate the rear envelope slightly counterclockwise and the front envelope slightly clockwise. Keep enough of the rear envelope exposed above and to image left for its rectangular shape and triangular flap to remain recognizable.

STYLE GUIDE
1. Shape & line
Draw crisp, moderately weighted ink contours and finer triangular flap seams. Keep the front envelope’s boundary continuous at every overlap; terminate each covered rear contour or seam exactly against that boundary, forming readable T-junctions without drawing through the front paper.

2. Color & light
Fill the rear envelope with warm cream and the front envelope with pale blue. Place a restrained cool shadow on the exposed rear paper immediately beside the front envelope’s image-upper-left edge, making that edge visibly sit above the rear surface while keeping the fills mostly flat.

3. Texture & material
Render matte paper with a faint, broad grain inside the colored areas. Keep the cut edges smooth and the flap folds as clean thin lines, so surface texture remains quieter than the contour interruptions that explain the overlap.

4. Composition
Leave generous empty space around the pair and keep both envelopes fully inside the frame. Position the overlap so a rear outer edge and at least one rear flap seam visibly meet the front boundary, giving the viewer two clear examples of the same occlusion cue.

PRIORITY
Preserve the requested identity, count, action, composition and output settings. Apply the style rules within those constraints; a style reference must not replace the subject or layout. Within the style: Prioritize clear T-junctions that establish the blue envelope as the front layer.

AVOID
Avoid rear lines showing through the front envelope or ambiguous edge tangencies.

OUTPUT
One square illustration with a clean off-white background, no lettering, labels, stamps, or watermarks.

SELF-CHECK
Check that the rear lines stop at the unbroken front boundary and both envelopes remain recognizable.
Model information comes from image provenance. The same prompt may produce a different result.