Text to imageProductStyle guide
Navy Velvet Box · Directional Pile Sheen
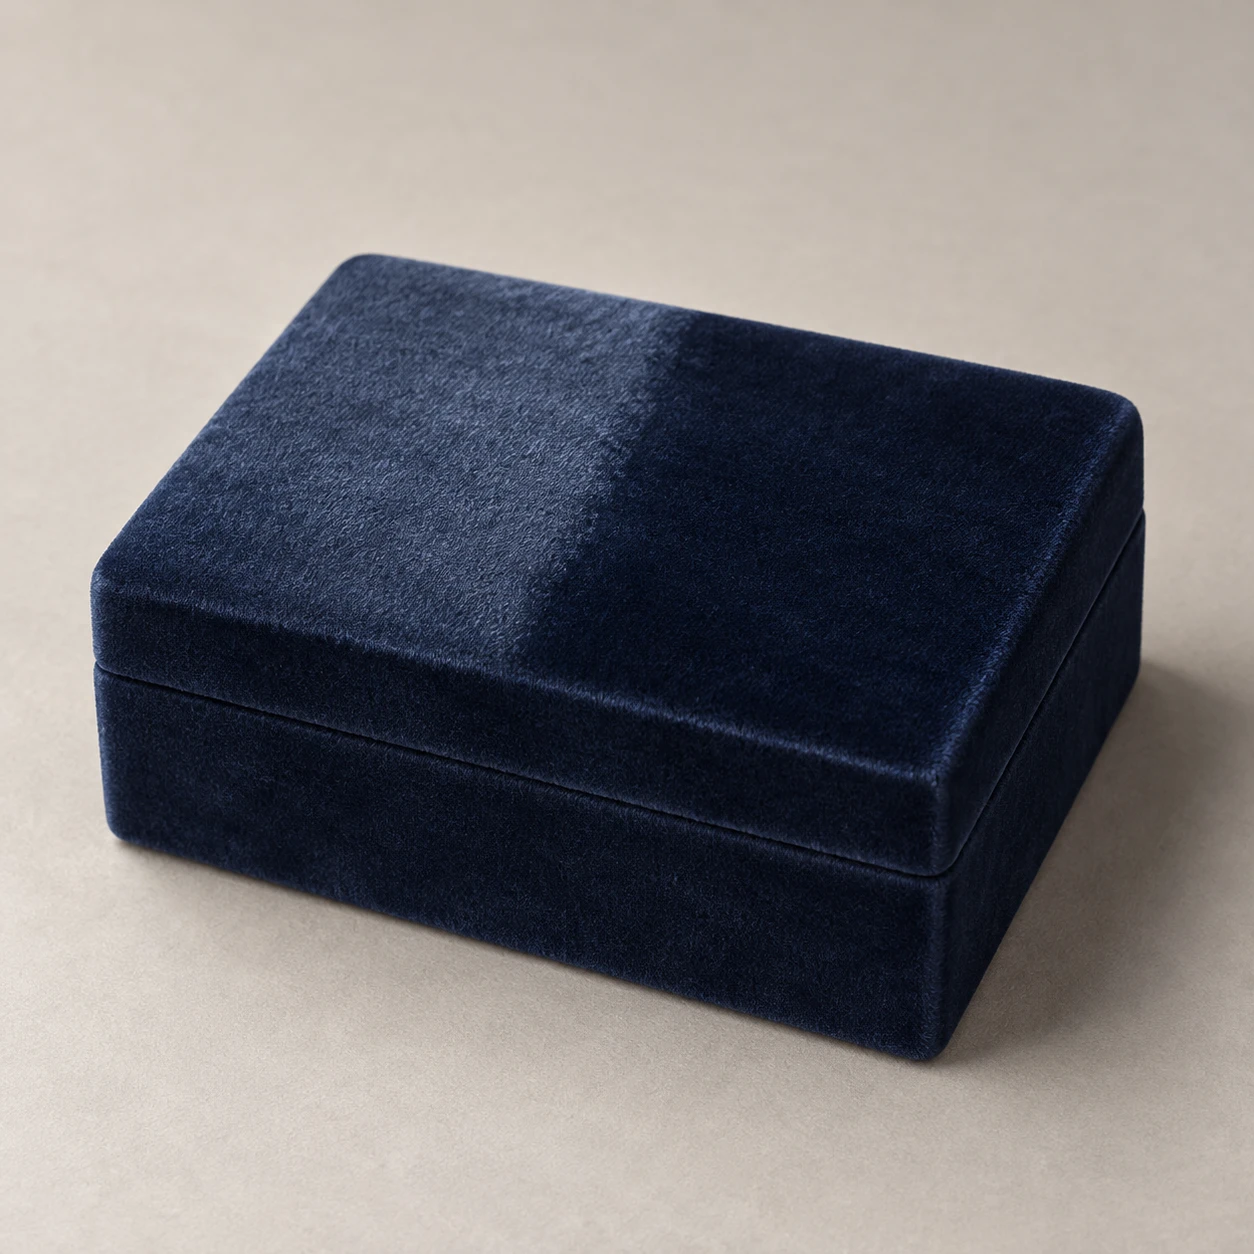
A product image showing how opposing pile directions change brightness across the same top surface of a closed velvet box.
Navy Velvet Box · Directional Pile Sheen
- Shape & line
- Build a compact rectangular box with gently softened corners and a narrow lid seam that continues around the visible faces. Keep the lid plane continuous across the two brushed areas, with no ridge or groove at their boundary.
- Color & light
- Place a broad soft key light above image-left. Let the image-left brushed area of the lid show a muted silvery-blue sheen while the adjacent image-right area stays deep navy; preserve one shared lighting gradient and cast a soft tabletop shadow toward image-right.
- Texture & material
- Render short, dense velvet pile as soft surface fuzz that breaks up the sheen. Give the opposing brushed areas a slightly feathered transition, so their brightness difference reads as nap direction rather than a printed stripe; soften highlights without making the surface glossy or metallic.
- Composition
- Run the brushed-area boundary from the rear edge to the front edge near the lid's center, placing the brighter region on image-left and the darker region on image-right. Keep both regions equally sharp and unobstructed, and use a plain backdrop so their same-plane contrast remains the focal point.
Priority
Prioritize directional velvet sheen across one continuous lid surface.
What to avoid & what to check
Avoid printed color blocks, raised dividing seams and hard plastic highlights.
Check that the two lid regions read as the same navy velvet brushed in opposite directions.
Exact prompt for this example
SUBJECT
One closed rectangular navy velvet jewelry box with a shallow fitted lid. Two broad adjacent areas on the lid have their pile brushed in opposite directions; both belong to the same continuous, flat velvet surface.

COMPOSITION
Use an elevated three-quarter view showing the lid, front face and image-right side. Center the box on a warm pale-gray tabletop with generous margins; make the lid large enough to read its contrasting pile areas.

STYLE GUIDE
1. Shape & line
Build a compact rectangular box with gently softened corners and a narrow lid seam that continues around the visible faces. Keep the lid plane continuous across the two brushed areas, with no ridge or groove at their boundary.

2. Color & light
Place a broad soft key light above image-left. Let the image-left brushed area of the lid show a muted silvery-blue sheen while the adjacent image-right area stays deep navy; preserve one shared lighting gradient and cast a soft tabletop shadow toward image-right.

3. Texture & material
Render short, dense velvet pile as soft surface fuzz that breaks up the sheen. Give the opposing brushed areas a slightly feathered transition, so their brightness difference reads as nap direction rather than a printed stripe; soften highlights without making the surface glossy or metallic.

4. Composition
Run the brushed-area boundary from the rear edge to the front edge near the lid's center, placing the brighter region on image-left and the darker region on image-right. Keep both regions equally sharp and unobstructed, and use a plain backdrop so their same-plane contrast remains the focal point.

PRIORITY
Preserve the requested identity, count, action, composition and output settings. Apply the style rules within those constraints; a style reference must not replace the subject or layout. Within the style: Prioritize directional velvet sheen across one continuous lid surface.

AVOID
Avoid printed color blocks, raised dividing seams and hard plastic highlights.

OUTPUT
Create one realistic studio product photograph in a square 1:1 aspect ratio, with no text, logos or annotations.

SELF-CHECK
Check that the two lid regions read as the same navy velvet brushed in opposite directions.
Model information comes from image provenance. The same prompt may produce a different result.