Text to imageProductStyle guide
One Masking Tape Roll · Layered Edge Definition
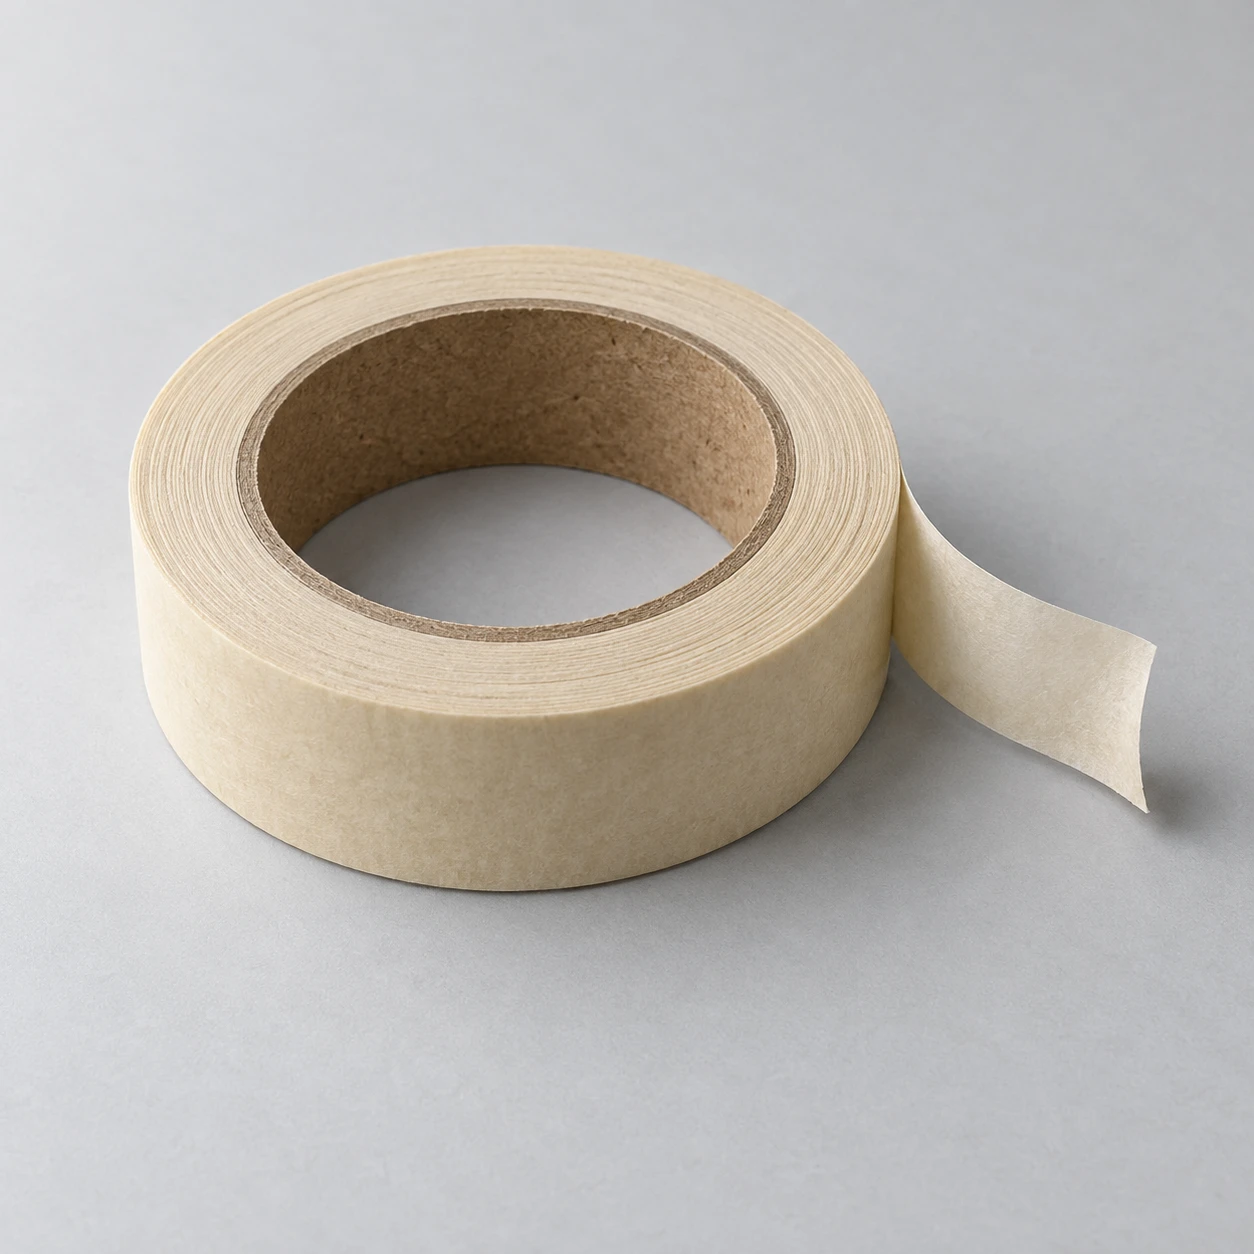
A product study that reveals wound paper through concentric layers and a short loose end on one beige masking tape roll.
One Masking Tape Roll · Layered Edge Definition
- Shape & line
- Build the roll from nested elliptical contours sharing one center and perspective. Draw the upper paper edge as closely spaced concentric rings, keeping their spacing visibly compressed toward the far, image-top side; continue the loose strip tangentially from the image-right outer contour.
- Color & light
- Use warm beige paper against a cool pale gray background, with a large soft key light from image-upper-left. Give the upper edge a gentle light-to-dark shift toward image-lower-right, and let the raised strip tip cast a small soft shadow onto the tabletop directly below and to its image-right.
- Texture & material
- Render the cut paper layers with fine alternating light and shadow lines and occasional subtle irregularities. Keep the outer tape wall and loose strip matte and softly fibrous, while giving the cardboard core a coarser brown surface; reserve the strongest layer detail for the near, image-bottom edge.
- Composition
- Keep the opening unobstructed and the loose end visibly attached, so the eye can follow one continuous path from wound layers to unwound paper. Separate the curled tip from the tabletop with a readable gap, and use a restrained grounding shadow beneath the roll without hiding its front edge.
Priority
Prioritize readable paper layers and a continuous connection to the loose end.
What to avoid & what to check
Avoid metallic ring highlights or grooves that make the paper resemble machined plastic.
Check that the layers share one perspective and the loose strip joins the outermost winding.
Exact prompt for this example
SUBJECT
Show one beige paper masking tape roll lying flat on a pale gray tabletop, with its circular opening facing upward. A short loose end emerges from the roll's image-right outer edge and rests on the table; its tip curls slightly upward. The brown cardboard core is visible inside the opening.

COMPOSITION
Use an elevated three-quarter view that clearly exposes the upper annular edge, inner core wall, and front outer wall. Place the roll slightly left of center, leaving enough space on image-right for the attached loose end. Keep the whole product in focus with comfortable margins.

STYLE GUIDE
1. Shape & line
Build the roll from nested elliptical contours sharing one center and perspective. Draw the upper paper edge as closely spaced concentric rings, keeping their spacing visibly compressed toward the far, image-top side; continue the loose strip tangentially from the image-right outer contour.

2. Color & light
Use warm beige paper against a cool pale gray background, with a large soft key light from image-upper-left. Give the upper edge a gentle light-to-dark shift toward image-lower-right, and let the raised strip tip cast a small soft shadow onto the tabletop directly below and to its image-right.

3. Texture & material
Render the cut paper layers with fine alternating light and shadow lines and occasional subtle irregularities. Keep the outer tape wall and loose strip matte and softly fibrous, while giving the cardboard core a coarser brown surface; reserve the strongest layer detail for the near, image-bottom edge.

4. Composition
Keep the opening unobstructed and the loose end visibly attached, so the eye can follow one continuous path from wound layers to unwound paper. Separate the curled tip from the tabletop with a readable gap, and use a restrained grounding shadow beneath the roll without hiding its front edge.

PRIORITY
Preserve the requested identity, count, action, composition and output settings. Apply the style rules within those constraints; a style reference must not replace the subject or layout. Within the style: Prioritize readable paper layers and a continuous connection to the loose end.

AVOID
Avoid metallic ring highlights or grooves that make the paper resemble machined plastic.

OUTPUT
Create one realistic studio product image in a square 1:1 aspect ratio, with no lettering, logos, captions, or watermark.

SELF-CHECK
Check that the layers share one perspective and the loose strip joins the outermost winding.
Model information comes from image provenance. The same prompt may produce a different result.