Text to imageArt stylesStyle guide
One Walnut · Silverpoint
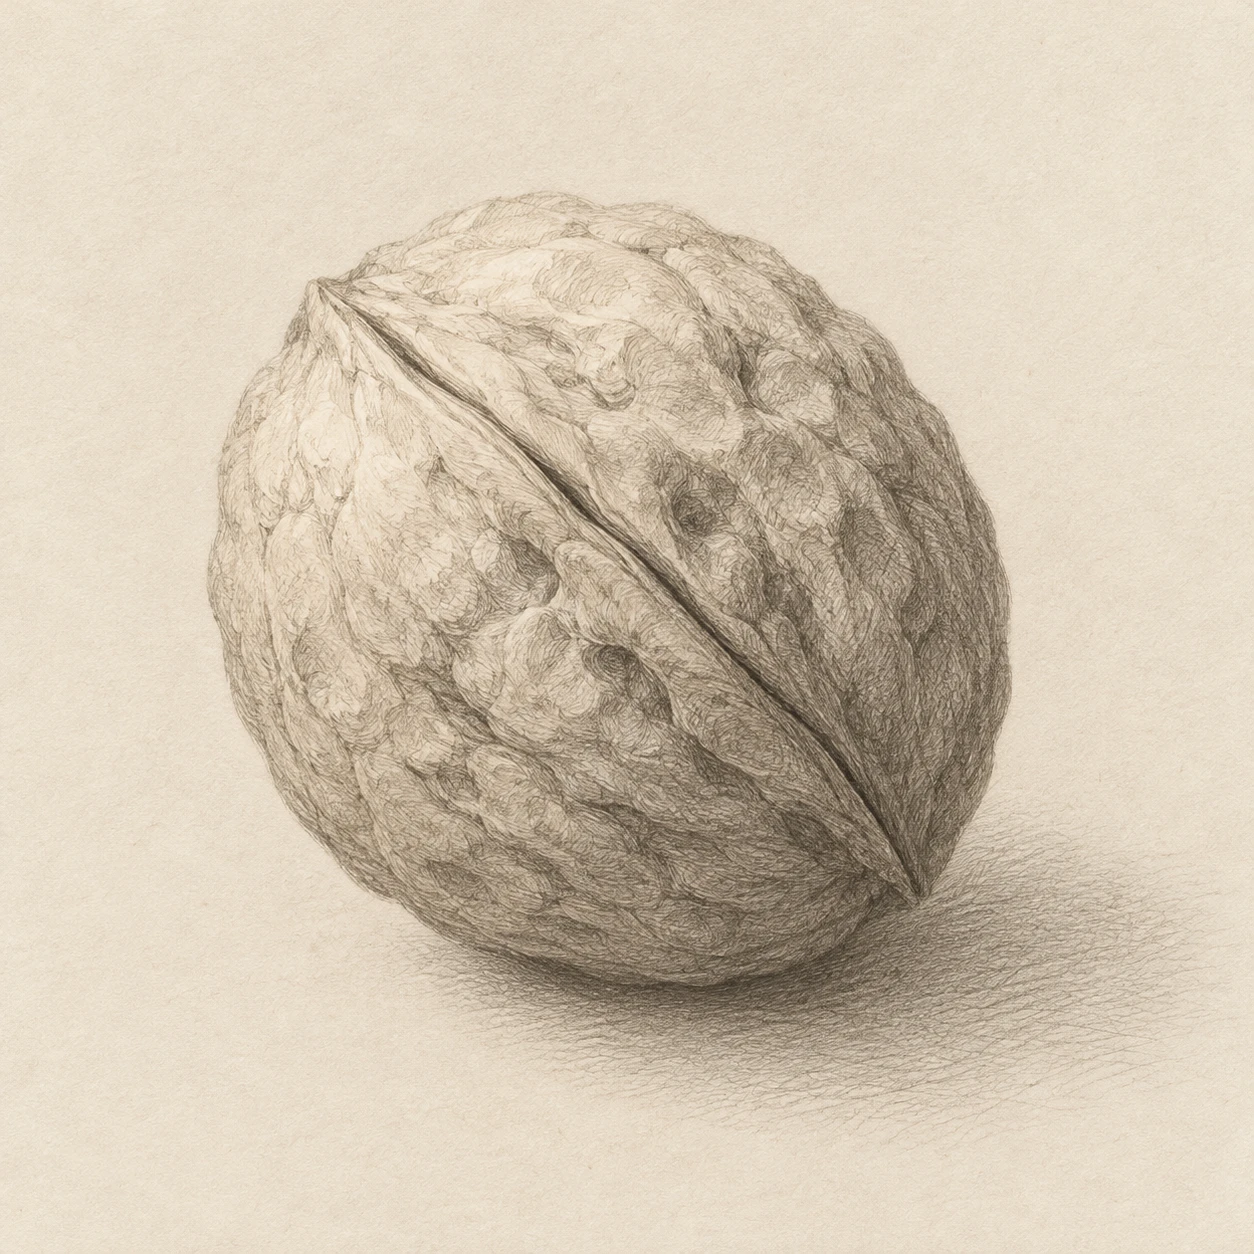
Fine, even silver-gray lines build the rounded volume and grooves of a walnut on a pale ground.
One Walnut · Silverpoint
- Shape & line
- Draw the lobed silhouette, central seam, and shell grooves with fine, nearly uniform silver-gray lines. Describe raised ridges with gently bending strokes, and interrupt interior lines where a ridge turns into the light.
- Color & light
- Use a pale ivory ground and restrained gray marks with a slight warm cast. Place the light at image upper left; leave the upper-left ridges largely untouched and deepen the lower-right grooves through overlapping hatch layers, keeping even the darkest passages softer than black ink.
- Texture & material
- Build the shell's roughness from short, curved hatch bundles that follow individual lobes. Add a second crossing layer inside recessed grooves while leaving raised strips sparsely marked; retain a subtle matte paper tooth beneath the delicate metalpoint strokes.
- Composition
- Keep the walnut large enough for the separate hatch bundles to remain visible, with clear empty ground around its silhouette. Anchor it with a compact hatched contact shadow directly beneath its lower-right base, then let the shadow's lines thin and spread toward image lower right.
Priority
Prioritize delicate metalpoint lines and volume built by accumulated hatching.
What to avoid & what to check
Avoid heavy black outlines, broad smudged shading, and glossy metallic highlights.
Check that pale ridges remain open and darker grooves resolve into fine layered lines.
Exact prompt for this example
SUBJECT
One whole, unshelled walnut resting on a plain prepared drawing surface, with its central seam and irregular shell grooves clearly visible.

COMPOSITION
Show the walnut in a slightly elevated three-quarter view, centered with generous empty space. Angle the central seam diagonally from image upper left to lower right, keeping both shell halves readable.

STYLE GUIDE
1. Shape & line
Draw the lobed silhouette, central seam, and shell grooves with fine, nearly uniform silver-gray lines. Describe raised ridges with gently bending strokes, and interrupt interior lines where a ridge turns into the light.

2. Color & light
Use a pale ivory ground and restrained gray marks with a slight warm cast. Place the light at image upper left; leave the upper-left ridges largely untouched and deepen the lower-right grooves through overlapping hatch layers, keeping even the darkest passages softer than black ink.

3. Texture & material
Build the shell's roughness from short, curved hatch bundles that follow individual lobes. Add a second crossing layer inside recessed grooves while leaving raised strips sparsely marked; retain a subtle matte paper tooth beneath the delicate metalpoint strokes.

4. Composition
Keep the walnut large enough for the separate hatch bundles to remain visible, with clear empty ground around its silhouette. Anchor it with a compact hatched contact shadow directly beneath its lower-right base, then let the shadow's lines thin and spread toward image lower right.

PRIORITY
Preserve the requested identity, count, action, composition and output settings. Apply the style rules within those constraints; a style reference must not replace the subject or layout. Within the style: Prioritize delicate metalpoint lines and volume built by accumulated hatching.

AVOID
Avoid heavy black outlines, broad smudged shading, and glossy metallic highlights.

OUTPUT
Create one square image of a silverpoint drawing on pale warm-toned prepared paper, with no text, labels, border, or watermark.

SELF-CHECK
Check that pale ridges remain open and darker grooves resolve into fine layered lines.
Model information comes from image provenance. The same prompt may produce a different result.