Text to imageProductStyle guide
Silicone Ice Tray · Occlusion at Recessed Corners
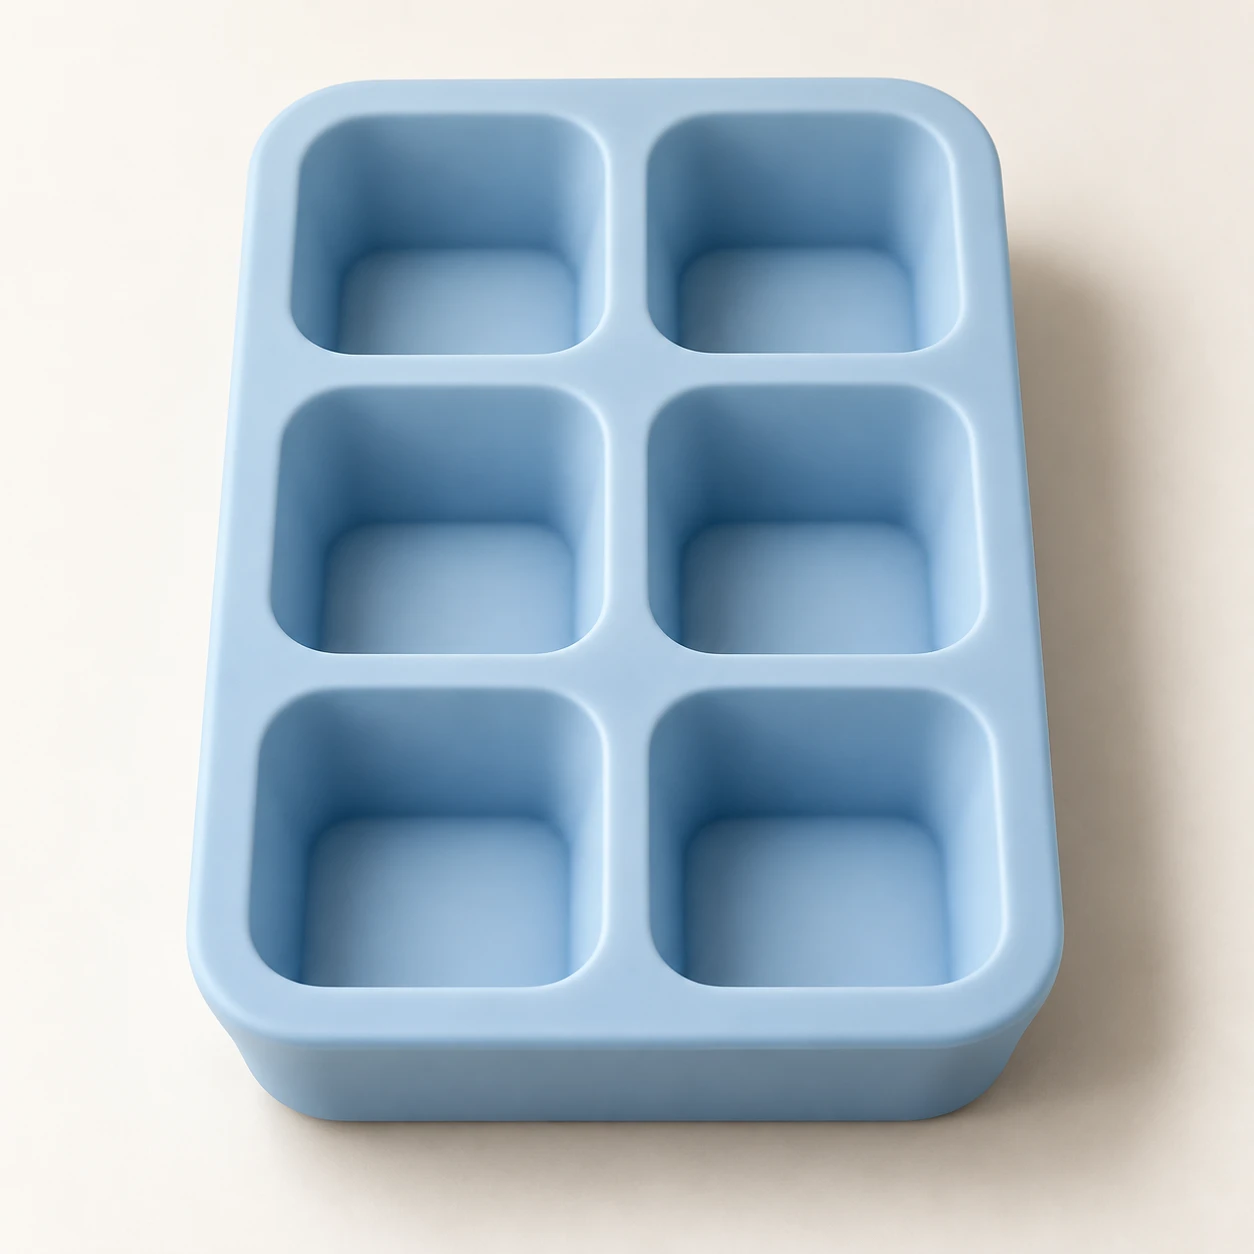
Build narrow shading where the floors and walls of six wells meet to reveal depth in a pale blue matte silicone ice tray.
Silicone Ice Tray · Occlusion at Recessed Corners
- Shape & line
- Build the tray from a softly rounded rectangular outline and six matching rounded-square openings. Give each opening a clear rim, descending inner walls, and a smaller visible floor; keep the shared dividers continuous so the wells read as recesses in one object.
- Color & light
- Place a broad soft light at image upper left. Keep the upper-left rim brightest and the tray's image-right outer wall darker; inside every well, deepen the blue in narrow bands where the floor meets the walls and where two walls meet, fading smoothly toward the open floor.
- Texture & material
- Render the silicone as matte and softly light-scattering, with broad subdued highlights and gently rounded edges. Keep the surfaces nearly smooth so the shaded corner bands remain visible without glossy reflections or coarse grain competing with them.
- Composition
- Center the tray on a warm off-white surface and let it occupy roughly two-thirds of the frame. Separate all six openings through the elevated view, and add a soft cast shadow extending toward image lower right with its darkest portion directly beneath the tray.
Priority
Prioritize readable recessed floors and soft darkening at their wall junctions.
What to avoid & what to check
Avoid outlining the wells in black or filling their entire interiors with uniform darkness.
Check that all six wells show lighter open floors bordered by darker recessed junctions.
Exact prompt for this example
SUBJECT
One pale blue silicone ice tray with exactly six empty rounded-square wells arranged in two columns and three rows. The wells share one continuous rim; each has a visible floor recessed below its surrounding walls.

COMPOSITION
Show the entire tray from a high three-quarter viewpoint, with its long axis running from image bottom toward image top. Keep all six well floors visible and distinguishable, with generous plain background around the tray.

STYLE GUIDE
1. Shape & line
Build the tray from a softly rounded rectangular outline and six matching rounded-square openings. Give each opening a clear rim, descending inner walls, and a smaller visible floor; keep the shared dividers continuous so the wells read as recesses in one object.

2. Color & light
Place a broad soft light at image upper left. Keep the upper-left rim brightest and the tray's image-right outer wall darker; inside every well, deepen the blue in narrow bands where the floor meets the walls and where two walls meet, fading smoothly toward the open floor.

3. Texture & material
Render the silicone as matte and softly light-scattering, with broad subdued highlights and gently rounded edges. Keep the surfaces nearly smooth so the shaded corner bands remain visible without glossy reflections or coarse grain competing with them.

4. Composition
Center the tray on a warm off-white surface and let it occupy roughly two-thirds of the frame. Separate all six openings through the elevated view, and add a soft cast shadow extending toward image lower right with its darkest portion directly beneath the tray.

PRIORITY
Preserve the requested identity, count, action, composition and output settings. Apply the style rules within those constraints; a style reference must not replace the subject or layout. Within the style: Prioritize readable recessed floors and soft darkening at their wall junctions.

AVOID
Avoid outlining the wells in black or filling their entire interiors with uniform darkness.

OUTPUT
Create one square product photograph with no text, labels, logos, or watermarks.

SELF-CHECK
Check that all six wells show lighter open floors bordered by darker recessed junctions.
Model information comes from image provenance. The same prompt may produce a different result.