Text to imageArt stylesStyle guide
One Green Watering Can · Pochoir Stencil Coloring
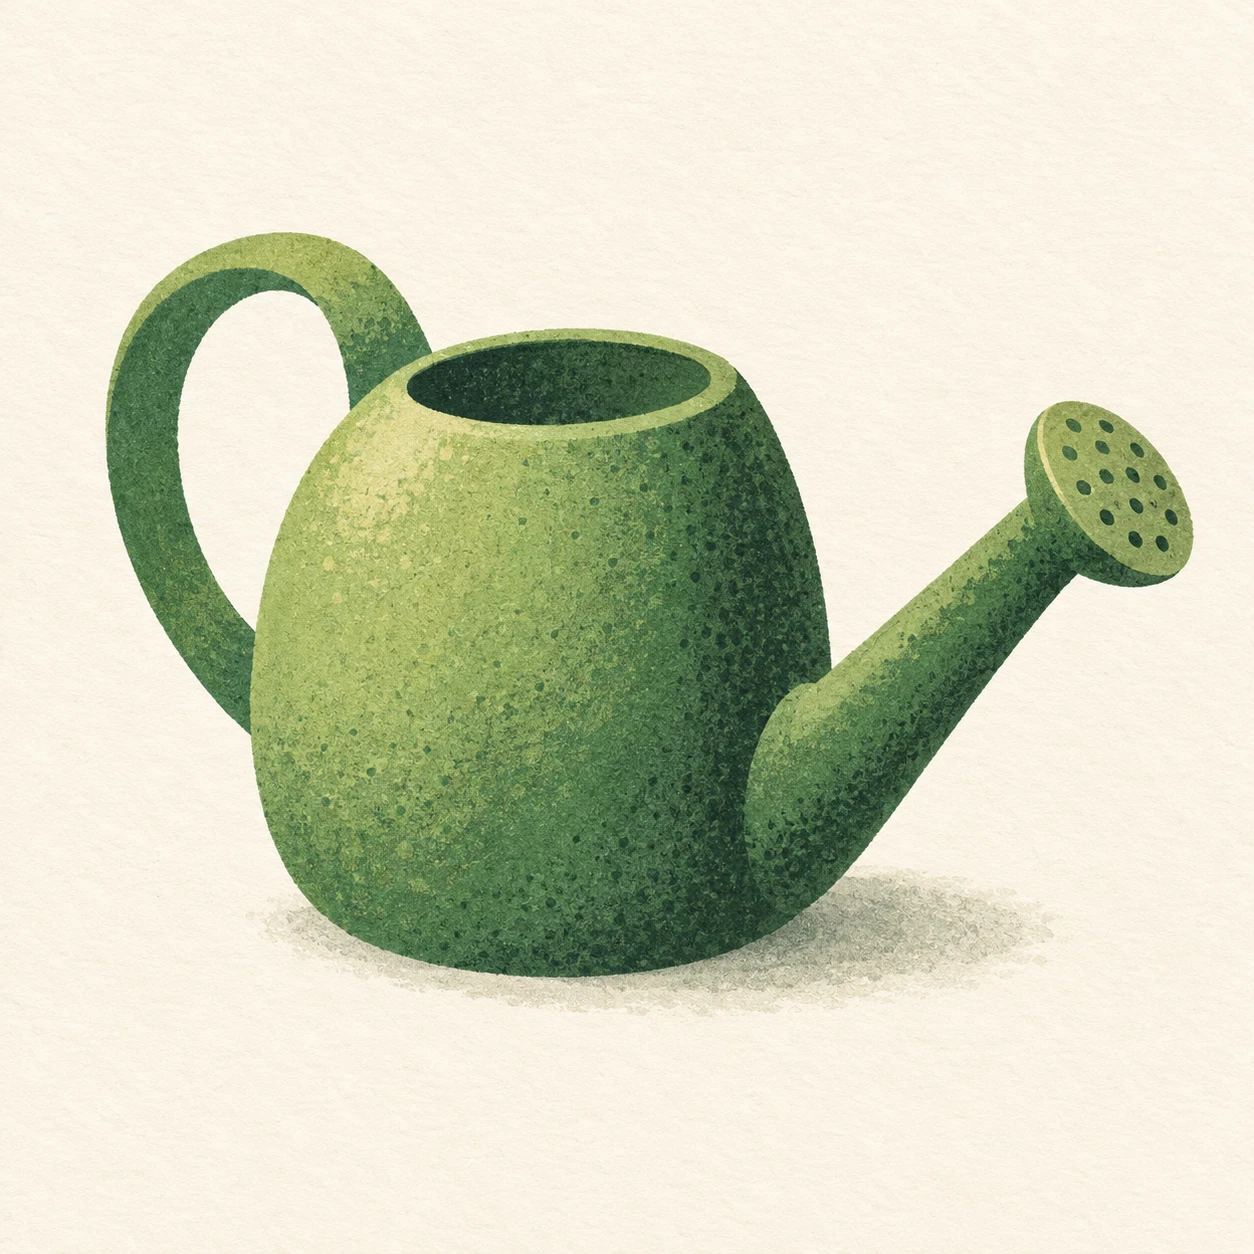
A single watering can demonstrates pochoir stencil coloring through crisp masked edges and brush stippling that thins toward the interior.
One Green Watering Can · Pochoir Stencil Coloring
- Shape & line
- Construct the reservoir, handle, and spout from a few clean stencil silhouettes with gently simplified curves. Let adjacent color shapes define their joins, and preserve crisp masked outer edges without adding a continuous ink outline.
- Color & light
- Lay down a flat muted green base, then stencil darker forest green along the image-right side and underside of the reservoir. Keep the image-left upper face pale yellow-green, and use a small dark top-opening shape to establish depth while retaining broad, readable color areas.
- Texture & material
- Inside the darker stencil regions, show softly dabbed brush pigment: dense small speckles beside the masked boundary become sparse toward the lighter interior. Keep the boundary itself sharp and let fine ivory paper grain remain visible through the thin pigment; avoid a smooth digital airbrush gradient.
- Composition
- Balance the handle on image-left against the spout on image-right, keeping ivory gaps open around both. Place a restrained pale gray-green ground shadow directly beneath the reservoir, extending slightly toward image-right, and leave the surrounding paper largely untouched.
Priority
Prioritize the contrast between crisp stencil boundaries and softly stippled interior shading.
What to avoid & what to check
Avoid heavy outlines, glossy reflections, and uniformly smooth shading.
Check that the watering can reads clearly and that pigment speckles thin inward while masked edges stay sharp.
Exact prompt for this example
SUBJECT
Depict exactly one simple green watering can with a rounded reservoir, one arched handle attached behind it, and one spout extending toward image-right. Leave the handle opening visibly clear and connect the spout naturally to the lower reservoir.

COMPOSITION
Use a slightly elevated three-quarter view so the top opening, reservoir front, handle opening, and projecting spout are readable. Center the complete silhouette on warm ivory paper with generous margins; keep the spout tip and handle fully inside the frame.

STYLE GUIDE
1. Shape & line
Construct the reservoir, handle, and spout from a few clean stencil silhouettes with gently simplified curves. Let adjacent color shapes define their joins, and preserve crisp masked outer edges without adding a continuous ink outline.

2. Color & light
Lay down a flat muted green base, then stencil darker forest green along the image-right side and underside of the reservoir. Keep the image-left upper face pale yellow-green, and use a small dark top-opening shape to establish depth while retaining broad, readable color areas.

3. Texture & material
Inside the darker stencil regions, show softly dabbed brush pigment: dense small speckles beside the masked boundary become sparse toward the lighter interior. Keep the boundary itself sharp and let fine ivory paper grain remain visible through the thin pigment; avoid a smooth digital airbrush gradient.

4. Composition
Balance the handle on image-left against the spout on image-right, keeping ivory gaps open around both. Place a restrained pale gray-green ground shadow directly beneath the reservoir, extending slightly toward image-right, and leave the surrounding paper largely untouched.

PRIORITY
Preserve the requested identity, count, action, composition and output settings. Apply the style rules within those constraints; a style reference must not replace the subject or layout. Within the style: Prioritize the contrast between crisp stencil boundaries and softly stippled interior shading.

AVOID
Avoid heavy outlines, glossy reflections, and uniformly smooth shading.

OUTPUT
Create one square image as a pochoir stencil illustration on paper, with no lettering, labels, signature, or watermark.

SELF-CHECK
Check that the watering can reads clearly and that pigment speckles thin inward while masked edges stay sharp.
Model information comes from image provenance. The same prompt may produce a different result.