Text to imageSpace & architectureStyle guide
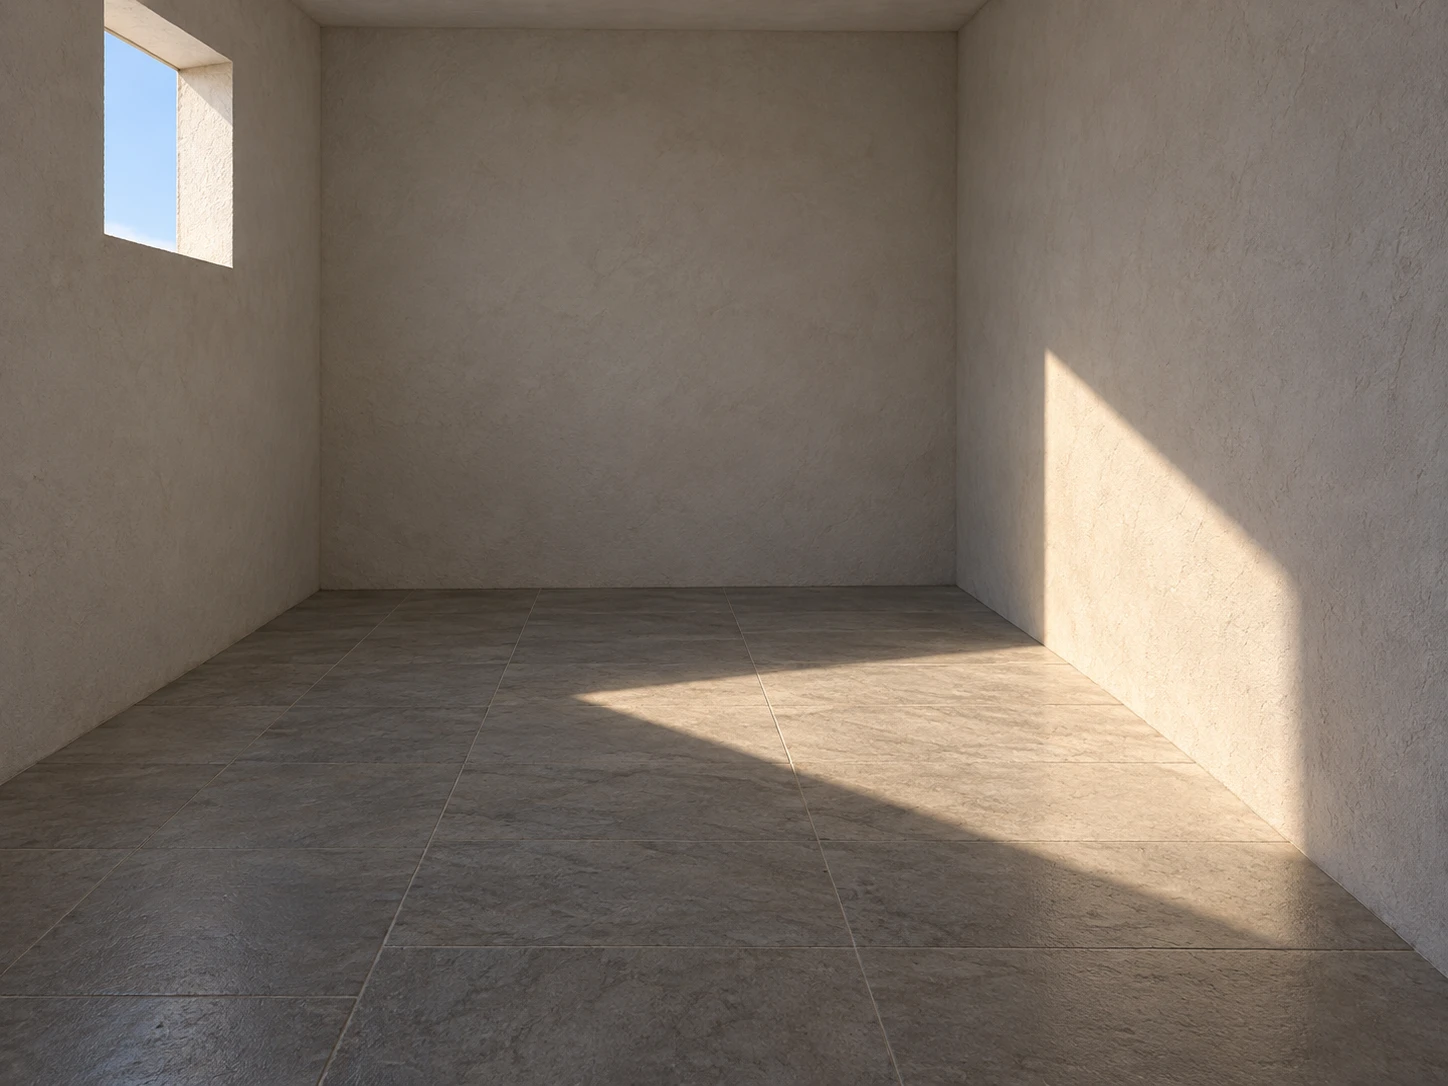
Small Empty Room · Sunlight Across a Corner
Reveal a room’s corner and depth by folding one continuous sunlight patch across its floor and wall.
Small Empty Room · Sunlight Across a Corner
- Shape & line
- Construct the room with straight, converging architectural edges. At the floor–right-wall seam, bend the sunlight patch into two connected polygonal portions whose edges change direction with the receiving planes; make their endpoints meet visibly along the seam.
- Color & light
- Send warm direct sunlight from the upper image-left window toward the lower image-right wall and adjoining floor. Keep both illuminated portions distinctly brighter than the cool gray room, with crisp outer boundaries and no dark interruption at the wall–floor seam.
- Texture & material
- Render the plaster with faint irregular grain and the stone with a smoother matte finish. Let these surface textures continue through lit and shaded areas, while keeping their contrast quiet enough that the folded light boundary remains easy to trace.
- Composition
- Place the bend of the light patch slightly right of center and keep its full floor and wall portions inside the frame. Leave broad shaded areas around it so the single continuous patch, the receiving corner, and the upper-left source window read together at a glance.
Priority
Prioritize the visible continuity and change of direction of the sunlight across the floor–wall seam.
What to avoid & what to check
Avoid disconnected light patches, glowing seam lines, and decorative clutter.
Check that both lit portions meet at the seam and clearly belong to the upper-left window.
Exact prompt for this example
SUBJECT
One small empty room with pale plaster walls, a matte stone floor, and one high square window on the image-left wall. Direct sunlight from this window forms one continuous patch across the floor and the lower image-right wall, visibly meeting at their shared seam.

COMPOSITION
View from the open front of the room at standing eye level, looking diagonally toward the back-right corner. Include the high window at upper left, the receiving wall at right, and enough foreground floor to show the entire sunlight patch.

STYLE GUIDE
1. Shape & line
Construct the room with straight, converging architectural edges. At the floor–right-wall seam, bend the sunlight patch into two connected polygonal portions whose edges change direction with the receiving planes; make their endpoints meet visibly along the seam.

2. Color & light
Send warm direct sunlight from the upper image-left window toward the lower image-right wall and adjoining floor. Keep both illuminated portions distinctly brighter than the cool gray room, with crisp outer boundaries and no dark interruption at the wall–floor seam.

3. Texture & material
Render the plaster with faint irregular grain and the stone with a smoother matte finish. Let these surface textures continue through lit and shaded areas, while keeping their contrast quiet enough that the folded light boundary remains easy to trace.

4. Composition
Place the bend of the light patch slightly right of center and keep its full floor and wall portions inside the frame. Leave broad shaded areas around it so the single continuous patch, the receiving corner, and the upper-left source window read together at a glance.

PRIORITY
Preserve the requested identity, count, action, composition and output settings. Apply the style rules within those constraints; a style reference must not replace the subject or layout. Within the style: Prioritize the visible continuity and change of direction of the sunlight across the floor–wall seam.

AVOID
Avoid disconnected light patches, glowing seam lines, and decorative clutter.

OUTPUT
One architectural illustration in a 4:3 landscape aspect ratio, with no text, labels, watermark, or border.

SELF-CHECK
Check that both lit portions meet at the seam and clearly belong to the upper-left window.
Model information comes from image provenance. The same prompt may produce a different result.