Text to imageIllustrationStyle guide
One Bouncing Ball · Spacing Along a Motion Arc
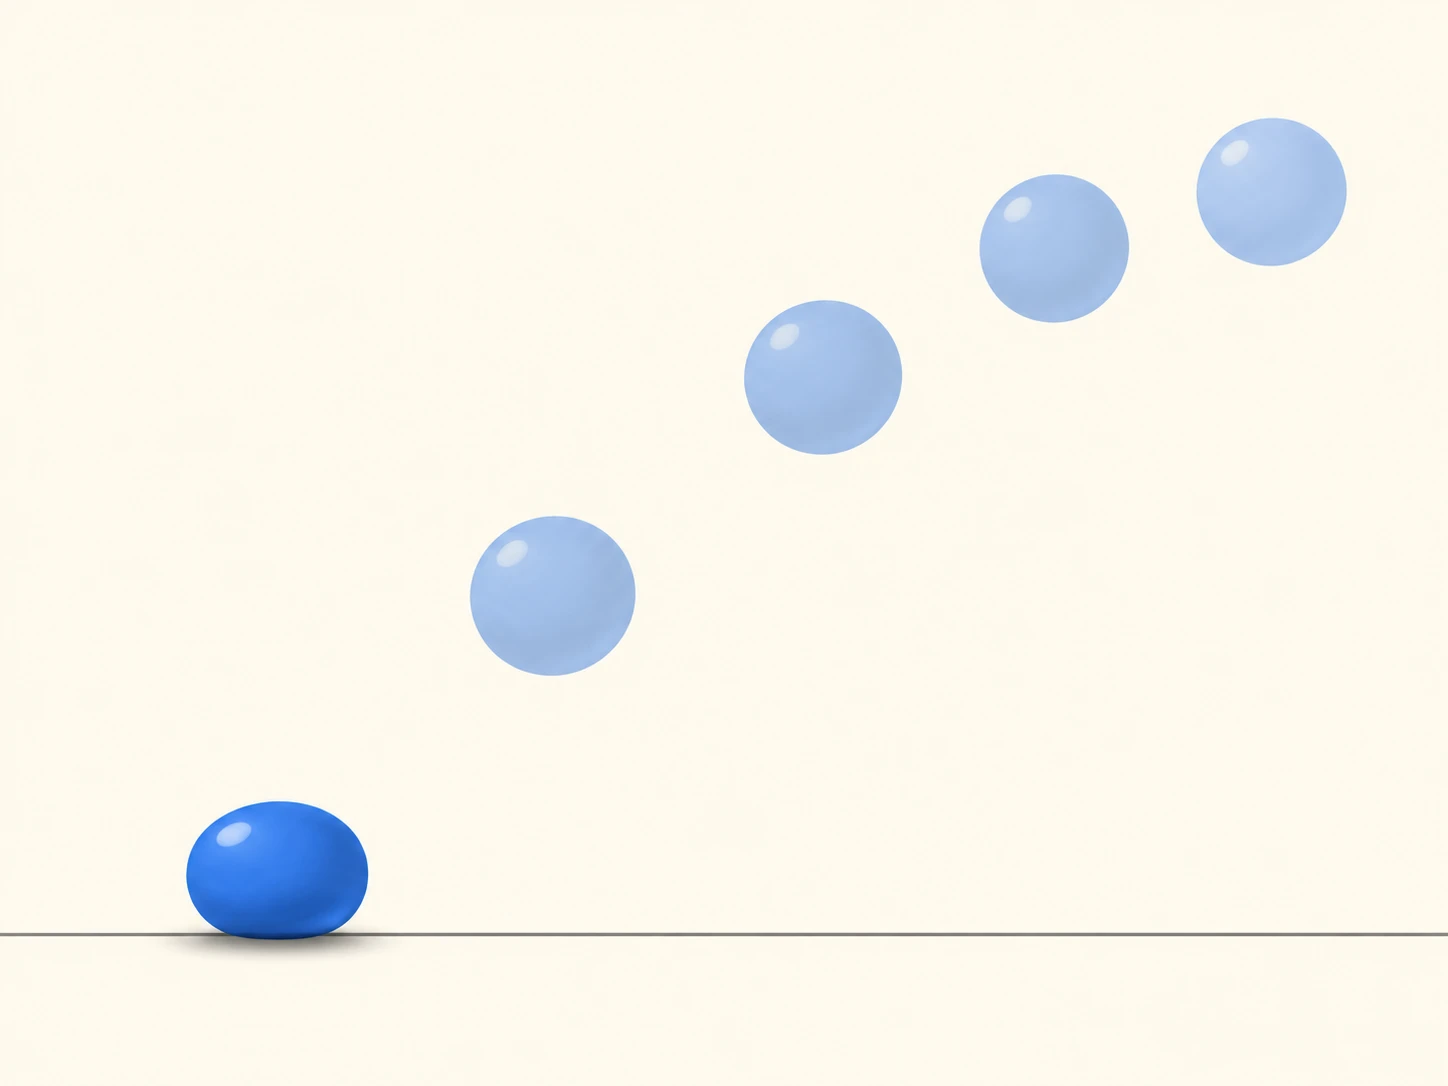
An illustration that varies the spacing between successive ball positions along a curve to show a bounce slowing toward its apex.
One Bouncing Ball · Spacing Along a Motion Arc
- Shape & line
- Draw the contact ball as a slightly flattened oval whose lower edge touches the floor line; make the four airborne positions circular and similar in size. Use smooth, consistent outlines so changes in spacing carry the motion.
- Color & light
- Use a pale cream background and blue ball fills. Keep the contact position opaque and the four later positions equally translucent; place a small pale highlight on each ball's upper image-left edge to maintain a shared light direction.
- Texture & material
- Render the rubber with clean matte fills and broad, soft shading, keeping the airborne silhouettes readable through their transparency. Add a compact soft shadow directly beneath the contact ball, darkest where its lower edge meets the floor.
- Composition
- Arrange the five centers on a smooth arc rising from lower image-left to upper image-right. Make the first gap widest and each following gap visibly smaller as the path levels near the apex; preserve a clear background gap between every neighboring pair.
Priority
Prioritize progressively tighter spacing toward the upper image-right apex.
What to avoid & what to check
Avoid equal spacing, overlapping silhouettes, and arrows that replace the visible motion sequence.
Check that five distinct positions read as one ball rising and slowing after floor contact.
Exact prompt for this example
SUBJECT
Depict one blue rubber ball at five successive moments within a single upward bounce. These are repeated positions of the same ball: one solid ball at floor contact in the lower image-left, followed by four translucent positions rising toward an apex in the upper image-right.

COMPOSITION
Use a wide side view with a thin horizontal floor line across the lower quarter. Keep all five ball silhouettes separate and fully visible, with generous empty space above the trajectory.

STYLE GUIDE
1. Shape & line
Draw the contact ball as a slightly flattened oval whose lower edge touches the floor line; make the four airborne positions circular and similar in size. Use smooth, consistent outlines so changes in spacing carry the motion.

2. Color & light
Use a pale cream background and blue ball fills. Keep the contact position opaque and the four later positions equally translucent; place a small pale highlight on each ball's upper image-left edge to maintain a shared light direction.

3. Texture & material
Render the rubber with clean matte fills and broad, soft shading, keeping the airborne silhouettes readable through their transparency. Add a compact soft shadow directly beneath the contact ball, darkest where its lower edge meets the floor.

4. Composition
Arrange the five centers on a smooth arc rising from lower image-left to upper image-right. Make the first gap widest and each following gap visibly smaller as the path levels near the apex; preserve a clear background gap between every neighboring pair.

PRIORITY
Preserve the requested identity, count, action, composition and output settings. Apply the style rules within those constraints; a style reference must not replace the subject or layout. Within the style: Prioritize progressively tighter spacing toward the upper image-right apex.

AVOID
Avoid equal spacing, overlapping silhouettes, and arrows that replace the visible motion sequence.

OUTPUT
Create one 4:3 editorial illustration with no text, numerals, labels, logos, or watermark.

SELF-CHECK
Check that five distinct positions read as one ball rising and slowing after floor contact.
Model information comes from image provenance. The same prompt may produce a different result.