Text to imageArt stylesStyle guide
One Onion · Drypoint Burr
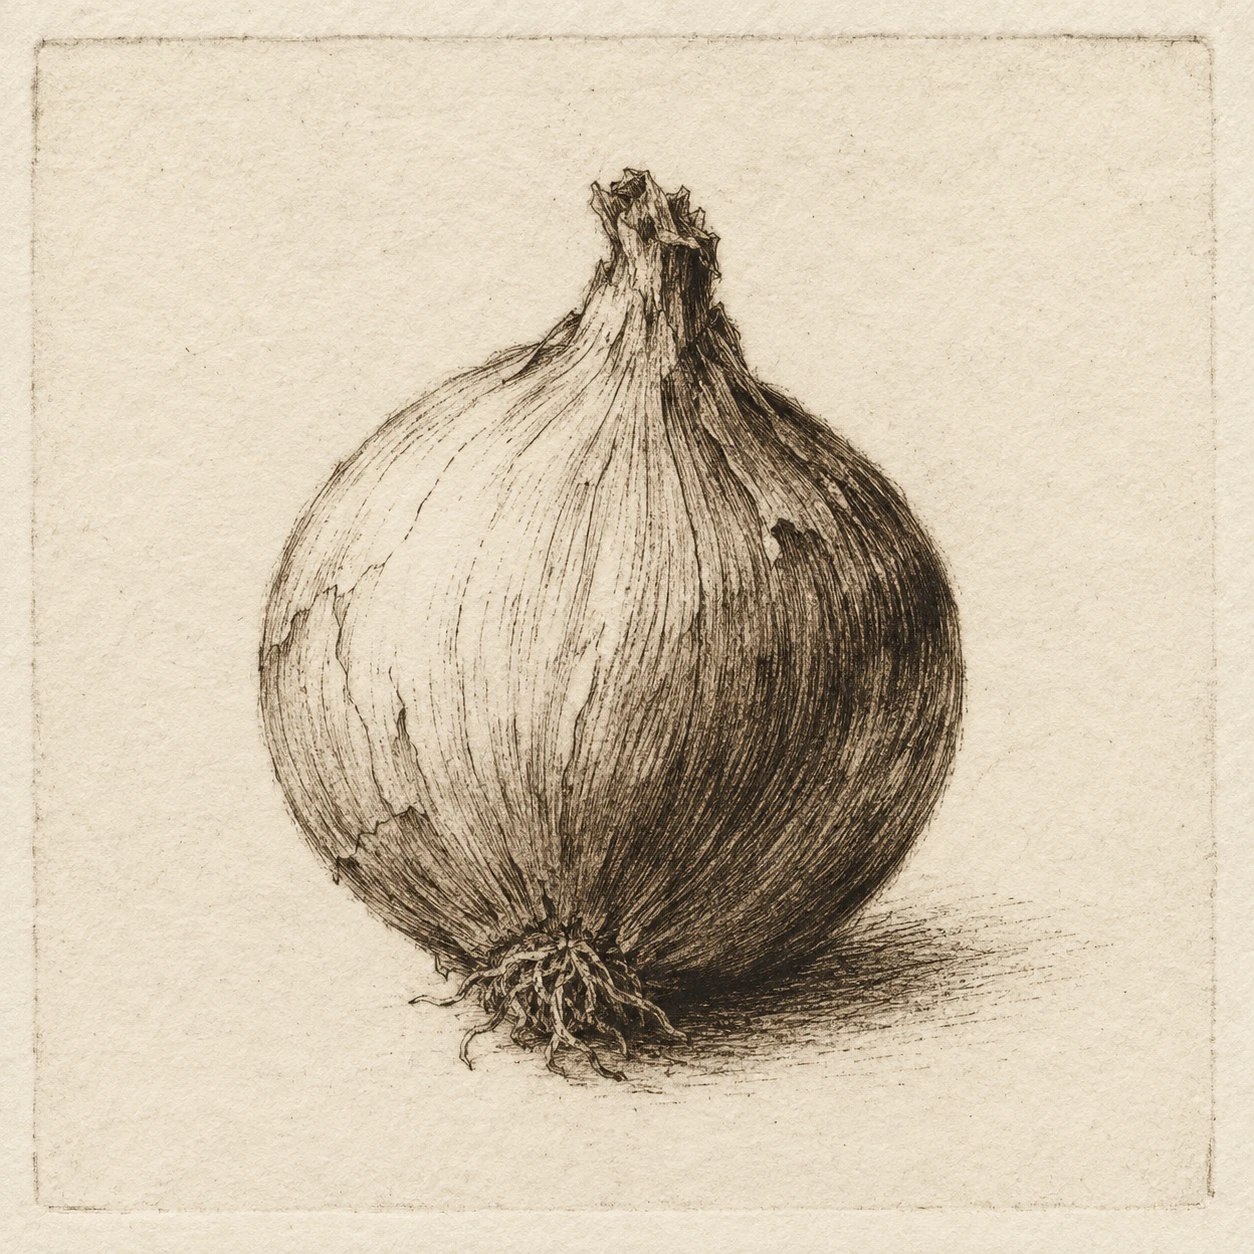
Describe an onion’s rounded form with drypoint lines that pair a fine incision with a soft, dark fringe of retained ink.
One Onion · Drypoint Burr
- Shape & line
- Build the bulb with gently bowed contour lines and curved hatching that follows its swelling surface. Give selected incised lines a fine central stroke bordered by a soft, irregular ink fringe; keep the neck and root marks shorter and more angular.
- Color & light
- Use only warm black ink and ivory paper. Leave the image-left shoulder mostly bare to suggest light from the upper left, then gather overlapping strokes along the image-right flank and beneath the bulb; preserve narrow paper gaps within the darkest passages.
- Texture & material
- Make the burr visible as velvety ink caught beside selected strokes, especially in the right-side shading, rather than as blur over the whole onion. Suggest dry skin with sparse broken lines, and retain subtle paper grain plus a faint rectangular plate impression around the printed field.
- Composition
- Keep the onion as one compact silhouette inside the plate impression. Place a small hatched contact shadow directly beneath the root tuft, extending toward image-right, and let its outer strokes thin into blank paper so the surrounding space remains quiet.
Priority
Prioritize the contrast between fine incised strokes and their soft burr-held ink edges.
What to avoid & what to check
Avoid uniform digital outlines, smooth gray gradients, and an all-over fuzzy filter.
Check that curved hatching describes the bulb and that soft ink fringes remain visible beside individual lines.
Exact prompt for this example
SUBJECT
One whole onion with a short dried neck and a small attached root tuft; its papery outer skin remains intact, with curved seams running from neck toward roots.

COMPOSITION
Center the upright onion in a square frame, viewed slightly from above so its shoulder and root contact are readable. Let it occupy roughly half the image width, surrounded by generous blank paper.

STYLE GUIDE
1. Shape & line
Build the bulb with gently bowed contour lines and curved hatching that follows its swelling surface. Give selected incised lines a fine central stroke bordered by a soft, irregular ink fringe; keep the neck and root marks shorter and more angular.

2. Color & light
Use only warm black ink and ivory paper. Leave the image-left shoulder mostly bare to suggest light from the upper left, then gather overlapping strokes along the image-right flank and beneath the bulb; preserve narrow paper gaps within the darkest passages.

3. Texture & material
Make the burr visible as velvety ink caught beside selected strokes, especially in the right-side shading, rather than as blur over the whole onion. Suggest dry skin with sparse broken lines, and retain subtle paper grain plus a faint rectangular plate impression around the printed field.

4. Composition
Keep the onion as one compact silhouette inside the plate impression. Place a small hatched contact shadow directly beneath the root tuft, extending toward image-right, and let its outer strokes thin into blank paper so the surrounding space remains quiet.

PRIORITY
Preserve the requested identity, count, action, composition and output settings. Apply the style rules within those constraints; a style reference must not replace the subject or layout. Within the style: Prioritize the contrast between fine incised strokes and their soft burr-held ink edges.

AVOID
Avoid uniform digital outlines, smooth gray gradients, and an all-over fuzzy filter.

OUTPUT
One square image of a drypoint print on warm ivory paper, with no lettering, labels, signature, or watermark.

SELF-CHECK
Check that curved hatching describes the bulb and that soft ink fringes remain visible beside individual lines.
Model information comes from image provenance. The same prompt may produce a different result.