Text to imageArt stylesStyle guide
One Butterfly · Paper Quilling
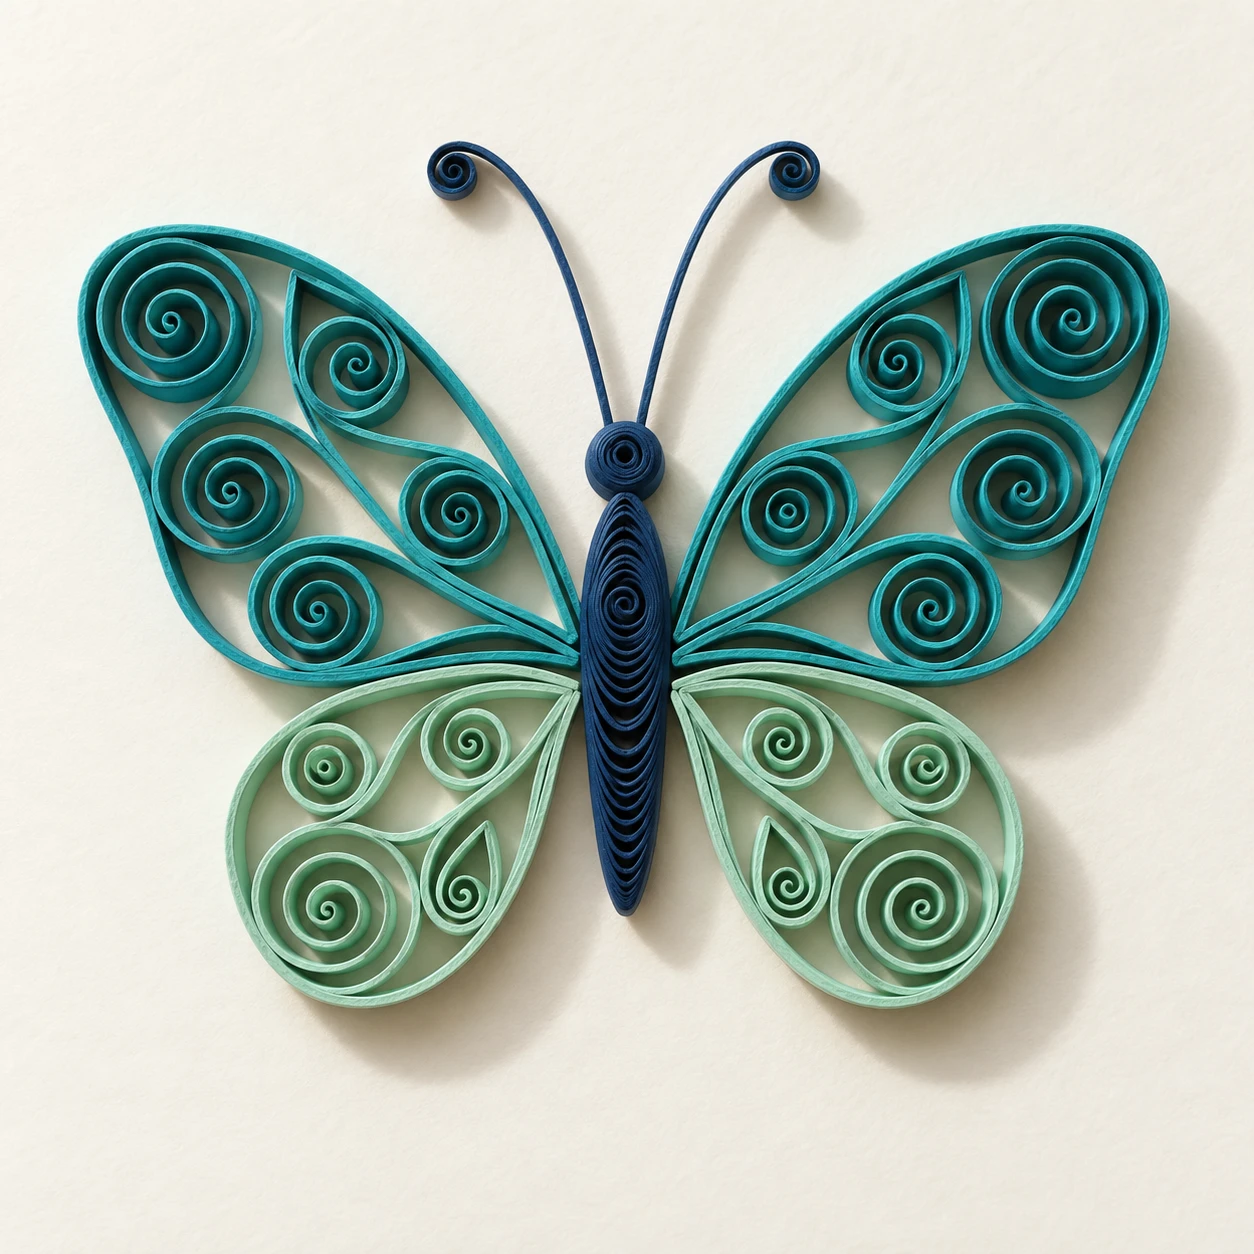
Build a butterfly from upright paper strips and loose spiral coils, using short shadows to reveal their height and open spaces.
One Butterfly · Paper Quilling
- Shape & line
- Build each wing outline from a continuous paper strip standing on its narrow edge, then fill it with loose spiral coils pinched into teardrops; point the teardrop tips toward the central body and keep the spaces between turns visibly open.
- Color & light
- Use teal strips for the upper wings, pale mint strips for the lower wings and dark blue strips for the body. Light from the image's upper left so the upper-left-facing paper surfaces brighten and short shadows fall toward the lower right onto the backing and into nearby coil gaps.
- Texture & material
- Show matte paper with broad, smooth strip faces and thin exposed top edges; let a few coil ends remain visible and vary the spacing gently so the construction feels hand assembled while every strip retains a consistent upright height.
- Composition
- Center the butterfly on the ivory backing and keep its paired wings broadly balanced. Separate the antennae from each other and the wing edges, and preserve visible ivory pockets inside the coils so the silhouette and paper construction remain readable at a glance.
Priority
Make the upright strips and open spiral coils unmistakable.
What to avoid & what to check
Avoid flat printed spirals, solid wing fills and glossy plastic surfaces.
Check that four attached wings contain open coils with short shadows falling toward the image's lower right.
Exact prompt for this example
SUBJECT
One butterfly made from paper quilling, with four wings attached to one slender central body and two curved paper-strip antennae. Each upper wing is larger than the lower wing beneath it; loose coils sit inside continuous wing outlines.

COMPOSITION
Show the complete butterfly from almost directly overhead on an ivory paper backing, with its head toward the top of the image. Spread the wings to both sides of the vertical body and leave generous clear margins around the antennae and wing tips.

STYLE GUIDE
1. Shape & line
Build each wing outline from a continuous paper strip standing on its narrow edge, then fill it with loose spiral coils pinched into teardrops; point the teardrop tips toward the central body and keep the spaces between turns visibly open.

2. Color & light
Use teal strips for the upper wings, pale mint strips for the lower wings and dark blue strips for the body. Light from the image's upper left so the upper-left-facing paper surfaces brighten and short shadows fall toward the lower right onto the backing and into nearby coil gaps.

3. Texture & material
Show matte paper with broad, smooth strip faces and thin exposed top edges; let a few coil ends remain visible and vary the spacing gently so the construction feels hand assembled while every strip retains a consistent upright height.

4. Composition
Center the butterfly on the ivory backing and keep its paired wings broadly balanced. Separate the antennae from each other and the wing edges, and preserve visible ivory pockets inside the coils so the silhouette and paper construction remain readable at a glance.

PRIORITY
Preserve the requested identity, count, action, composition and output settings. Apply the style rules within those constraints; a style reference must not replace the subject or layout. Within the style: Make the upright strips and open spiral coils unmistakable.

AVOID
Avoid flat printed spirals, solid wing fills and glossy plastic surfaces.

OUTPUT
One square image showing a handmade paper-quilling artwork, with no text, labels, border or watermark.

SELF-CHECK
Check that four attached wings contain open coils with short shadows falling toward the image's lower right.
Model information comes from image provenance. The same prompt may produce a different result.