Text to imageProductStyle guide
Ochre Leather Coaster · Debossed Depth
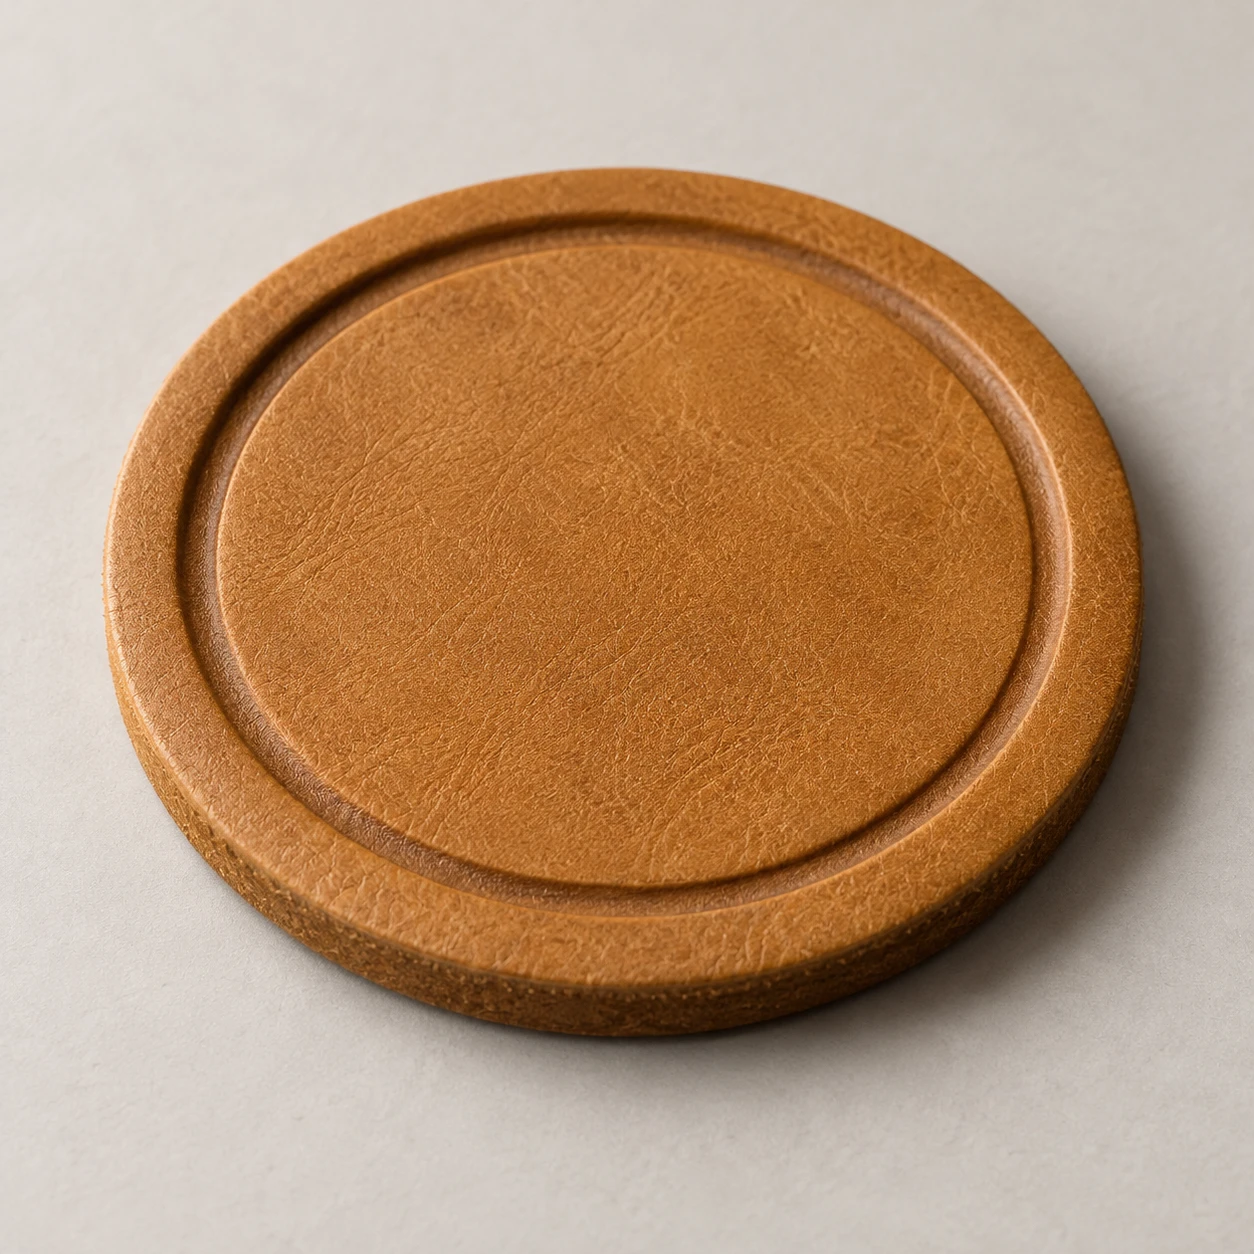
Show the depth of a pressed circular groove in a leather coaster through shadow and light on its inner walls.
Ochre Leather Coaster · Debossed Depth
- Shape & line
- Build a clean circular silhouette seen as a shallow ellipse, with a modestly thick front edge. Follow the same perspective with the inset groove, showing two closely spaced boundaries and a visible recessed floor instead of a single drawn outline.
- Color & light
- Keep the leather ochre under a broad key light from image upper left. Inside the groove, darken the upper-left inner wall and brighten the lower-right inner wall; let the surrounding top remain lighter than the groove floor so the ring reads as pressed inward.
- Texture & material
- Give the upper surface restrained, irregular leather grain with soft matte highlights. Make the grain flatter and smoother along the pressed groove, while the front cut edge shows a slightly rough fibrous texture; keep these differences visible without turning them into oversized cracks.
- Composition
- Keep the entire inset ring readable and clear of cropping. Place a narrow contact shadow directly beneath the front edge, extending softly toward image lower right, and leave the tabletop quiet so the recessed ring remains the strongest local contrast.
Priority
Prioritize a visibly recessed ring and a convincing matte leather surface.
What to avoid & what to check
Avoid a raised ring, a painted outline, or glossy plastic-like leather.
Check that the groove has a lower floor and opposing inner-wall values consistent with the upper-left light.
Exact prompt for this example
SUBJECT
One round ochre leather coaster with one continuous circular groove pressed into its upper surface, inset from the outer edge. The groove is recessed below the surrounding leather, with a broad plain center.

COMPOSITION
Use an elevated three-quarter view that reveals the entire top and the front cut edge. Center the coaster on a pale warm-gray tabletop, with enough empty space to read its silhouette and short cast shadow.

STYLE GUIDE
1. Shape & line
Build a clean circular silhouette seen as a shallow ellipse, with a modestly thick front edge. Follow the same perspective with the inset groove, showing two closely spaced boundaries and a visible recessed floor instead of a single drawn outline.

2. Color & light
Keep the leather ochre under a broad key light from image upper left. Inside the groove, darken the upper-left inner wall and brighten the lower-right inner wall; let the surrounding top remain lighter than the groove floor so the ring reads as pressed inward.

3. Texture & material
Give the upper surface restrained, irregular leather grain with soft matte highlights. Make the grain flatter and smoother along the pressed groove, while the front cut edge shows a slightly rough fibrous texture; keep these differences visible without turning them into oversized cracks.

4. Composition
Keep the entire inset ring readable and clear of cropping. Place a narrow contact shadow directly beneath the front edge, extending softly toward image lower right, and leave the tabletop quiet so the recessed ring remains the strongest local contrast.

PRIORITY
Preserve the requested identity, count, action, composition and output settings. Apply the style rules within those constraints; a style reference must not replace the subject or layout. Within the style: Prioritize a visibly recessed ring and a convincing matte leather surface.

AVOID
Avoid a raised ring, a painted outline, or glossy plastic-like leather.

OUTPUT
Create one square product-reference image in a realistic studio-photography medium, with no lettering, labels, logos, watermark, or explanatory graphics.

SELF-CHECK
Check that the groove has a lower floor and opposing inner-wall values consistent with the upper-left light.
Model information comes from image provenance. The same prompt may produce a different result.