Text to imageArt stylesStyle guide
One Feather · Blind Paper Embossing
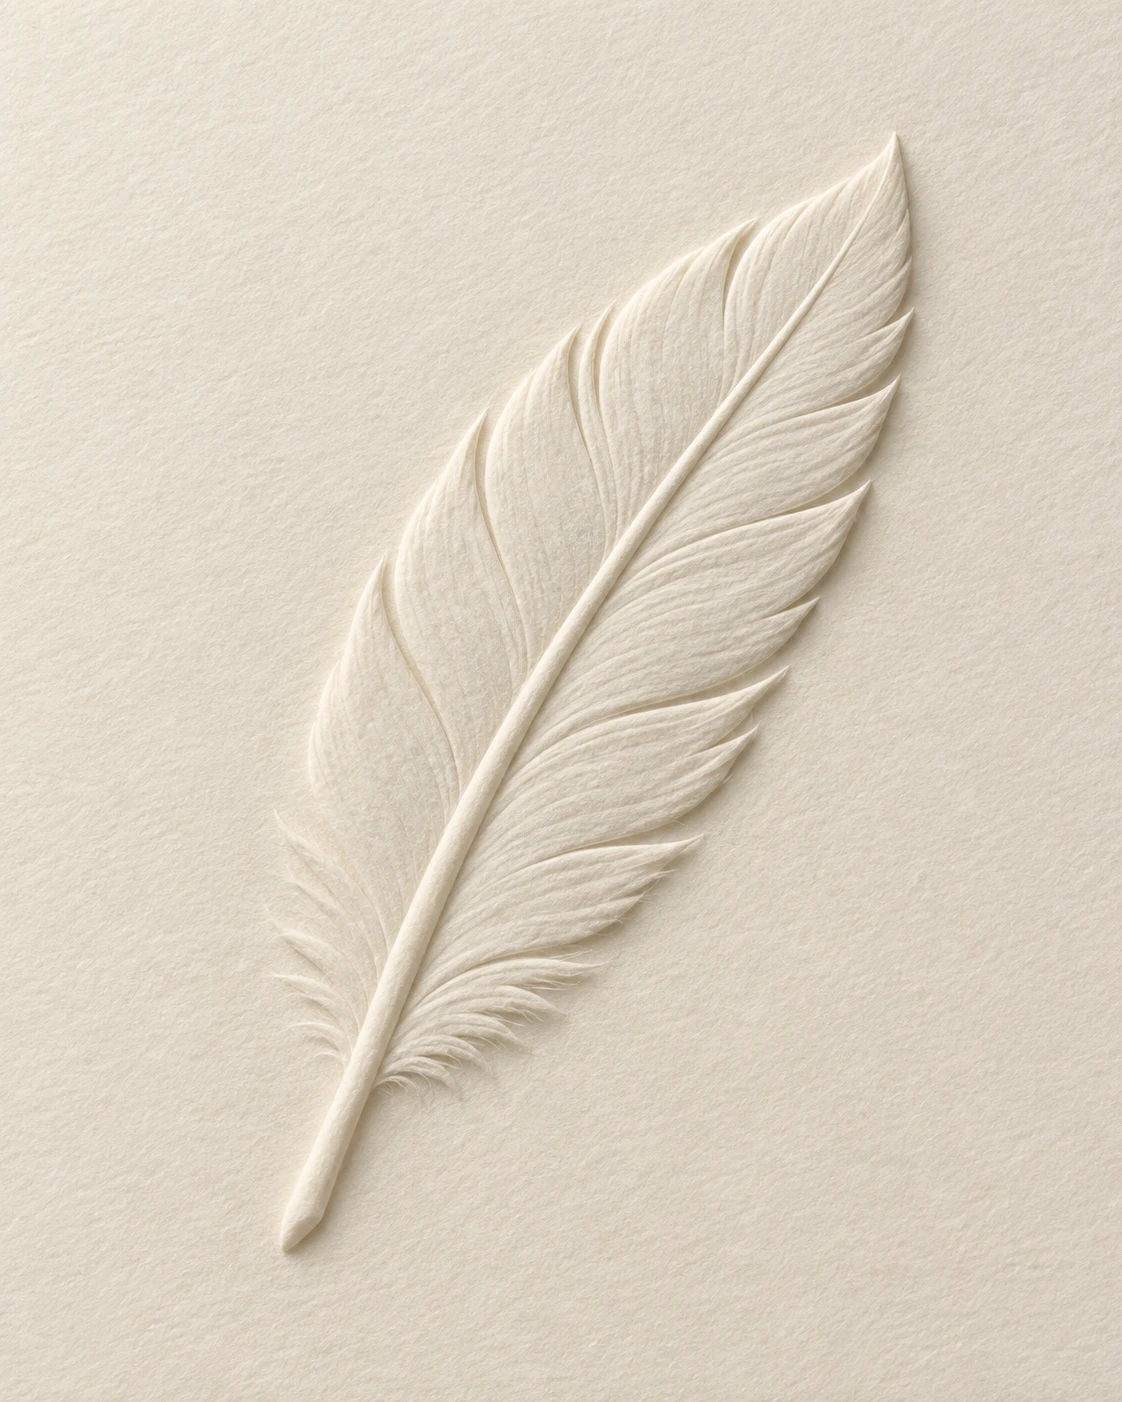
A blind embossing study that reveals a feather through raised paper edges and short shadows, without colored ink.
One Feather · Blind Paper Embossing
- Shape & line
- Build the feather from a continuous raised shaft and broad, tapered groups of barbs that sweep outward toward the tip. Separate these groups with shallow recessed grooves, keeping the outer contour softly rounded rather than drawing an ink outline.
- Color & light
- Keep the feather and surrounding sheet the same ivory color. Cast low, soft light from the image's upper-left so raised edges facing that corner brighten and their lower-right sides cast short gray shadows onto the adjacent paper; use this consistent relief shading to reveal the form.
- Texture & material
- Give the whole sheet a matte, lightly fibrous paper surface that continues across the raised feather. Keep the relief shallow, with gently compressed-looking edges and subtle grain; the feather should appear formed from the sheet itself rather than attached as a separate object.
- Composition
- Keep the entire relief inside an uninterrupted field of blank paper, with clear space around the tip and quill. Use the lower-left to upper-right diagonal as the main visual movement, and retain enough nearby flat paper for the tiny cast shadows to remain readable.
Priority
Prioritize a readable feather made visible by shallow paper relief and consistent directional light.
What to avoid & what to check
Avoid colored outlines, metallic shine, deep sculptural carving, and a detached feather floating above the sheet.
Check that the paper surface continues through the feather and every raised edge follows the same upper-left light direction.
Exact prompt for this example
SUBJECT
Show exactly one feather as a shallow raised relief in a single sheet of ivory paper. A gently curved central shaft connects the bare quill at the bottom to the pointed tip at the top; grouped barbs branch from both sides and form one coherent feather silhouette.

COMPOSITION
Use a close, nearly overhead view of the paper, with the entire feather visible. Place the quill toward the lower-left and the tip toward the upper-right. Let the feather occupy roughly two-thirds of the image height, surrounded by generous blank paper.

STYLE GUIDE
1. Shape & line
Build the feather from a continuous raised shaft and broad, tapered groups of barbs that sweep outward toward the tip. Separate these groups with shallow recessed grooves, keeping the outer contour softly rounded rather than drawing an ink outline.

2. Color & light
Keep the feather and surrounding sheet the same ivory color. Cast low, soft light from the image's upper-left so raised edges facing that corner brighten and their lower-right sides cast short gray shadows onto the adjacent paper; use this consistent relief shading to reveal the form.

3. Texture & material
Give the whole sheet a matte, lightly fibrous paper surface that continues across the raised feather. Keep the relief shallow, with gently compressed-looking edges and subtle grain; the feather should appear formed from the sheet itself rather than attached as a separate object.

4. Composition
Keep the entire relief inside an uninterrupted field of blank paper, with clear space around the tip and quill. Use the lower-left to upper-right diagonal as the main visual movement, and retain enough nearby flat paper for the tiny cast shadows to remain readable.

PRIORITY
Preserve the requested identity, count, action, composition and output settings. Apply the style rules within those constraints; a style reference must not replace the subject or layout. Within the style: Prioritize a readable feather made visible by shallow paper relief and consistent directional light.

AVOID
Avoid colored outlines, metallic shine, deep sculptural carving, and a detached feather floating above the sheet.

OUTPUT
Create one portrait image in a 4:5 aspect ratio, with no lettering, captions, logos, or watermark.

SELF-CHECK
Check that the paper surface continues through the feather and every raised edge follows the same upper-left light direction.
Model information comes from image provenance. The same prompt may produce a different result.