Text to imageArt stylesStyle guide
One Green Watering Can · Halftone Dot-Size Shading
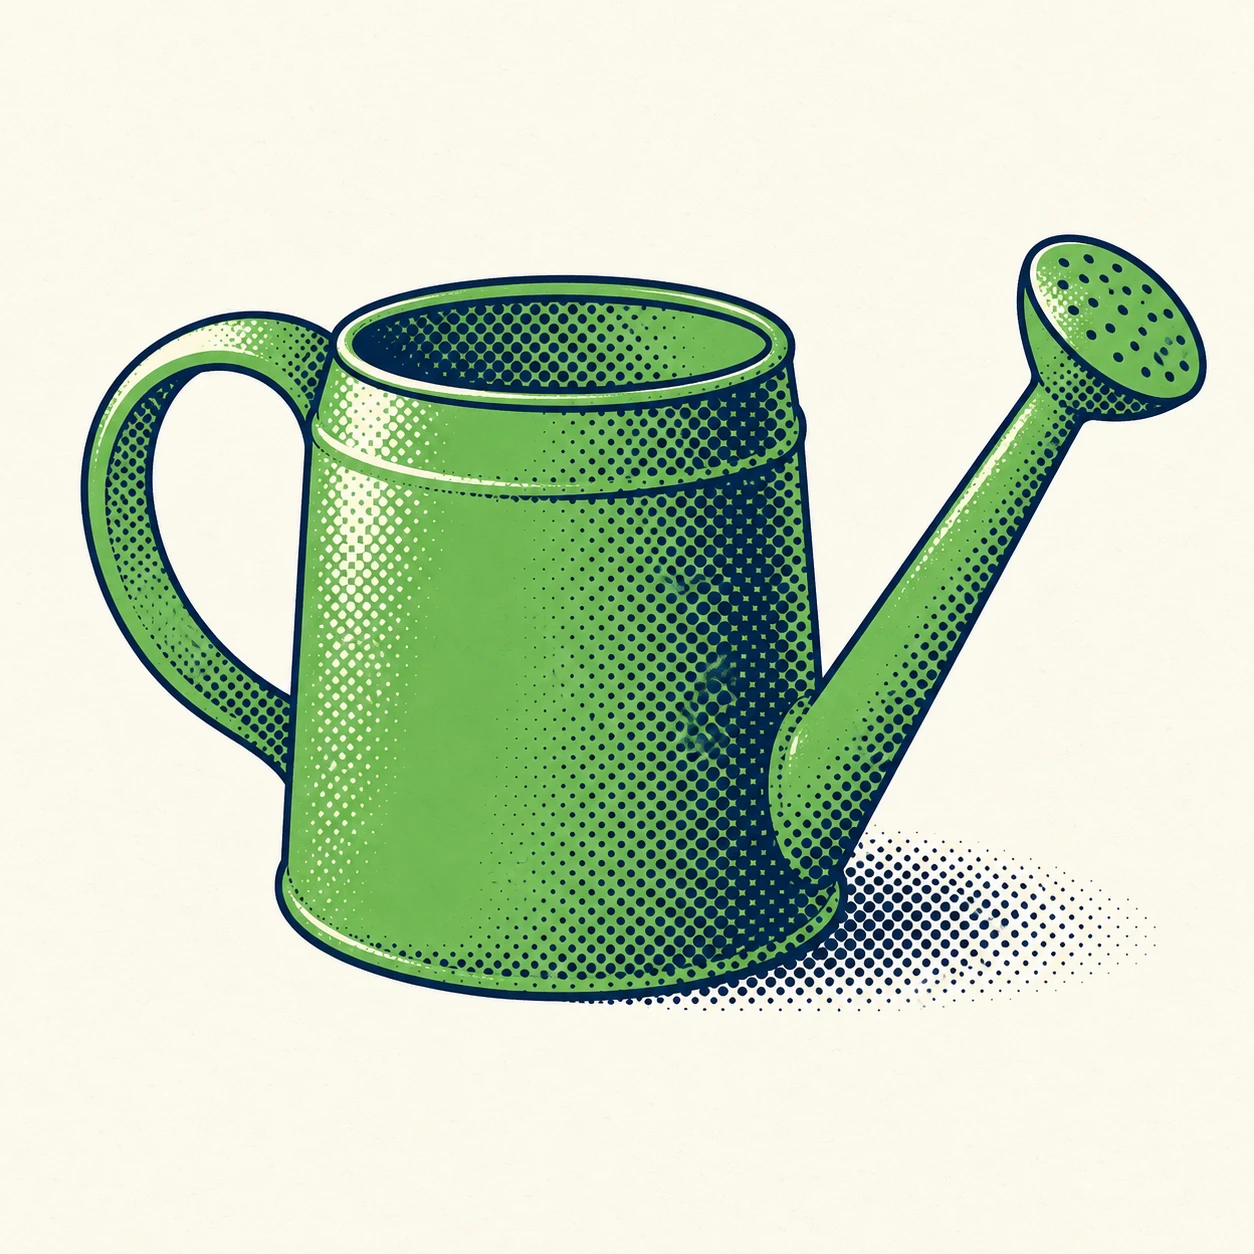
A print-style image that models a watering can’s rounded body and shadows by varying dot size on an evenly spaced halftone grid.
One Green Watering Can · Halftone Dot-Size Shading
- Shape & line
- Construct the body, handle, and spout with simplified curved shapes and a consistent dark navy outline. Keep the handle opening clearly visible, and use a tilted oval for the top rim so the can reads as a solid vessel.
- Color & light
- Lay a flat leaf-green base beneath navy halftone shading. Place the light on image-upper-left: reserve an ivory highlight along the upper-left body, enlarge shadow dots toward the image-right side and underside, and extend a compact dotted cast shadow onto the ground at lower-right.
- Texture & material
- Build the halftone from crisp circular dots on one evenly spaced diagonal grid. Change dot diameter rather than spacing to shift tone, progressing from small isolated dots to large nearly touching dots; keep the flat ink areas clean and add only a faint paper grain.
- Composition
- Let the can occupy roughly the middle two-thirds of the frame. Separate the image-left handle opening and image-right spout from the body silhouette with readable ivory gaps, and confine the dot grid to the shaded forms and cast shadow so the surrounding ground stays quiet.
Priority
Make dot-size changes the clearest source of tonal modeling.
What to avoid & what to check
Avoid random stippling, soft gradient shading, and multicolored pointillist dots.
Check that the dots retain regular spacing while growing larger toward the shadowed image-right side.
Exact prompt for this example
SUBJECT
Show exactly one green watering can with a rounded cylindrical body, an arched handle attached on image-left, and a long spout extending upward toward image-right. Connect the spout visibly to the lower body and finish it with a small oval sprinkler head.

COMPOSITION
Use a slightly elevated three-quarter view that reveals the top opening and curved front wall. Center the complete watering can on a plain warm ivory ground, with generous margins around the handle and sprinkler head.

STYLE GUIDE
1. Shape & line
Construct the body, handle, and spout with simplified curved shapes and a consistent dark navy outline. Keep the handle opening clearly visible, and use a tilted oval for the top rim so the can reads as a solid vessel.

2. Color & light
Lay a flat leaf-green base beneath navy halftone shading. Place the light on image-upper-left: reserve an ivory highlight along the upper-left body, enlarge shadow dots toward the image-right side and underside, and extend a compact dotted cast shadow onto the ground at lower-right.

3. Texture & material
Build the halftone from crisp circular dots on one evenly spaced diagonal grid. Change dot diameter rather than spacing to shift tone, progressing from small isolated dots to large nearly touching dots; keep the flat ink areas clean and add only a faint paper grain.

4. Composition
Let the can occupy roughly the middle two-thirds of the frame. Separate the image-left handle opening and image-right spout from the body silhouette with readable ivory gaps, and confine the dot grid to the shaded forms and cast shadow so the surrounding ground stays quiet.

PRIORITY
Preserve the requested identity, count, action, composition and output settings. Apply the style rules within those constraints; a style reference must not replace the subject or layout. Within the style: Make dot-size changes the clearest source of tonal modeling.

AVOID
Avoid random stippling, soft gradient shading, and multicolored pointillist dots.

OUTPUT
Create one square image, aspect ratio 1:1, with no lettering, labels, numbers, logos, or watermark.

SELF-CHECK
Check that the dots retain regular spacing while growing larger toward the shadowed image-right side.
Model information comes from image provenance. The same prompt may produce a different result.