Text to imageArt stylesStyle guide
One Acorn · Blind Paper Embossing
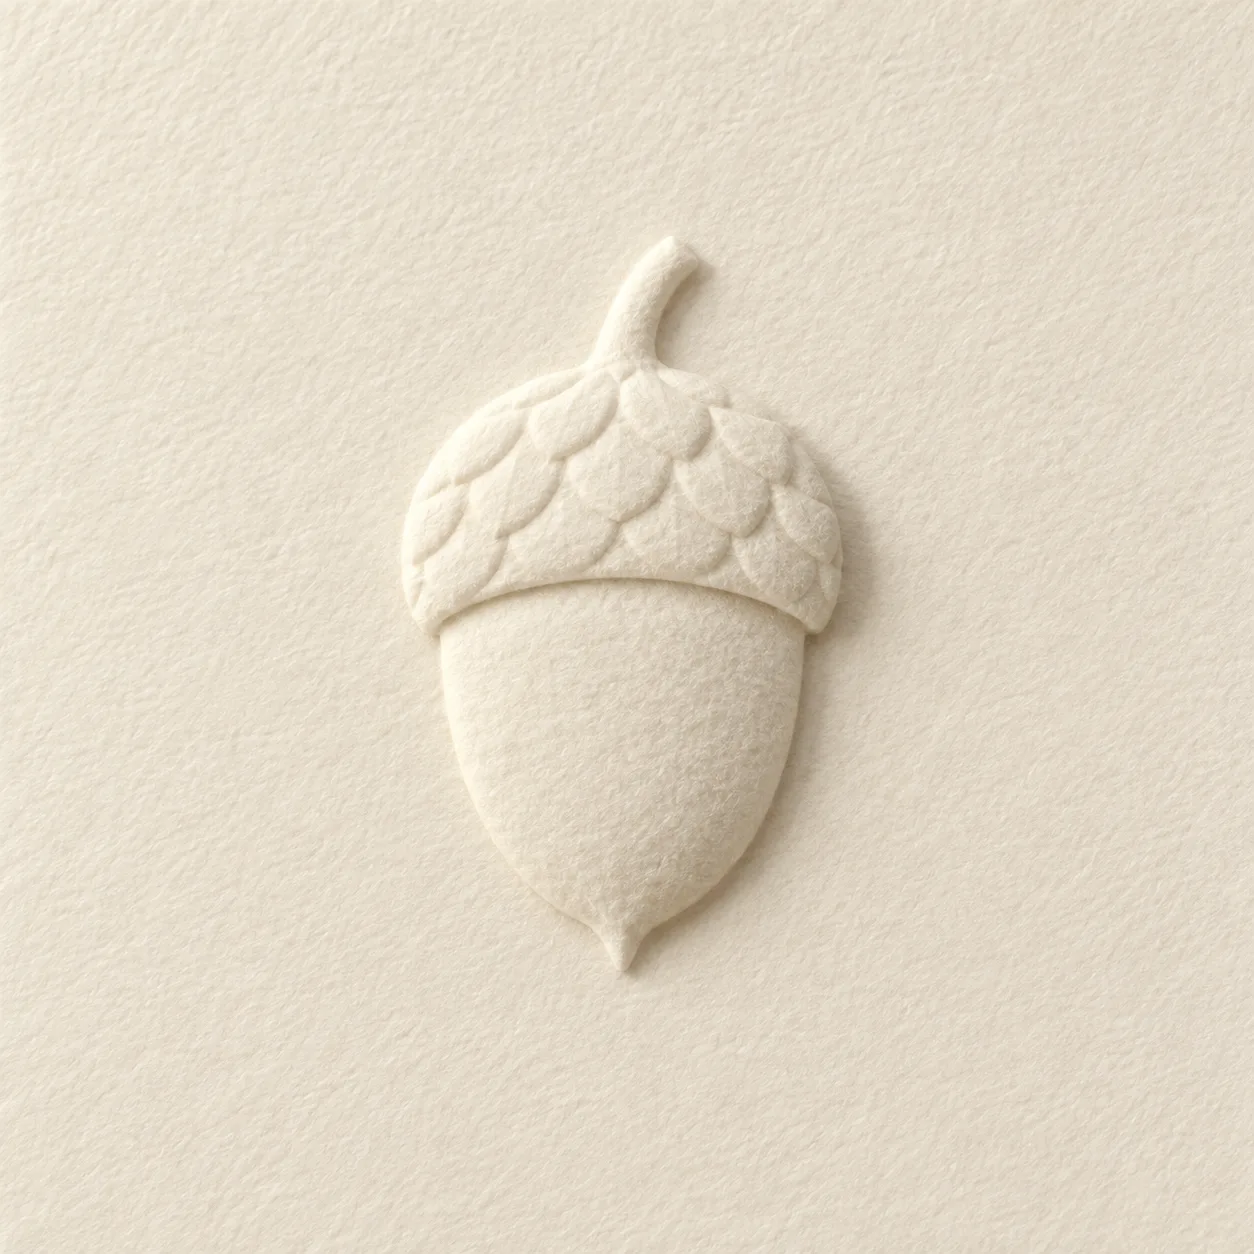
A style reference that distinguishes an acorn’s nut and cap using raised paper forms and shallow shadows without ink.
One Acorn · Blind Paper Embossing
- Shape & line
- Build the acorn from shallow raised paper forms: give the nut a smooth taper ending in a small point, separate the overlapping cap with a curved relief seam, and form its scales as a few broad interlocking arcs rather than drawn outlines.
- Color & light
- Keep every surface the same warm ivory. Send low, soft light from image-left across the sheet so left-facing raised edges brighten and right-facing edges cast short gray shadows onto the adjacent paper; use these paired edges to reveal the relief.
- Texture & material
- Render matte, softly fibrous paper with gently compressed relief edges. Preserve the paper grain across both the raised acorn and the flat surrounding sheet, keeping the embossing shallow enough to read as shaped paper rather than a separate attached object.
- Composition
- Let the acorn occupy roughly half the image height and keep its stem, cap and tip fully visible. Leave uninterrupted blank paper on all sides, and make the cap seam the strongest internal relief boundary so the silhouette and overlap remain legible at a glance.
Priority
Prioritize continuous paper relief and readable edge shadows.
What to avoid & what to check
Avoid ink outlines, colored fills and deep sculptural relief.
Check that one acorn emerges from the sheet through left-lit edges and short rightward shadows.
Exact prompt for this example
SUBJECT
Show exactly one acorn as a blind-embossed motif in a single sheet of ivory paper. Its rounded cap overlaps the upper third of the tapered nut, and a short stem rises from the cap.

COMPOSITION
Use a square, nearly overhead view with the entire paper sheet filling the frame. Center the upright acorn with generous blank paper around it; keep the raised contours and their shallow shadows clearly readable.

STYLE GUIDE
1. Shape & line
Build the acorn from shallow raised paper forms: give the nut a smooth taper ending in a small point, separate the overlapping cap with a curved relief seam, and form its scales as a few broad interlocking arcs rather than drawn outlines.

2. Color & light
Keep every surface the same warm ivory. Send low, soft light from image-left across the sheet so left-facing raised edges brighten and right-facing edges cast short gray shadows onto the adjacent paper; use these paired edges to reveal the relief.

3. Texture & material
Render matte, softly fibrous paper with gently compressed relief edges. Preserve the paper grain across both the raised acorn and the flat surrounding sheet, keeping the embossing shallow enough to read as shaped paper rather than a separate attached object.

4. Composition
Let the acorn occupy roughly half the image height and keep its stem, cap and tip fully visible. Leave uninterrupted blank paper on all sides, and make the cap seam the strongest internal relief boundary so the silhouette and overlap remain legible at a glance.

PRIORITY
Preserve the requested identity, count, action, composition and output settings. Apply the style rules within those constraints; a style reference must not replace the subject or layout. Within the style: Prioritize continuous paper relief and readable edge shadows.

AVOID
Avoid ink outlines, colored fills and deep sculptural relief.

OUTPUT
One square image showing a finished paper artwork, with no text, lettering, border graphics or watermark.

SELF-CHECK
Check that one acorn emerges from the sheet through left-lit edges and short rightward shadows.
Model information comes from image provenance. The same prompt may produce a different result.