Text to imageArt stylesStyle guide
One Strawberry · Risograph Registration Offset
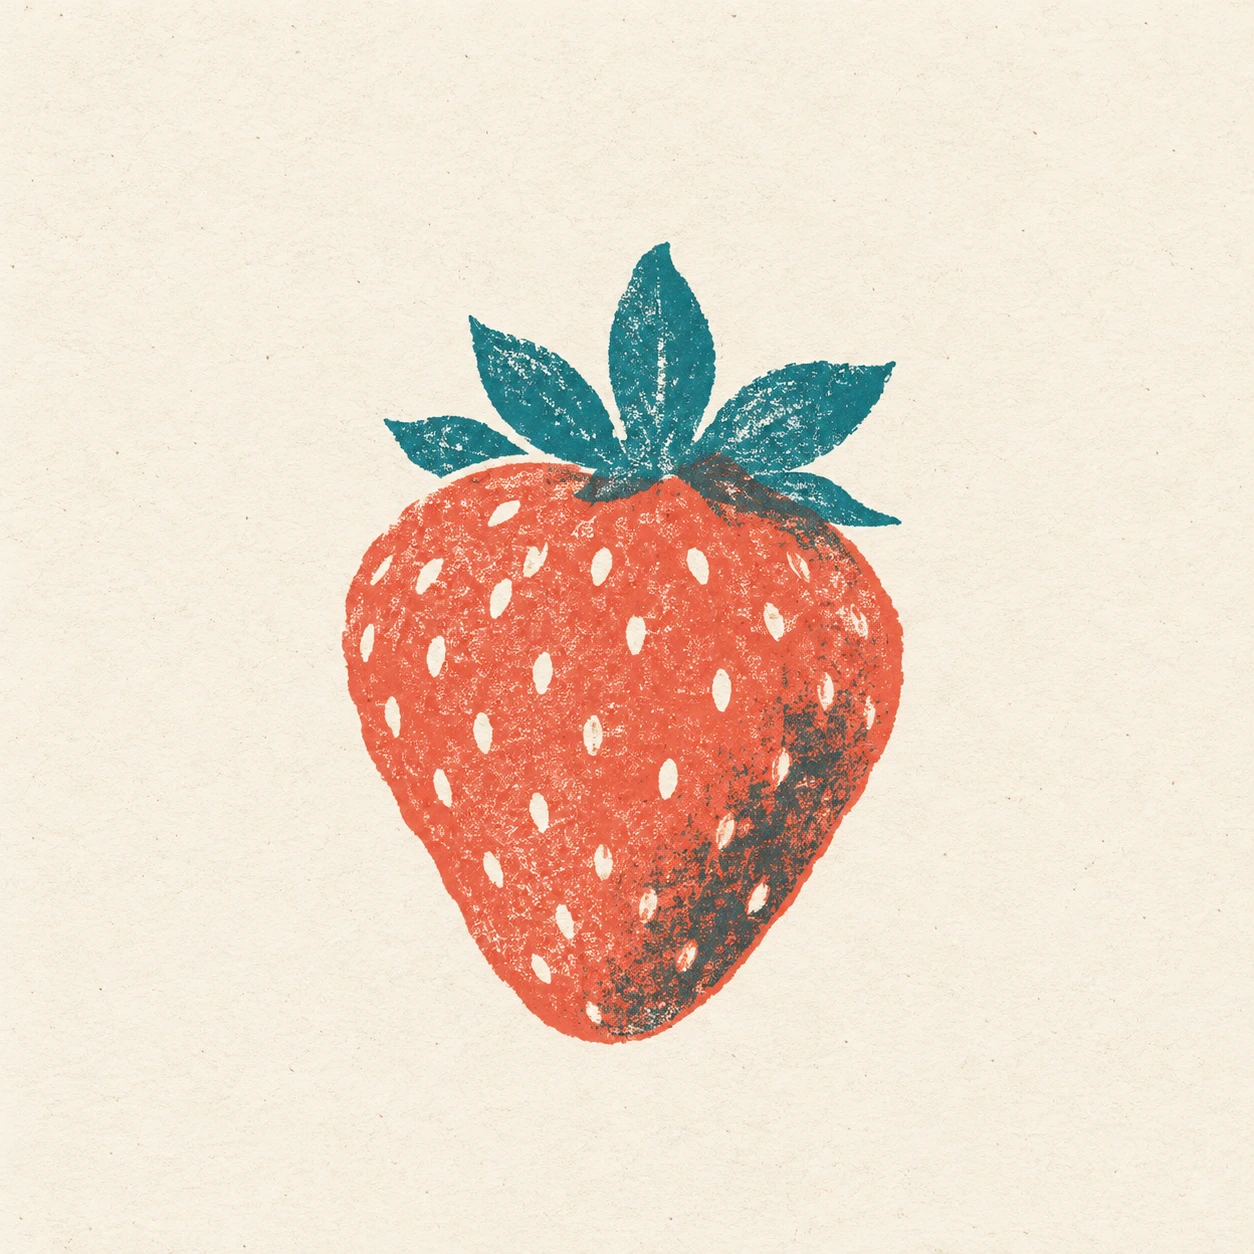
Slightly offset coral fruit and teal leaf layers reveal paper slivers and overlapping ink edges characteristic of risograph printing.
One Strawberry · Risograph Registration Offset
- Shape & line
- Build the fruit from one rounded triangular silhouette with gently uneven edges, and shape the crown into a few broad pointed leaves. Reserve short seed-shaped paper gaps inside the coral body; keep their spacing loose and avoid a continuous outline around the strawberry.
- Color & light
- Use flat coral and teal inks on warm ivory paper. Place a sparse teal shadow patch inside the fruit's image-right lower edge, where its overlap with coral becomes a darker muted color; let exposed paper supply the brightest marks instead of painted white highlights.
- Texture & material
- Give both ink layers fine, irregular porous grain with occasional small paper flecks. Shift the entire teal layer slightly toward image-right relative to the coral layer, so the leaf–fruit junction shows a thin exposed-paper sliver on its left and a darker overlap on its right; keep the offset small enough that the crown still reads as attached.
- Composition
- Keep the strawberry large enough for its seed gaps, porous ink, and offset junction to remain visible together. Leave the surrounding paper open, distribute the crown asymmetrically without tilting the fruit, and concentrate the strongest color overlap near the crown and lower-right fruit edge.
Priority
Prioritize a readable strawberry and visibly offset ink layers at the attached crown.
What to avoid & what to check
Avoid glossy rendering, smooth digital gradients, and offsets that detach the leaves.
Check that the teal shift creates a paper sliver on the junction's left and a darker overlap on its right.
Exact prompt for this example
SUBJECT
Show exactly one ripe strawberry with a squat, tapered body and a small crown of pointed leaves attached at the top. Use a coral ink layer for the fruit and a teal ink layer for the leaves and sparse shadow accents.

COMPOSITION
Present the complete strawberry upright in a simple frontal view, centered slightly below the middle of a warm ivory square sheet. Keep generous blank margins and make the junction between leaves and fruit easy to inspect.

STYLE GUIDE
1. Shape & line
Build the fruit from one rounded triangular silhouette with gently uneven edges, and shape the crown into a few broad pointed leaves. Reserve short seed-shaped paper gaps inside the coral body; keep their spacing loose and avoid a continuous outline around the strawberry.

2. Color & light
Use flat coral and teal inks on warm ivory paper. Place a sparse teal shadow patch inside the fruit's image-right lower edge, where its overlap with coral becomes a darker muted color; let exposed paper supply the brightest marks instead of painted white highlights.

3. Texture & material
Give both ink layers fine, irregular porous grain with occasional small paper flecks. Shift the entire teal layer slightly toward image-right relative to the coral layer, so the leaf–fruit junction shows a thin exposed-paper sliver on its left and a darker overlap on its right; keep the offset small enough that the crown still reads as attached.

4. Composition
Keep the strawberry large enough for its seed gaps, porous ink, and offset junction to remain visible together. Leave the surrounding paper open, distribute the crown asymmetrically without tilting the fruit, and concentrate the strongest color overlap near the crown and lower-right fruit edge.

PRIORITY
Preserve the requested identity, count, action, composition and output settings. Apply the style rules within those constraints; a style reference must not replace the subject or layout. Within the style: Prioritize a readable strawberry and visibly offset ink layers at the attached crown.

AVOID
Avoid glossy rendering, smooth digital gradients, and offsets that detach the leaves.

OUTPUT
Create one square image resembling a scanned two-ink risograph print on uncoated paper, with no text, lettering, border, or watermark.

SELF-CHECK
Check that the teal shift creates a paper sliver on the junction's left and a darker overlap on its right.
Model information comes from image provenance. The same prompt may produce a different result.