Text to imageArt stylesStyle guide
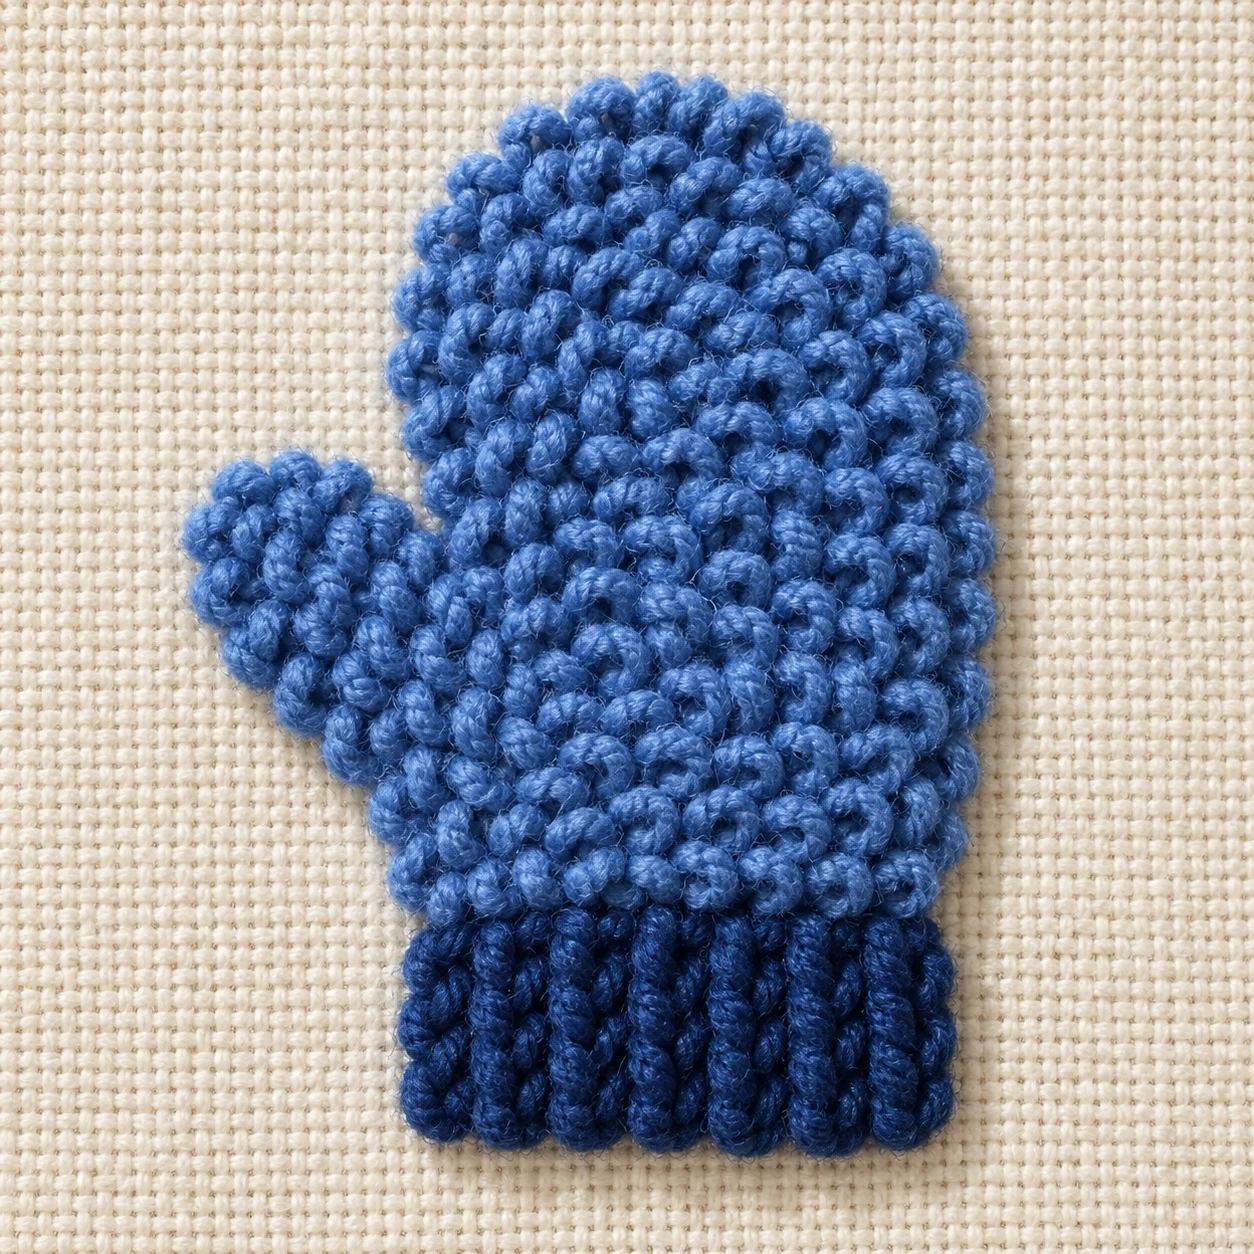
One Blue Mitten · Punch-Needle Embroidery
A punch-needle embroidery style that builds a mitten silhouette from dense yarn loops arranged in changing row directions.
One Blue Mitten · Punch-Needle Embroidery
- Shape & line
- Build the rounded hand and image-left thumb as a continuous silhouette of tightly packed loop rows; turn the rows around the thumb junction and let the outermost loops form a softly scalloped edge without a drawn outline.
- Color & light
- Use medium blue yarn for the hand and darker blue for the cuff; light from image-upper-left so loop tops catch pale highlights and small shadows collect on their lower-right sides and along the motif's contact with the cloth.
- Texture & material
- Show rounded, fuzzy yarn loops with visible openings in the foreground-facing surface; pack them densely enough to hide the cloth within the motif, while leaving the surrounding cream weave exposed and flatter than the raised stitching.
- Composition
- Keep the whole motif readable within the square frame; arrange the hand's loop rows in broad curves and the bottom cuff's rows in short vertical tracks, making the change of stitch direction visible at their shared boundary.
Priority
Prioritize the raised loop structure and the visible change of row direction at the cuff.
What to avoid & what to check
Avoid smooth felt fills, flat printed texture, and glossy plastic strands.
Check that the left thumb reads clearly and that individual loops cast small shadows onto neighboring loops and cloth.
Exact prompt for this example
SUBJECT
One blue mitten motif made from punch-needle yarn loops on cream woven cloth, with one thumb projecting toward image-left and a short ribbed cuff at the bottom; the motif is stitched flat into the cloth.

COMPOSITION
Use a close, nearly overhead view of the entire mitten motif, centered with a generous border of exposed cloth; keep the left thumb and bottom cuff clearly separated from the rounded hand shape.

STYLE GUIDE
1. Shape & line
Build the rounded hand and image-left thumb as a continuous silhouette of tightly packed loop rows; turn the rows around the thumb junction and let the outermost loops form a softly scalloped edge without a drawn outline.

2. Color & light
Use medium blue yarn for the hand and darker blue for the cuff; light from image-upper-left so loop tops catch pale highlights and small shadows collect on their lower-right sides and along the motif's contact with the cloth.

3. Texture & material
Show rounded, fuzzy yarn loops with visible openings in the foreground-facing surface; pack them densely enough to hide the cloth within the motif, while leaving the surrounding cream weave exposed and flatter than the raised stitching.

4. Composition
Keep the whole motif readable within the square frame; arrange the hand's loop rows in broad curves and the bottom cuff's rows in short vertical tracks, making the change of stitch direction visible at their shared boundary.

PRIORITY
Preserve the requested identity, count, action, composition and output settings. Apply the style rules within those constraints; a style reference must not replace the subject or layout. Within the style: Prioritize the raised loop structure and the visible change of row direction at the cuff.

AVOID
Avoid smooth felt fills, flat printed texture, and glossy plastic strands.

OUTPUT
Create one square image with no lettering, labels, signature, or watermark.

SELF-CHECK
Check that the left thumb reads clearly and that individual loops cast small shadows onto neighboring loops and cloth.
Model information comes from image provenance. The same prompt may produce a different result.