Text to imageArt stylesStyle guide
One Fig · Pen Crosshatching
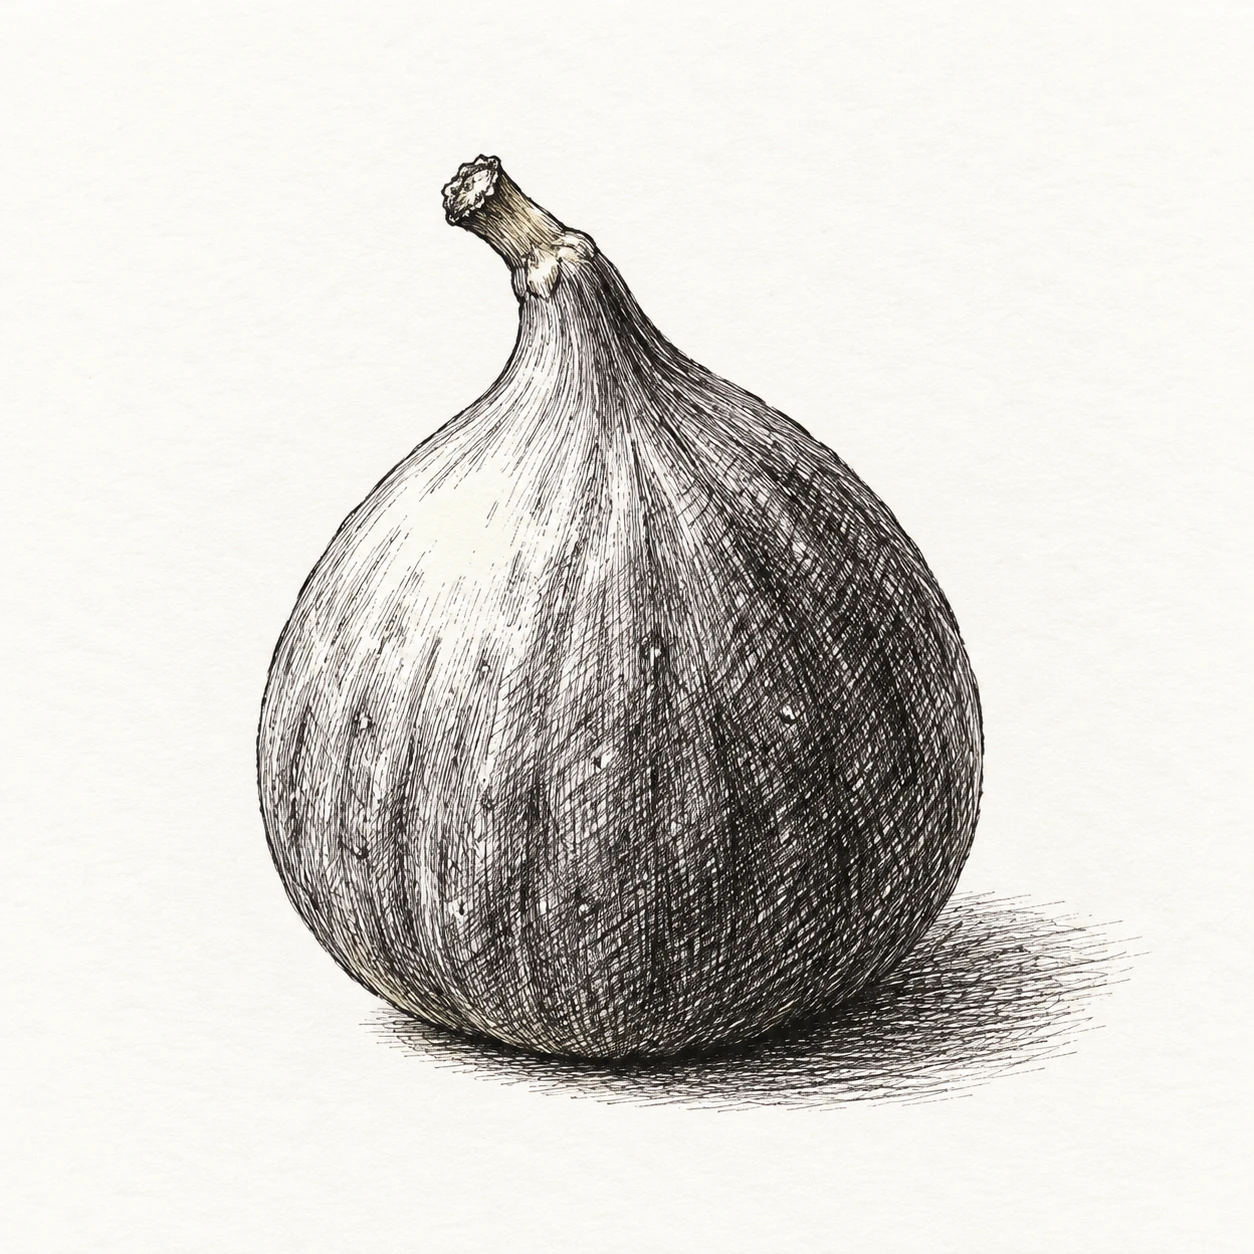
Build a fig’s rounded volume with curved pen strokes and overlapping hatch directions in the shadows.
One Fig · Pen Crosshatching
- Shape & line
- Draw the fig with a thin, slightly irregular outer contour, then curve the first hatch strokes around its swelling body; shorten and tighten those curves as they approach the narrow neck.
- Color & light
- Place the light at the image’s upper left and leave a broad paper-white highlight on the upper-left body. Add a second crossing hatch direction on the lower-right body to deepen the shadow, and extend a compact hatched cast shadow from the base toward image-right.
- Texture & material
- Keep individual ink strokes crisp and visibly separated by paper. Build darker values by layering crossing lines, preserving small white openings even in dense areas; use a few broken curved strokes to suggest the fig’s soft skin rather than shading with smudges or solid gray fills.
- Composition
- Let the fig occupy roughly the middle half of the square, with its base below center and its stem pointing gently toward image-left. Keep the surrounding paper open, concentrating the densest marks on the lower-right body and directly beneath the base so the silhouette remains easy to read.
Priority
Make curved hatching and its shadow-side crossings carry the fig’s volume.
What to avoid & what to check
Avoid uniform mesh hatching, blurred ink, and solid black shadow masses.
Check that the upper-left highlight stays open and crossing lines visibly deepen the lower-right shadow.
Exact prompt for this example
SUBJECT
One whole ripe fig with a short stem, a narrow neck, and a broad rounded base, resting upright on a plain surface.

COMPOSITION
Show the entire fig in a slightly elevated three-quarter view, centered with generous white margins; keep the stem and the small contact shadow clearly visible.

STYLE GUIDE
1. Shape & line
Draw the fig with a thin, slightly irregular outer contour, then curve the first hatch strokes around its swelling body; shorten and tighten those curves as they approach the narrow neck.

2. Color & light
Place the light at the image’s upper left and leave a broad paper-white highlight on the upper-left body. Add a second crossing hatch direction on the lower-right body to deepen the shadow, and extend a compact hatched cast shadow from the base toward image-right.

3. Texture & material
Keep individual ink strokes crisp and visibly separated by paper. Build darker values by layering crossing lines, preserving small white openings even in dense areas; use a few broken curved strokes to suggest the fig’s soft skin rather than shading with smudges or solid gray fills.

4. Composition
Let the fig occupy roughly the middle half of the square, with its base below center and its stem pointing gently toward image-left. Keep the surrounding paper open, concentrating the densest marks on the lower-right body and directly beneath the base so the silhouette remains easy to read.

PRIORITY
Preserve the requested identity, count, action, composition and output settings. Apply the style rules within those constraints; a style reference must not replace the subject or layout. Within the style: Make curved hatching and its shadow-side crossings carry the fig’s volume.

AVOID
Avoid uniform mesh hatching, blurred ink, and solid black shadow masses.

OUTPUT
Create one square image of a black-ink drawing on warm-white paper, with no lettering, labels, border, or watermark.

SELF-CHECK
Check that the upper-left highlight stays open and crossing lines visibly deepen the lower-right shadow.
Model information comes from image provenance. The same prompt may produce a different result.