Text to imageIllustrationStyle guide
One Upright Eraser · Progressive Shadow Softening
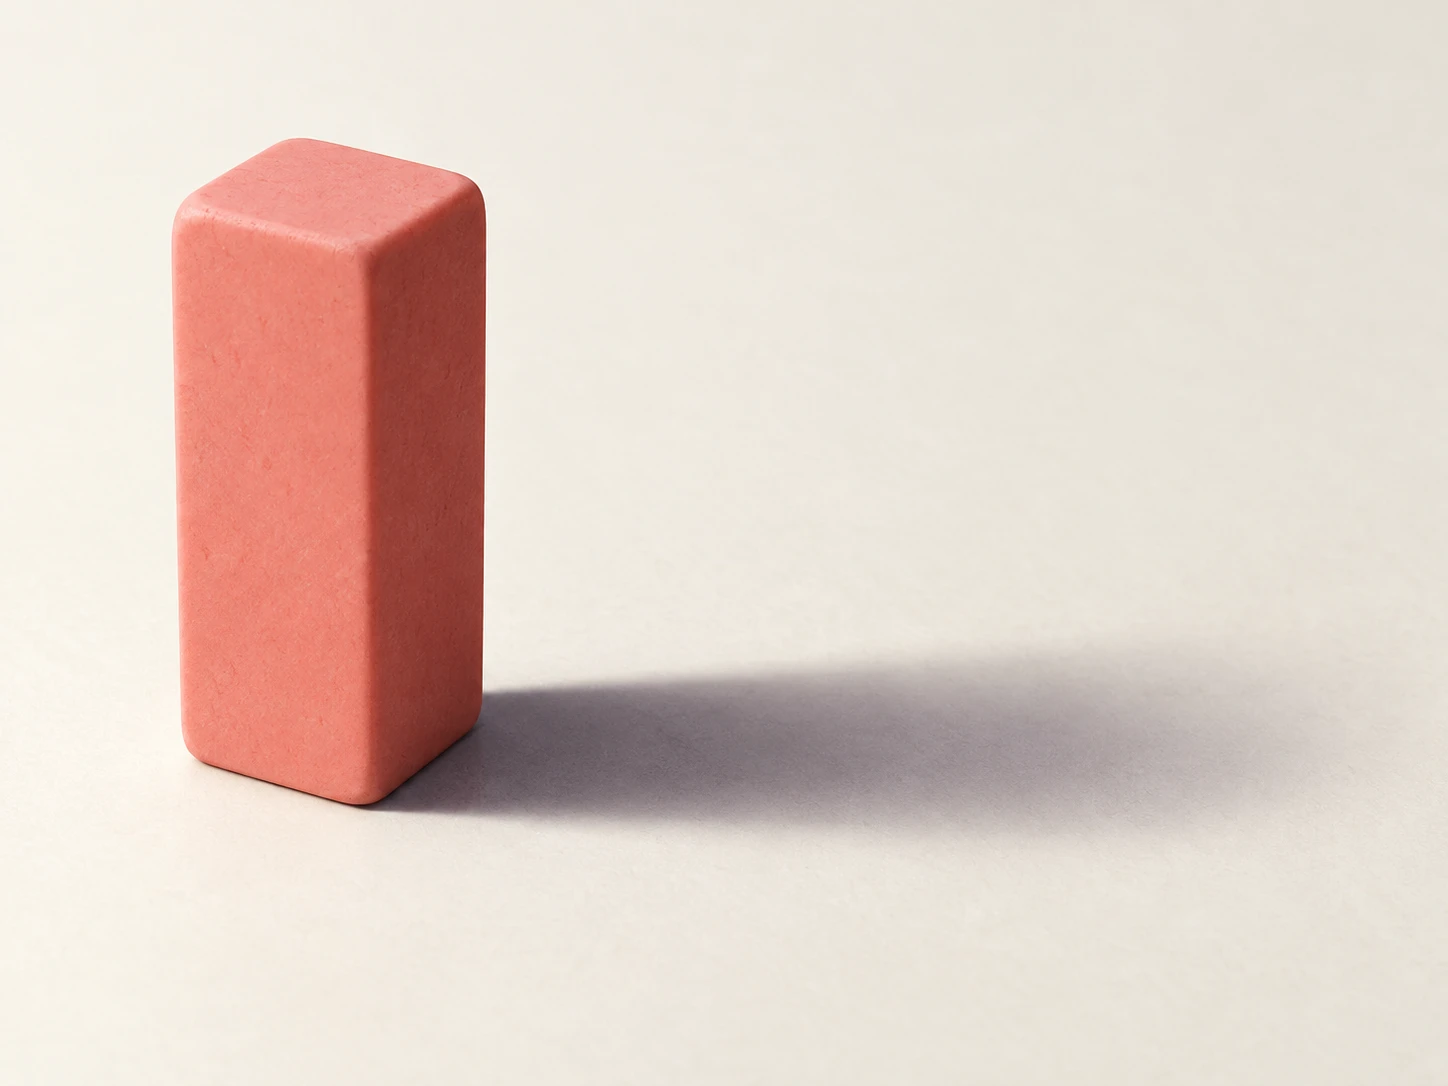
A simple illustration showing a crisp shadow at an eraser’s base becoming softer as it extends to the right.
One Upright Eraser · Progressive Shadow Softening
- Shape & line
- Construct the eraser from a tall rectangular silhouette with gently rounded corners and three readable planes. Use clean shape boundaries instead of a heavy outline, and keep the base visibly seated on the tabletop.
- Color & light
- Place a broad light source above image-left, making the eraser’s image-left face pale coral and its image-right face deeper coral. Cast a muted violet-gray shadow from the base toward image-right; keep its root darkest and let its value gradually approach the ivory tabletop toward the tip.
- Texture & material
- Give the eraser a matte rubber surface with restrained, broad tonal variation. Keep the shadow boundary crisp where it meets the base, then widen the soft transition along both edges toward the distant right-hand tip; preserve a readable darker interior rather than blurring the entire shadow equally.
- Composition
- Keep the upright eraser and its complete rightward shadow together as the sole focal group. Show uninterrupted tabletop around the shadow so the sharp contact edge on image-left and the softer distant tip on image-right can be compared immediately.
Priority
Make the progression from crisp contact to soft distant shadow clearly visible.
What to avoid & what to check
Avoid detached shadows, uniformly blurred edges, and glossy rubber highlights.
Confirm that the shadow touches the base and becomes visibly softer toward image-right.
Exact prompt for this example
SUBJECT
One plain coral rectangular eraser standing upright on its short end on a matte ivory tabletop, with one connected cast shadow extending toward image-right.

COMPOSITION
Use a slightly elevated three-quarter view. Place the eraser left of center, show its top and two vertical faces, and leave generous room on image-right for the full shadow.

STYLE GUIDE
1. Shape & line
Construct the eraser from a tall rectangular silhouette with gently rounded corners and three readable planes. Use clean shape boundaries instead of a heavy outline, and keep the base visibly seated on the tabletop.

2. Color & light
Place a broad light source above image-left, making the eraser’s image-left face pale coral and its image-right face deeper coral. Cast a muted violet-gray shadow from the base toward image-right; keep its root darkest and let its value gradually approach the ivory tabletop toward the tip.

3. Texture & material
Give the eraser a matte rubber surface with restrained, broad tonal variation. Keep the shadow boundary crisp where it meets the base, then widen the soft transition along both edges toward the distant right-hand tip; preserve a readable darker interior rather than blurring the entire shadow equally.

4. Composition
Keep the upright eraser and its complete rightward shadow together as the sole focal group. Show uninterrupted tabletop around the shadow so the sharp contact edge on image-left and the softer distant tip on image-right can be compared immediately.

PRIORITY
Preserve the requested identity, count, action, composition and output settings. Apply the style rules within those constraints; a style reference must not replace the subject or layout. Within the style: Make the progression from crisp contact to soft distant shadow clearly visible.

AVOID
Avoid detached shadows, uniformly blurred edges, and glossy rubber highlights.

OUTPUT
Create one landscape 4:3 illustration without text, labels, borders, or watermarks.

SELF-CHECK
Confirm that the shadow touches the base and becomes visibly softer toward image-right.
Model information comes from image provenance. The same prompt may produce a different result.