Text to imageLandscapeStyle guide
Small Shore Rock · Wet-Surface Darkening
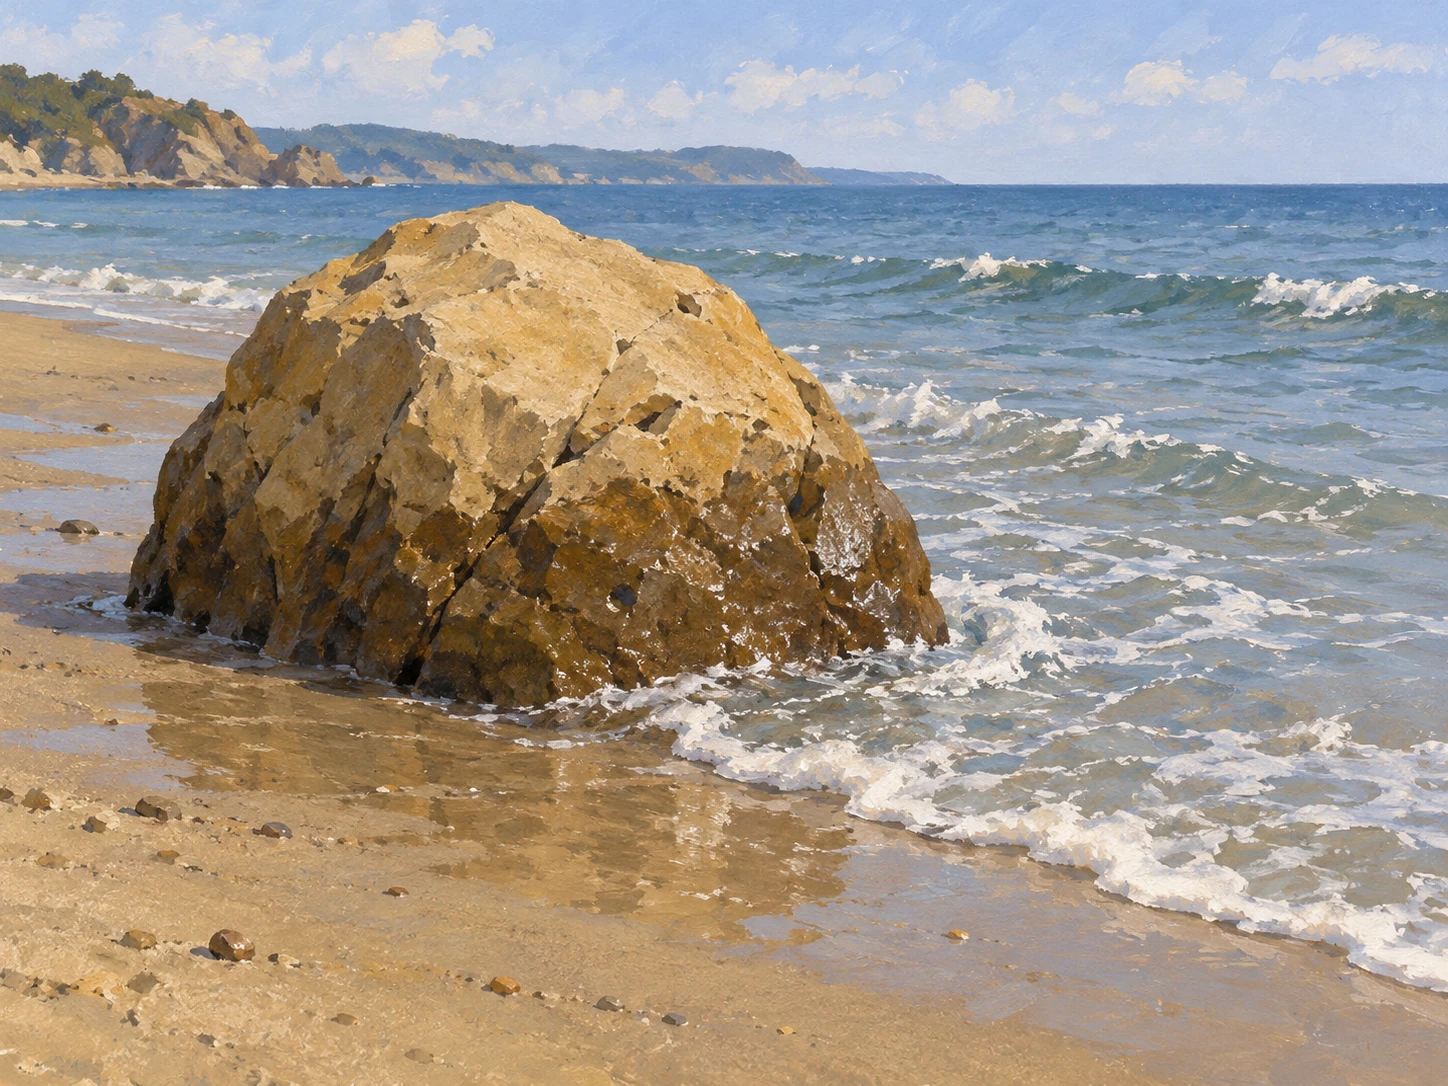
Show water contact on a shore rock by connecting its darker, wave-wetted base to its lighter, dry upper surface.
Small Shore Rock · Wet-Surface Darkening
- Shape & line
- Build the rock from a rounded, uneven silhouette and a few broad angular faces. Carry the same face edges through the wet and dry regions so the darker base reads as a surface change on one solid rock.
- Color & light
- Light the scene softly from image-upper-left. Paint the dry upper stone pale ochre and the wetted lower faces a deeper brown of the same hue family; let an irregular wet boundary rise above the wave's current contact line, with small pale reflections confined to wet faces.
- Texture & material
- Use opaque gouache with sparse broken brush marks on the dry stone. Make the wet stone smoother and less chalky while retaining a few shared pits across the boundary; paint the touching water as a thin translucent-looking blue-gray wash edged with interrupted cream foam.
- Composition
- Keep the rock large enough for its wet boundary to be legible. Show the wave from image-right overlapping the foot of the darkened face, and expose a short strip of damp sand on image-left where the water has receded; keep distant sea marks broad and quiet.
Priority
Make wet-surface darkening the clearest visual distinction.
What to avoid & what to check
Avoid making the wet boundary resemble a separate rock layer or a hard painted stripe.
Check that the wave touches the darker base and that stone features continue across the wet boundary.
Exact prompt for this example
SUBJECT
One squat ochre rock on a small sandy shore, with a shallow wave touching its lower face. The upper rock is dry; the lower rock is visibly wet, and both regions belong to the same continuous stone.

COMPOSITION
Use a low three-quarter view with the rock slightly left of center. Place open water on image-right and sand across the foreground; a thin wave approaches from image-right and wraps around the rock's base. Keep the horizon high enough to leave the wet boundary readable.

STYLE GUIDE
1. Shape & line
Build the rock from a rounded, uneven silhouette and a few broad angular faces. Carry the same face edges through the wet and dry regions so the darker base reads as a surface change on one solid rock.

2. Color & light
Light the scene softly from image-upper-left. Paint the dry upper stone pale ochre and the wetted lower faces a deeper brown of the same hue family; let an irregular wet boundary rise above the wave's current contact line, with small pale reflections confined to wet faces.

3. Texture & material
Use opaque gouache with sparse broken brush marks on the dry stone. Make the wet stone smoother and less chalky while retaining a few shared pits across the boundary; paint the touching water as a thin translucent-looking blue-gray wash edged with interrupted cream foam.

4. Composition
Keep the rock large enough for its wet boundary to be legible. Show the wave from image-right overlapping the foot of the darkened face, and expose a short strip of damp sand on image-left where the water has receded; keep distant sea marks broad and quiet.

PRIORITY
Preserve the requested identity, count, action, composition and output settings. Apply the style rules within those constraints; a style reference must not replace the subject or layout. Within the style: Make wet-surface darkening the clearest visual distinction.

AVOID
Avoid making the wet boundary resemble a separate rock layer or a hard painted stripe.

OUTPUT
Create one landscape-format 4:3 gouache illustration with no lettering, labels, border, or watermark.

SELF-CHECK
Check that the wave touches the darker base and that stone features continue across the wet boundary.
Model information comes from image provenance. The same prompt may produce a different result.