Text to imageSpace & architectureStyle guide
Small Room · Ceiling Cove Lighting
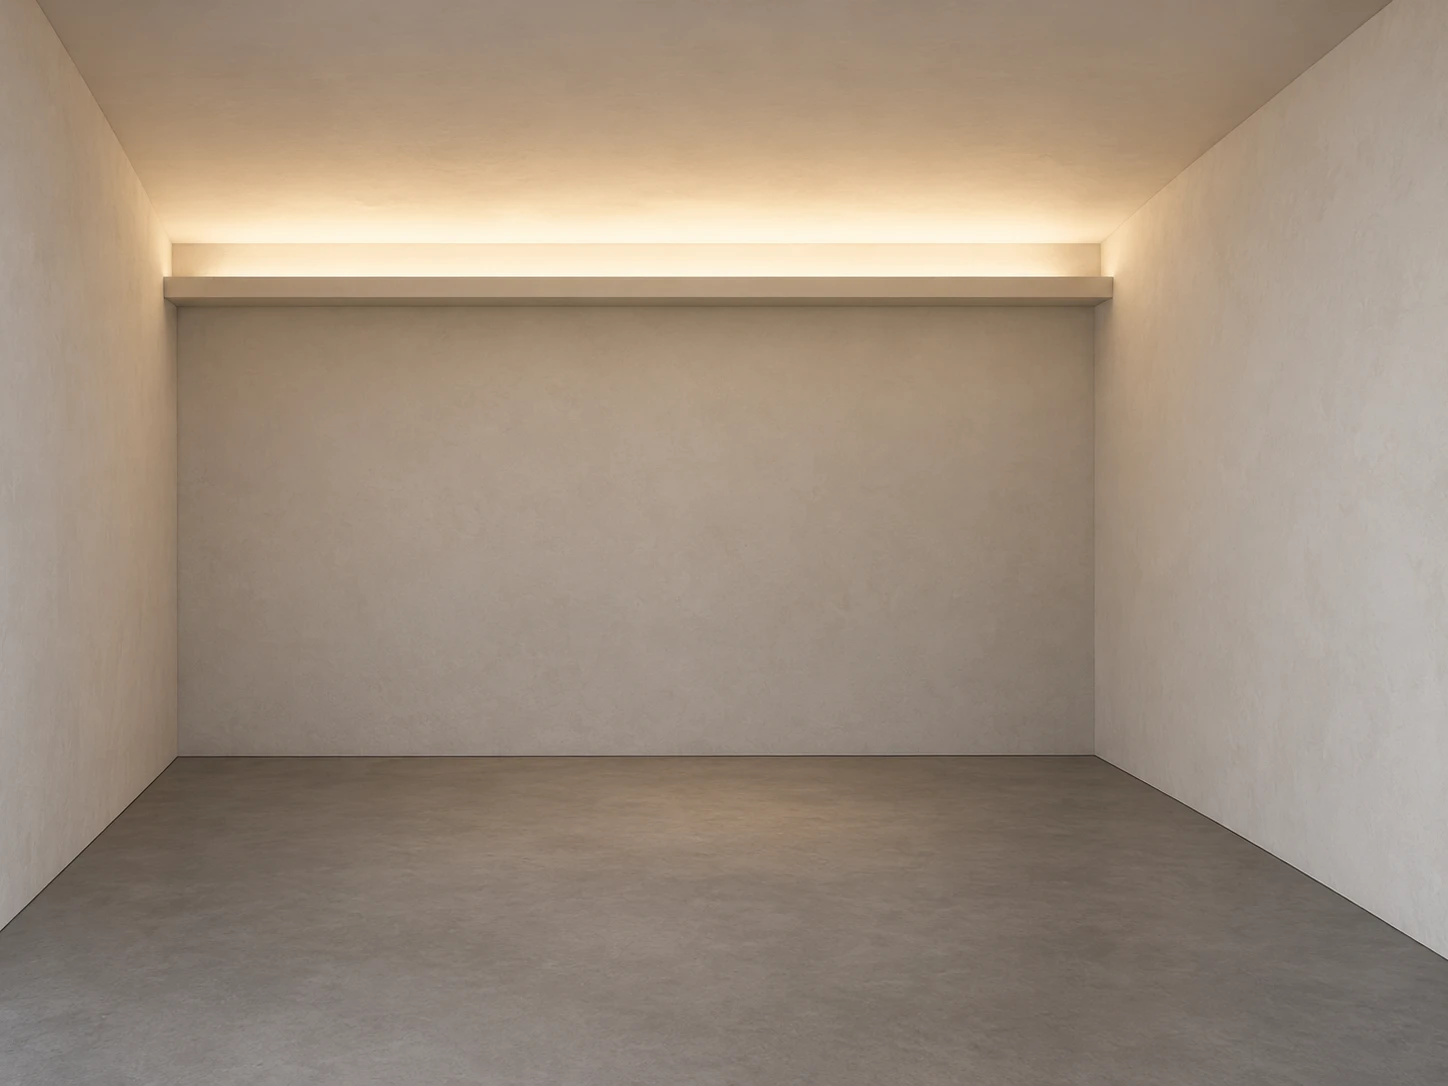
An architectural image using light spreading across a ceiling to reveal a concealed source and the depth of a small room.
Small Room · Ceiling Cove Lighting
- Shape & line
- Construct the room with straight vertical corners and coherent receding ceiling edges; give the back-wall cove a shallow horizontal recess and a clearly visible opaque lower lip that hides the source from the camera.
- Color & light
- Make the ceiling brightest immediately above the back-wall cove, then soften and dim the warm illumination toward the image foreground; keep the lip's underside darker and the walls gently lit by reflected light, so the ceiling receives the light rather than the recess becoming a glowing outline.
- Texture & material
- Render the plaster with restrained, broad surface variation and softly diffuse highlights; keep the gray floor matte with a faint broad light lift beneath the illuminated ceiling, preserving dark contact seams without mirror reflections.
- Composition
- Place the cove across the upper rear of the image with both ends visibly meeting the side walls; reserve a generous uninterrupted ceiling area in front of it, and keep the floor and wall planes simple so the ceiling's light gradient is the focal structure.
Priority
Prioritize a readable concealed-source relationship and a continuous ceiling light gradient.
What to avoid & what to check
Avoid exposed light strips, clipped white ceilings, and uniformly glowing cove borders.
Check that the lip hides the source and the ceiling visibly dims toward the foreground.
Exact prompt for this example
SUBJECT
One small empty rectangular room with pale plaster walls, a matte gray floor, and one continuous recessed lighting cove along the top of the back wall. The cove conceals its light source behind an opaque projecting lip and directs light upward onto the ceiling.

COMPOSITION
View from the open front of the room at standing eye level, slightly left of center. Show the entire back wall, a narrow portion of the image-left wall, a broader portion of the image-right wall, and enough ceiling to make the upward light spread readable.

STYLE GUIDE
1. Shape & line
Construct the room with straight vertical corners and coherent receding ceiling edges; give the back-wall cove a shallow horizontal recess and a clearly visible opaque lower lip that hides the source from the camera.

2. Color & light
Make the ceiling brightest immediately above the back-wall cove, then soften and dim the warm illumination toward the image foreground; keep the lip's underside darker and the walls gently lit by reflected light, so the ceiling receives the light rather than the recess becoming a glowing outline.

3. Texture & material
Render the plaster with restrained, broad surface variation and softly diffuse highlights; keep the gray floor matte with a faint broad light lift beneath the illuminated ceiling, preserving dark contact seams without mirror reflections.

4. Composition
Place the cove across the upper rear of the image with both ends visibly meeting the side walls; reserve a generous uninterrupted ceiling area in front of it, and keep the floor and wall planes simple so the ceiling's light gradient is the focal structure.

PRIORITY
Preserve the requested identity, count, action, composition and output settings. Apply the style rules within those constraints; a style reference must not replace the subject or layout. Within the style: Prioritize a readable concealed-source relationship and a continuous ceiling light gradient.

AVOID
Avoid exposed light strips, clipped white ceilings, and uniformly glowing cove borders.

OUTPUT
One architectural visualization, landscape 4:3 aspect ratio, with no text, labels, logos, or watermarks.

SELF-CHECK
Check that the lip hides the source and the ceiling visibly dims toward the foreground.
Model information comes from image provenance. The same prompt may produce a different result.