Text to imageProductStyle guide
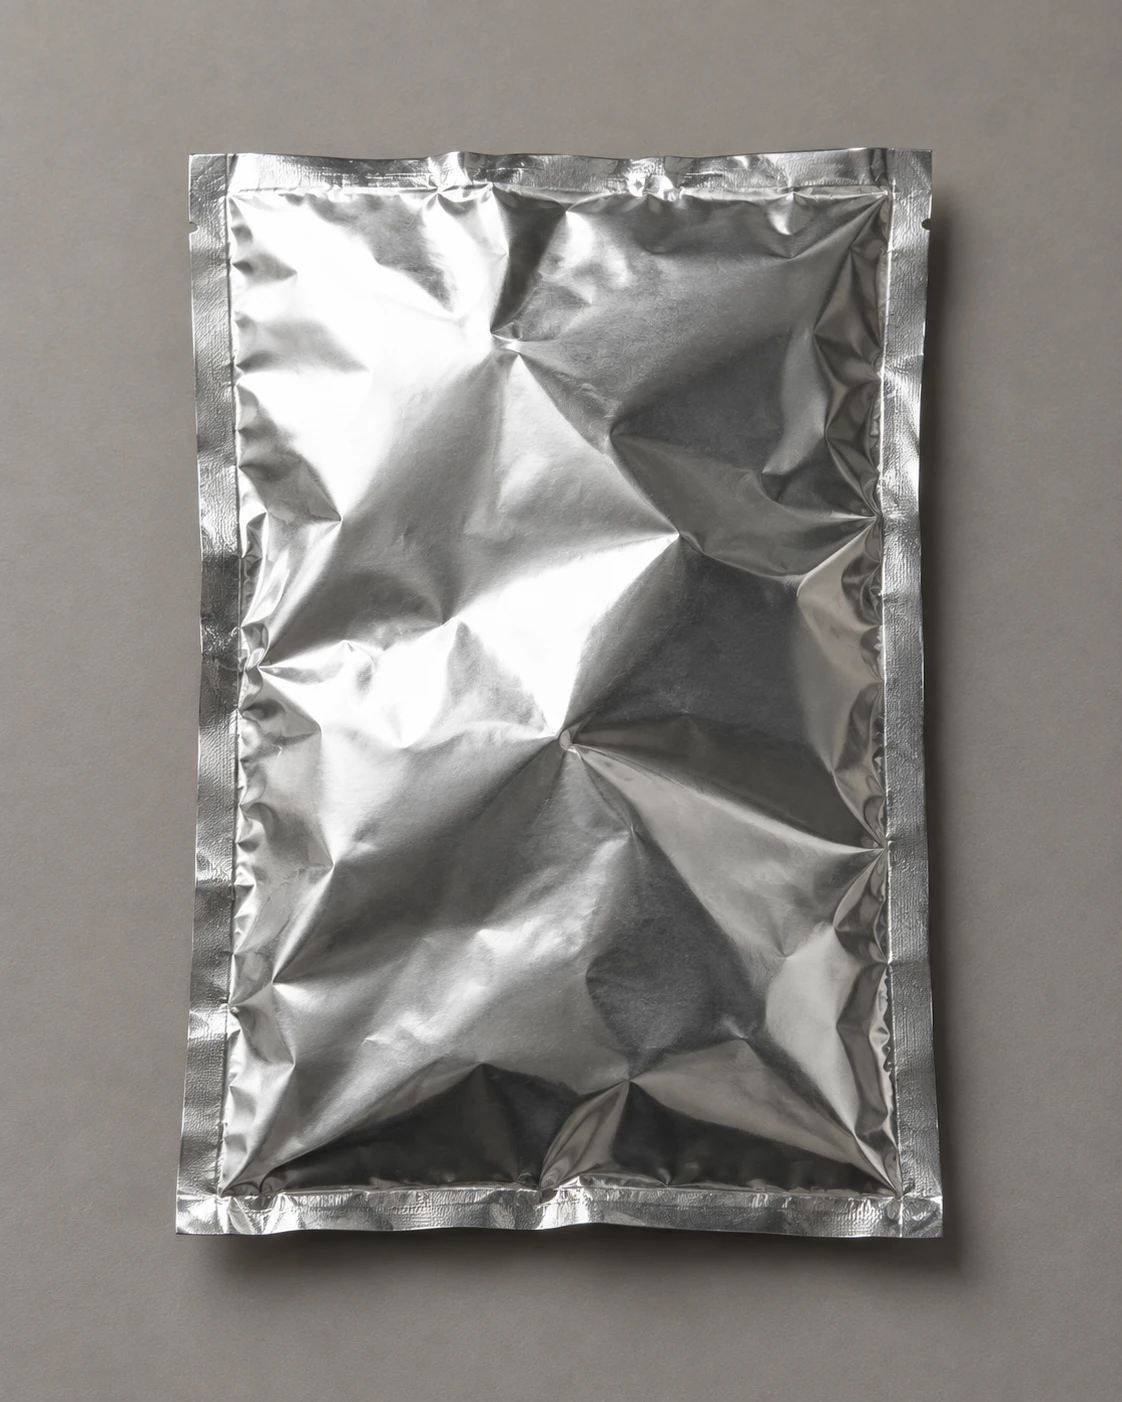
Silver Foil Pouch · Faceted Reflections
Separate bright and dark reflections across a silver pouch’s broad creases to reveal the character of thin metallic packaging.
Silver Foil Pouch · Faceted Reflections
- Shape & line
- Keep the pouch broadly rectangular with gently uneven edges; build its front from several large angular folds, using branching crease lines that end within the surface instead of dividing it into a regular geometric grid.
- Color & light
- Place a broad white studio light at image upper left: facets tilted toward it reflect bright white patches, while adjacent facets angled away reflect medium gray or charcoal. Let some neighboring planes jump abruptly in value rather than shading every fold with a smooth gradient.
- Texture & material
- Render thin reflective foil through sharp crease ridges, slightly softened reflected patches, and a few shallow dents between the major folds. Keep the flattened border quieter and smoother so the crumpled center reads as flexible metallic film.
- Composition
- Arrange the largest folds diagonally across the central face while leaving the full outer contour readable. Keep the matte background evenly subdued, and place a narrow contact shadow beneath the pouch that extends softly toward image lower right.
Priority
Make adjacent crease facets visibly differ in reflected brightness.
What to avoid & what to check
Avoid uniform chrome gradients, glitter-like noise, and rigid polygonal construction.
Check that the pouch reads as flexible foil and that bright patches follow its folded planes.
Exact prompt for this example
SUBJECT
One unbranded, sealed rectangular silver foil pouch lying flat, with broad irregular creases across its front and a narrow flattened border enclosing the pouch.

COMPOSITION
Use a close, slightly oblique overhead view on a matte warm-gray surface. Center the entire pouch with its long axis nearly vertical and generous space around every edge; show enough thickness and contact shadow to distinguish it from a flat printed rectangle.

STYLE GUIDE
1. Shape & line
Keep the pouch broadly rectangular with gently uneven edges; build its front from several large angular folds, using branching crease lines that end within the surface instead of dividing it into a regular geometric grid.

2. Color & light
Place a broad white studio light at image upper left: facets tilted toward it reflect bright white patches, while adjacent facets angled away reflect medium gray or charcoal. Let some neighboring planes jump abruptly in value rather than shading every fold with a smooth gradient.

3. Texture & material
Render thin reflective foil through sharp crease ridges, slightly softened reflected patches, and a few shallow dents between the major folds. Keep the flattened border quieter and smoother so the crumpled center reads as flexible metallic film.

4. Composition
Arrange the largest folds diagonally across the central face while leaving the full outer contour readable. Keep the matte background evenly subdued, and place a narrow contact shadow beneath the pouch that extends softly toward image lower right.

PRIORITY
Preserve the requested identity, count, action, composition and output settings. Apply the style rules within those constraints; a style reference must not replace the subject or layout. Within the style: Make adjacent crease facets visibly differ in reflected brightness.

AVOID
Avoid uniform chrome gradients, glitter-like noise, and rigid polygonal construction.

OUTPUT
Create one realistic studio product photograph in a 4:5 portrait aspect ratio, with no text, logos, labels, or watermark.

SELF-CHECK
Check that the pouch reads as flexible foil and that bright patches follow its folded planes.
Model information comes from image provenance. The same prompt may produce a different result.