Text to imageSpace & architectureStyle guide
Small Tiled Room · One-Point Floor Grid
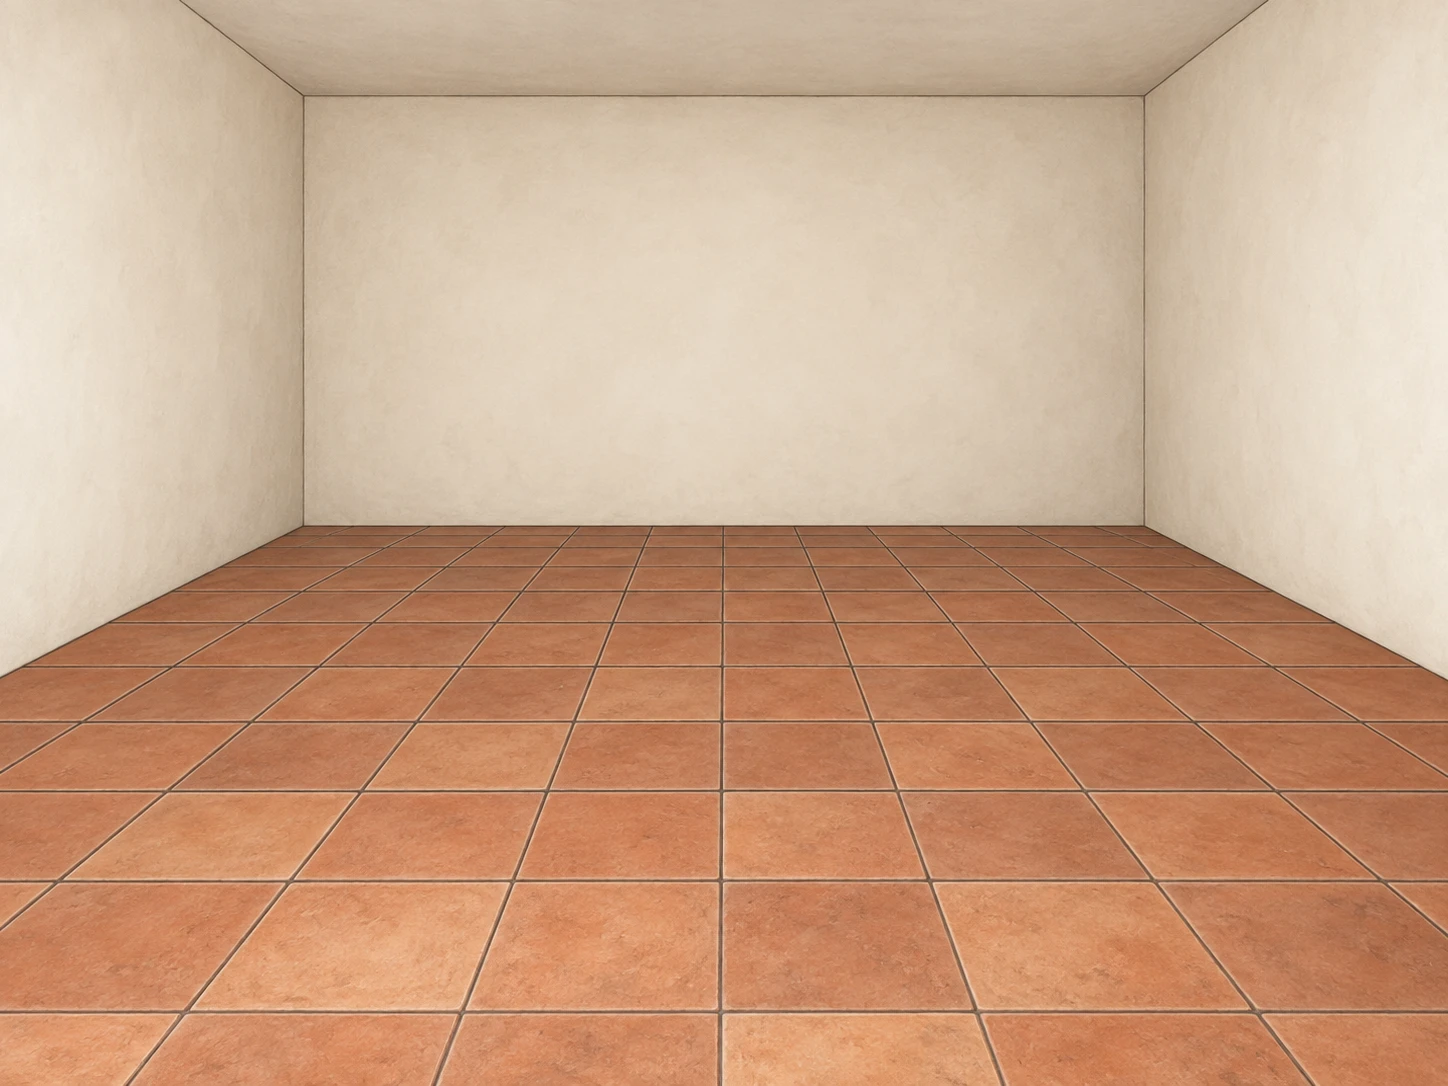
An architectural illustration that gives a small empty room depth through converging tile seams and progressively compressed rows.
Small Tiled Room · One-Point Floor Grid
- Shape & line
- Draw wall corners vertically and keep the rear wall's horizontal edges level. Direct every front-to-back floor seam toward the same central vanishing point; keep crosswise seams horizontal and compress their spacing progressively toward the rear wall so the tiles read as equal squares receding in depth.
- Color & light
- Use muted terracotta tiles and warm ivory walls under soft daylight entering from the open front. Keep the foreground floor gently brighter than the rear floor, with broad subdued shading at the wall junctions; maintain enough seam contrast to read the grid throughout.
- Texture & material
- Render the tiles as matte clay with slight tonal variation between neighboring squares and sparse soft mottling within them. Make plaster smoother than the floor, and reduce the visible size of tile texture toward the back together with the seam spacing.
- Composition
- Let several large foreground tiles enter through the bottom edge and lead uninterrupted to the rear wall. Balance the two side walls around the centered grid, keep the floor-to-wall junction fully visible, and leave the room empty so the converging seams remain the focal structure.
Priority
Prioritize a coherent single vanishing point and visibly compressed tile rows.
What to avoid & what to check
Avoid multiple seam convergence points, tilted verticals, and equally spaced rows in image depth.
Check that longitudinal seams meet at one point and successive rows narrow toward the rear wall.
Exact prompt for this example
SUBJECT
One small empty rectangular room with pale plaster walls, a flat ceiling, and a floor of equal square terracotta tiles. The floor meets one rear wall and two side walls; its continuous seam grid is the main depth cue.

COMPOSITION
Look straight toward the rear wall from the center of the open front, with a level camera and enough downward framing to make the floor occupy the lower half. Place the single vanishing point at the horizontal center of the rear wall, above the floor junction. Include both side walls and a narrow strip of ceiling.

STYLE GUIDE
1. Shape & line
Draw wall corners vertically and keep the rear wall's horizontal edges level. Direct every front-to-back floor seam toward the same central vanishing point; keep crosswise seams horizontal and compress their spacing progressively toward the rear wall so the tiles read as equal squares receding in depth.

2. Color & light
Use muted terracotta tiles and warm ivory walls under soft daylight entering from the open front. Keep the foreground floor gently brighter than the rear floor, with broad subdued shading at the wall junctions; maintain enough seam contrast to read the grid throughout.

3. Texture & material
Render the tiles as matte clay with slight tonal variation between neighboring squares and sparse soft mottling within them. Make plaster smoother than the floor, and reduce the visible size of tile texture toward the back together with the seam spacing.

4. Composition
Let several large foreground tiles enter through the bottom edge and lead uninterrupted to the rear wall. Balance the two side walls around the centered grid, keep the floor-to-wall junction fully visible, and leave the room empty so the converging seams remain the focal structure.

PRIORITY
Preserve the requested identity, count, action, composition and output settings. Apply the style rules within those constraints; a style reference must not replace the subject or layout. Within the style: Prioritize a coherent single vanishing point and visibly compressed tile rows.

AVOID
Avoid multiple seam convergence points, tilted verticals, and equally spaced rows in image depth.

OUTPUT
Create one 4:3 architectural illustration with clean drawn edges and restrained painted shading. Include no text, labels, dimensions, or watermark.

SELF-CHECK
Check that longitudinal seams meet at one point and successive rows narrow toward the rear wall.
Model information comes from image provenance. The same prompt may produce a different result.