Text to imageProductStyle guide
One Blue Eraser · Beveled Edge Shading
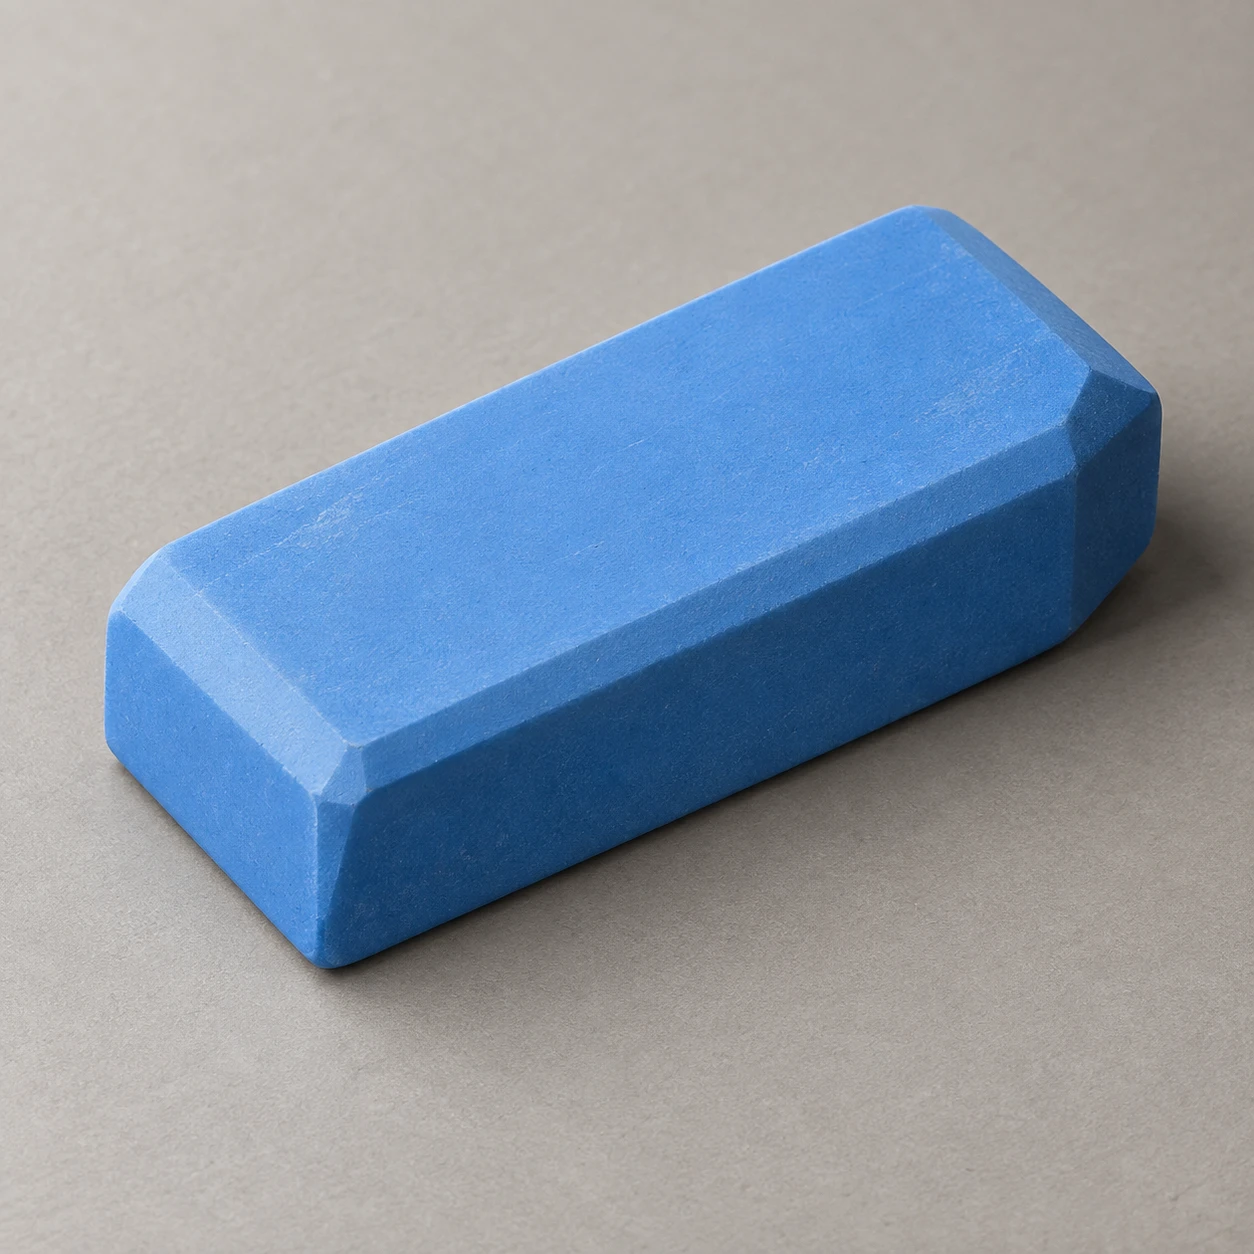
Show the cut edges of a blue rectangular eraser through narrow bevel planes with distinct values between its broad faces.
One Blue Eraser · Beveled Edge Shading
- Shape & line
- Build the eraser from straight broad faces joined by visibly flat, narrow bevel strips. Keep the strip boundaries crisp and let adjacent bevels meet in small clipped corner facets, so the edges read as cut planes rather than rounded bulges.
- Color & light
- Place a broad soft light at image upper left. Make the blue top light, the front medium, and the image-right end darker; give each intervening bevel a separate value according to its orientation. Show the upper-left-facing bevel as a pale blue strip and cast a soft tabletop shadow toward image lower right.
- Texture & material
- Render the rubber as matte and finely powdery, using restrained surface grain and broad subdued highlights. Carry the same material across every face while keeping the bevel value changes clear; add only a few faint handling scuffs on the broad top.
- Composition
- Keep the whole eraser and its cast shadow inside the frame. Make the product large enough that the top-to-front bevel remains a readable strip, and maintain sharp focus across its visible faces against an uncluttered tabletop.
Priority
Prioritize distinct flat bevel planes and coherent lighting across the blue solid.
What to avoid & what to check
Avoid rounded edges, drawn outline stripes, and glossy plastic highlights.
Check that each visible bevel reads as a sloping surface connecting two broad faces.
Exact prompt for this example
SUBJECT
One unwrapped blue rectangular rubber eraser with flat bevels along its outer edges. Its broad top, front, and right faces are connected by narrow sloping planes that belong to the same solid object.

COMPOSITION
Use an elevated three-quarter view showing the top, image-bottom-facing front, and image-right end. Place the eraser diagonally from lower left to upper right, centered on a plain warm-gray tabletop with generous margins.

STYLE GUIDE
1. Shape & line
Build the eraser from straight broad faces joined by visibly flat, narrow bevel strips. Keep the strip boundaries crisp and let adjacent bevels meet in small clipped corner facets, so the edges read as cut planes rather than rounded bulges.

2. Color & light
Place a broad soft light at image upper left. Make the blue top light, the front medium, and the image-right end darker; give each intervening bevel a separate value according to its orientation. Show the upper-left-facing bevel as a pale blue strip and cast a soft tabletop shadow toward image lower right.

3. Texture & material
Render the rubber as matte and finely powdery, using restrained surface grain and broad subdued highlights. Carry the same material across every face while keeping the bevel value changes clear; add only a few faint handling scuffs on the broad top.

4. Composition
Keep the whole eraser and its cast shadow inside the frame. Make the product large enough that the top-to-front bevel remains a readable strip, and maintain sharp focus across its visible faces against an uncluttered tabletop.

PRIORITY
Preserve the requested identity, count, action, composition and output settings. Apply the style rules within those constraints; a style reference must not replace the subject or layout. Within the style: Prioritize distinct flat bevel planes and coherent lighting across the blue solid.

AVOID
Avoid rounded edges, drawn outline stripes, and glossy plastic highlights.

OUTPUT
Create one square product-reference image in a realistic studio rendering medium, with no text, labels, logos, or watermark.

SELF-CHECK
Check that each visible bevel reads as a sloping surface connecting two broad faces.
Model information comes from image provenance. The same prompt may produce a different result.