Text to imageSpace & architectureStyle guide
Small Vestibule · Continuous Floor Reflection
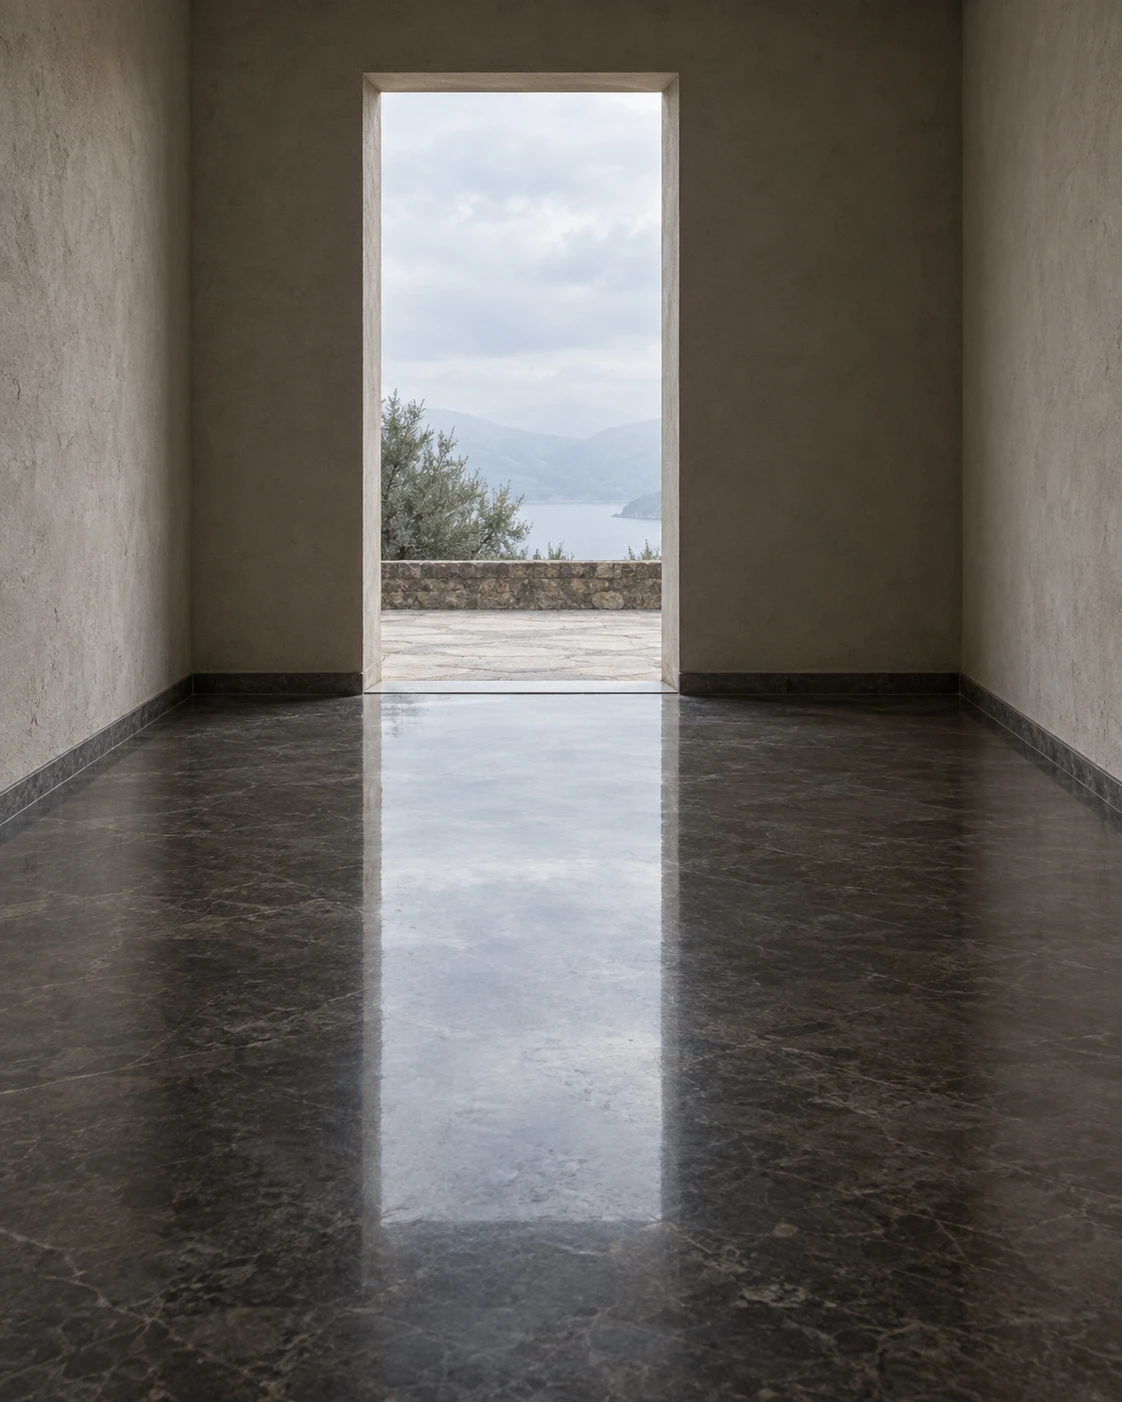
Connect an open doorway to its floor reflection to reveal the depth and floor plane of a small vestibule.
Small Vestibule · Continuous Floor Reflection
- Shape & line
- Keep the doorway jambs upright and draw the wall–floor boundaries receding toward the rear wall; extend the reflected jambs downward from their matching threshold corners so the real opening and reflected opening visibly connect.
- Color & light
- Make the opening a pale cool daylight shape against warm gray walls, and repeat that cool brightness on the lower-center floor directly beneath it; keep the reflected opening dimmer than the real opening while preserving their shared light–dark arrangement.
- Texture & material
- Render the walls as matte plaster and the floor as polished dark stone with broad, restrained surface variation; soften the reflected edges slightly while retaining recognizable doorway corners, so the floor reads as reflective material rather than another opening.
- Composition
- Place the real doorway above the image center and its uninterrupted reflection below it, with the reflection spreading toward the bottom foreground; leave darker floor visible on both image-plane sides to frame this connected pair and make its depth easy to read.
Priority
Prioritize the visible connection between the doorway threshold and its floor reflection.
What to avoid & what to check
Avoid a detached reflection, a second doorway below the floor, or equally glossy walls.
Check that corresponding doorway corners meet at the threshold and that the reflection stays within the visible floor plane.
Exact prompt for this example
SUBJECT
One small empty vestibule with one open rectangular doorway centered in the rear wall, pale overcast daylight beyond it, and a polished charcoal floor that reflects the doorway directly below its threshold.

COMPOSITION
Use a slightly off-center, standing-height interior view with the complete doorway in the upper middle and ample floor in the lower half. Show both side walls and the threshold clearly so the reflected opening reads as part of the floor.

STYLE GUIDE
1. Shape & line
Keep the doorway jambs upright and draw the wall–floor boundaries receding toward the rear wall; extend the reflected jambs downward from their matching threshold corners so the real opening and reflected opening visibly connect.

2. Color & light
Make the opening a pale cool daylight shape against warm gray walls, and repeat that cool brightness on the lower-center floor directly beneath it; keep the reflected opening dimmer than the real opening while preserving their shared light–dark arrangement.

3. Texture & material
Render the walls as matte plaster and the floor as polished dark stone with broad, restrained surface variation; soften the reflected edges slightly while retaining recognizable doorway corners, so the floor reads as reflective material rather than another opening.

4. Composition
Place the real doorway above the image center and its uninterrupted reflection below it, with the reflection spreading toward the bottom foreground; leave darker floor visible on both image-plane sides to frame this connected pair and make its depth easy to read.

PRIORITY
Preserve the requested identity, count, action, composition and output settings. Apply the style rules within those constraints; a style reference must not replace the subject or layout. Within the style: Prioritize the visible connection between the doorway threshold and its floor reflection.

AVOID
Avoid a detached reflection, a second doorway below the floor, or equally glossy walls.

OUTPUT
Create one realistic architectural image in a vertical 4:5 aspect ratio, without text, labels, logos, or a border.

SELF-CHECK
Check that corresponding doorway corners meet at the threshold and that the reflection stays within the visible floor plane.
Model information comes from image provenance. The same prompt may produce a different result.