Text to imageArt stylesStyle guide
One Red Spinning Top · Colored-Pencil Burnishing
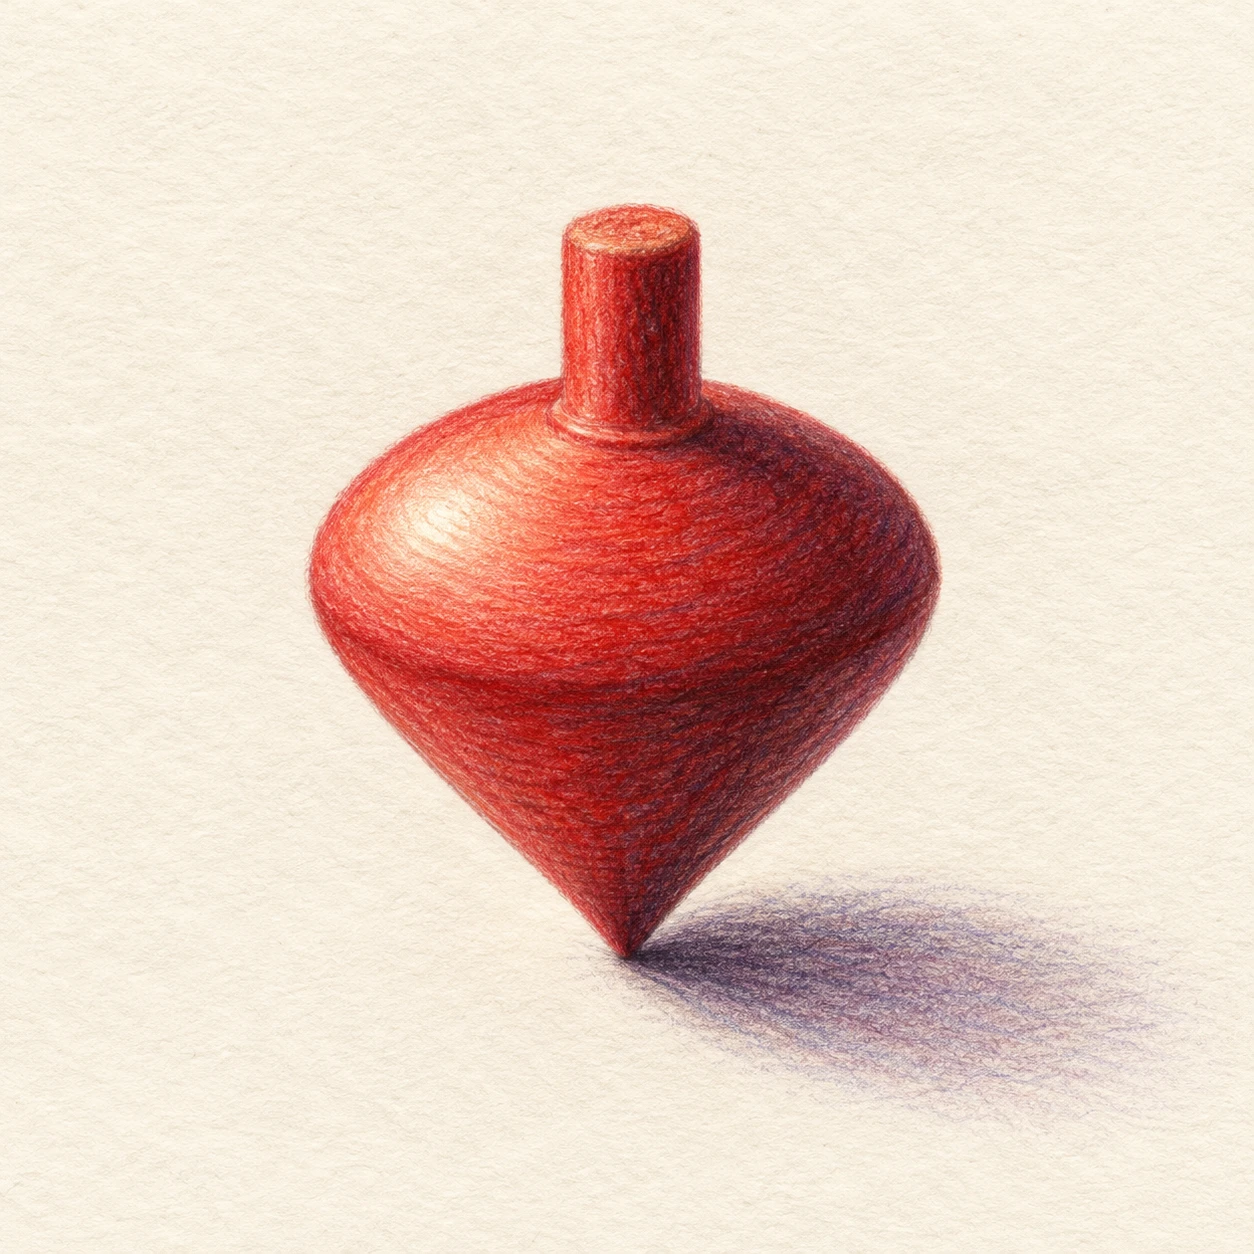
A red spinning top demonstrates colored-pencil burnishing through the contrast between grainy shadows and smoothly compressed light planes.
One Red Spinning Top · Colored-Pencil Burnishing
- Shape & line
- Build the top from a short cylindrical handle and a rounded body tapering to a sharp lower point; use curved pencil strokes that wrap around the shoulder, and soften the outer contour into the adjacent color instead of enclosing it with a heavy outline.
- Color & light
- Place the light at the upper left of the image: make the upper-left shoulder coral red with a small pale cream highlight, deepen the image-right body into burgundy, and extend a muted violet cast shadow from the contact point toward the lower right.
- Texture & material
- Layer light red pencil strokes first, then burnish the illuminated shoulder with closely overlapping pale peach strokes until most paper flecks disappear; leave visible ivory tooth between looser burgundy strokes in the shadow, with a gradual transition between the two surface treatments.
- Composition
- Keep the top large enough for the smooth shoulder and grainy shadow to be readable together; preserve an uninterrupted ivory margin on every side, and concentrate the darkest pencil marks where the lower point meets its cast shadow.
Priority
Make the transition from visible paper tooth to smooth burnished color the clearest stylistic feature.
What to avoid & what to check
Avoid uniform digital smoothing, paint-like impasto, and glossy photographic reflections.
Confirm that the lit shoulder is visibly smoother than the shadow while both retain a colored-pencil character.
Exact prompt for this example
SUBJECT
One upright red wooden spinning top with a short central handle, a broad rounded shoulder, and a body tapering to a single point touching the paper surface.

COMPOSITION
Show the entire top from a slightly elevated three-quarter view, centered slightly below the image midpoint. Keep the handle, rounded shoulder, and contact point clearly separated in silhouette, with generous blank paper around them.

STYLE GUIDE
1. Shape & line
Build the top from a short cylindrical handle and a rounded body tapering to a sharp lower point; use curved pencil strokes that wrap around the shoulder, and soften the outer contour into the adjacent color instead of enclosing it with a heavy outline.

2. Color & light
Place the light at the upper left of the image: make the upper-left shoulder coral red with a small pale cream highlight, deepen the image-right body into burgundy, and extend a muted violet cast shadow from the contact point toward the lower right.

3. Texture & material
Layer light red pencil strokes first, then burnish the illuminated shoulder with closely overlapping pale peach strokes until most paper flecks disappear; leave visible ivory tooth between looser burgundy strokes in the shadow, with a gradual transition between the two surface treatments.

4. Composition
Keep the top large enough for the smooth shoulder and grainy shadow to be readable together; preserve an uninterrupted ivory margin on every side, and concentrate the darkest pencil marks where the lower point meets its cast shadow.

PRIORITY
Preserve the requested identity, count, action, composition and output settings. Apply the style rules within those constraints; a style reference must not replace the subject or layout. Within the style: Make the transition from visible paper tooth to smooth burnished color the clearest stylistic feature.

AVOID
Avoid uniform digital smoothing, paint-like impasto, and glossy photographic reflections.

OUTPUT
One square image, presented as a colored-pencil drawing on warm ivory paper, with no lettering, labels, border, or watermark.

SELF-CHECK
Confirm that the lit shoulder is visibly smoother than the shadow while both retain a colored-pencil character.
Model information comes from image provenance. The same prompt may produce a different result.