Text to imageArt stylesStyle guide
One Tulip · Directional Mosaic
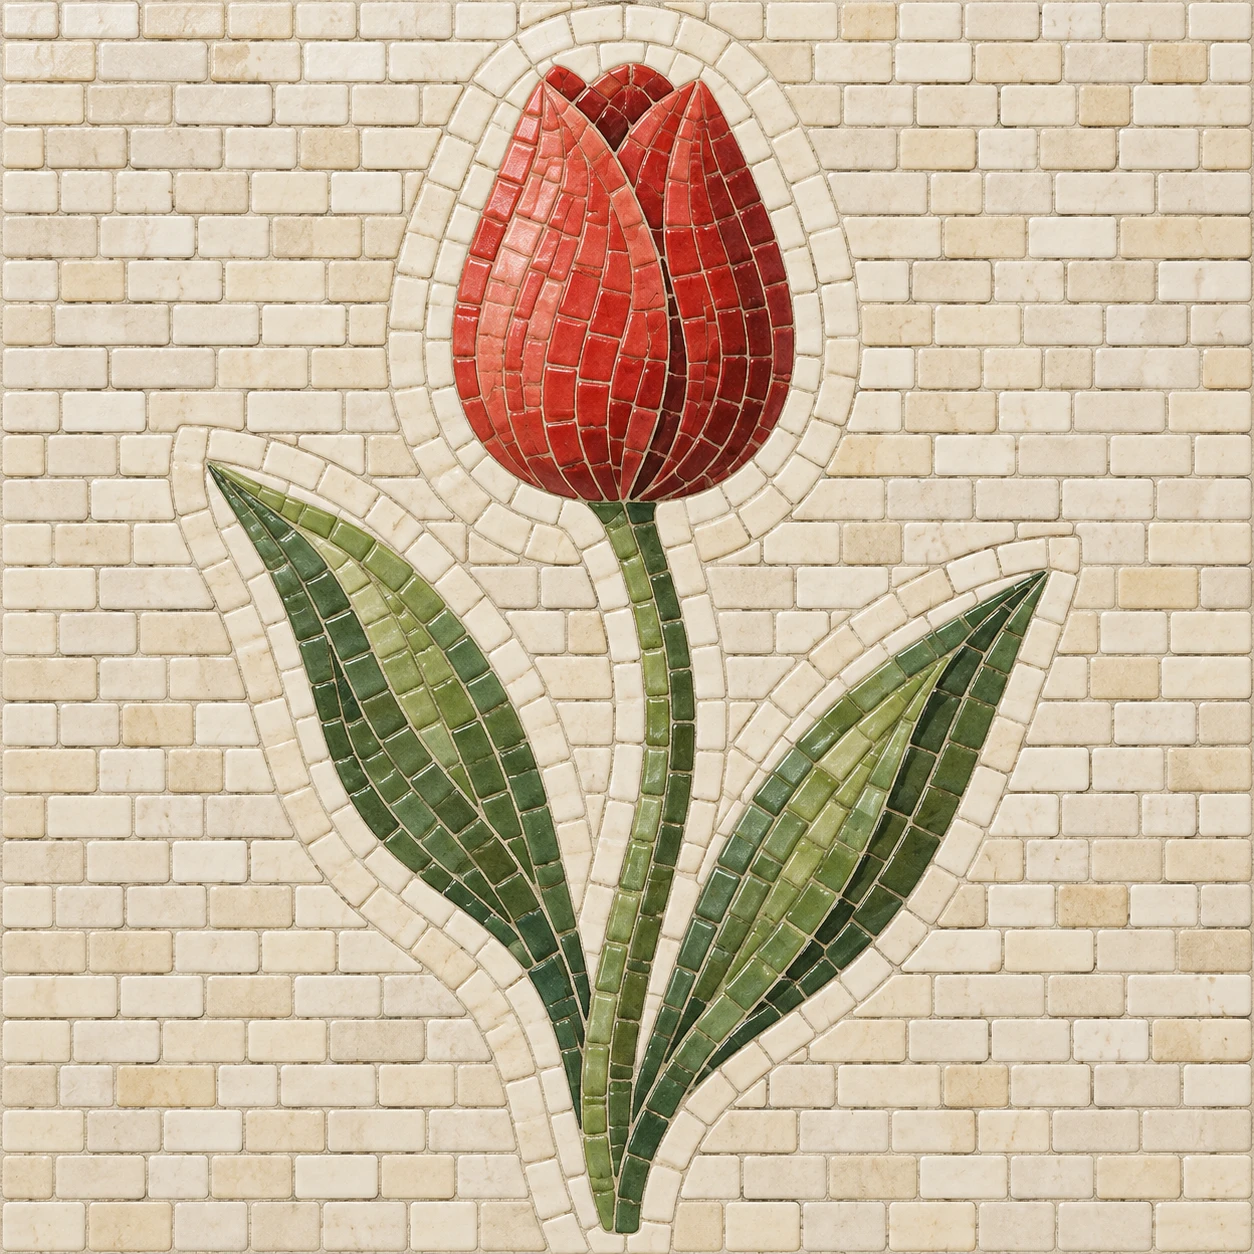
A mosaic reference in which rows of small tiles follow petal and leaf curves to describe their shapes.
One Tulip · Directional Mosaic
- Shape & line
- Build the bloom from curved rows of small angular tiles that rise from its base toward the rounded petal tips. Run narrower tile rows along the stem and sweep lengthwise rows through both leaves, making the row direction visibly describe each form.
- Color & light
- Use coral and brick reds for the bloom, sage and deep greens for the foliage, and warm cream for the ground. Place lighter tiles on image-left edges and darker tiles inside petal overlaps and along image-right edges, keeping the shading in discrete color steps.
- Texture & material
- Separate the ceramic pieces with visible pale grout channels and give their faces a softly satin finish with occasional subdued highlights. Vary tile size and edge shape modestly while keeping each piece solid and the grout continuous between neighboring pieces.
- Composition
- Wrap two curved rows of cream background tiles around the tulip's outer silhouette, then transition to calm horizontal rows farther away. Keep the narrow gaps between stem and leaves open and readable so the directional tile flow remains clear at the full-panel scale.
Priority
Prioritize tile rows that visibly follow the tulip's forms.
What to avoid & what to check
Avoid random tile scatter, smooth painted gradients, and dark outlines that replace grout.
Check that the flower and both leaves have readable directional rows and remain distinct from the background.
Exact prompt for this example
SUBJECT
Show exactly one red tulip with a closed cup-shaped bloom, one curved green stem, and two long leaves attached to that stem. Render the entire botanical motif and its background as a ceramic mosaic.

COMPOSITION
Use a straight-on square view of a flat mosaic panel. Center the upright tulip with its bloom in the upper third; extend one leaf toward image-left and the other toward image-right, leaving a generous cream border around the silhouette.

STYLE GUIDE
1. Shape & line
Build the bloom from curved rows of small angular tiles that rise from its base toward the rounded petal tips. Run narrower tile rows along the stem and sweep lengthwise rows through both leaves, making the row direction visibly describe each form.

2. Color & light
Use coral and brick reds for the bloom, sage and deep greens for the foliage, and warm cream for the ground. Place lighter tiles on image-left edges and darker tiles inside petal overlaps and along image-right edges, keeping the shading in discrete color steps.

3. Texture & material
Separate the ceramic pieces with visible pale grout channels and give their faces a softly satin finish with occasional subdued highlights. Vary tile size and edge shape modestly while keeping each piece solid and the grout continuous between neighboring pieces.

4. Composition
Wrap two curved rows of cream background tiles around the tulip's outer silhouette, then transition to calm horizontal rows farther away. Keep the narrow gaps between stem and leaves open and readable so the directional tile flow remains clear at the full-panel scale.

PRIORITY
Preserve the requested identity, count, action, composition and output settings. Apply the style rules within those constraints; a style reference must not replace the subject or layout. Within the style: Prioritize tile rows that visibly follow the tulip's forms.

AVOID
Avoid random tile scatter, smooth painted gradients, and dark outlines that replace grout.

OUTPUT
Produce one square image with clearly readable tile placement and no lettering, captions, signatures, or watermark.

SELF-CHECK
Check that the flower and both leaves have readable directional rows and remain distinct from the background.
Model information comes from image provenance. The same prompt may produce a different result.