Text to imageArt stylesStyle guide
One Green Apple · Colored-Pencil Burnishing
Use colored-pencil burnishing to turn grainy underlayers into smooth apple volume while retaining a visible contrast with the paper tooth.
One Green Apple · Colored-Pencil Burnishing
- Shape & line
- Build the apple from a slightly uneven rounded silhouette with a shallow top dip; curve short pencil strokes around its volume, and merge the contour into the adjacent color instead of drawing a heavy enclosing outline.
- Color & light
- Place the light at image-upper-left: layer yellow-green on the upper-left bulge, deepen the lower-right curve with olive green, and preserve a small pale highlight. Let the soft gray-green contact shadow begin beneath the apple and spread toward image-right.
- Texture & material
- Start with light, grainy colored-pencil layers, then press a pale yellow-green pencil over the bright and middle-value areas to fill the paper tooth and fuse the strokes into a smooth waxy finish. Keep some broken grain in the darkest curve and loose shadow so the burnished surface has a visible comparison.
- Composition
- Keep the apple large enough for the transition from grainy marks to polished color to read clearly. Show the stem indentation from the slightly elevated viewpoint, contain the rightward shadow within the frame, and leave the surrounding ivory paper mostly untouched.
Priority
Make the contrast between burnished color and visible pencil grain the clearest stylistic feature.
What to avoid & what to check
Avoid uniformly smooth digital gradients or glossy photographic reflections that conceal the pencil process.
Check that one apple reads clearly and that smooth compressed color visibly transitions into grainy pencil marks.
Exact prompt for this example
SUBJECT
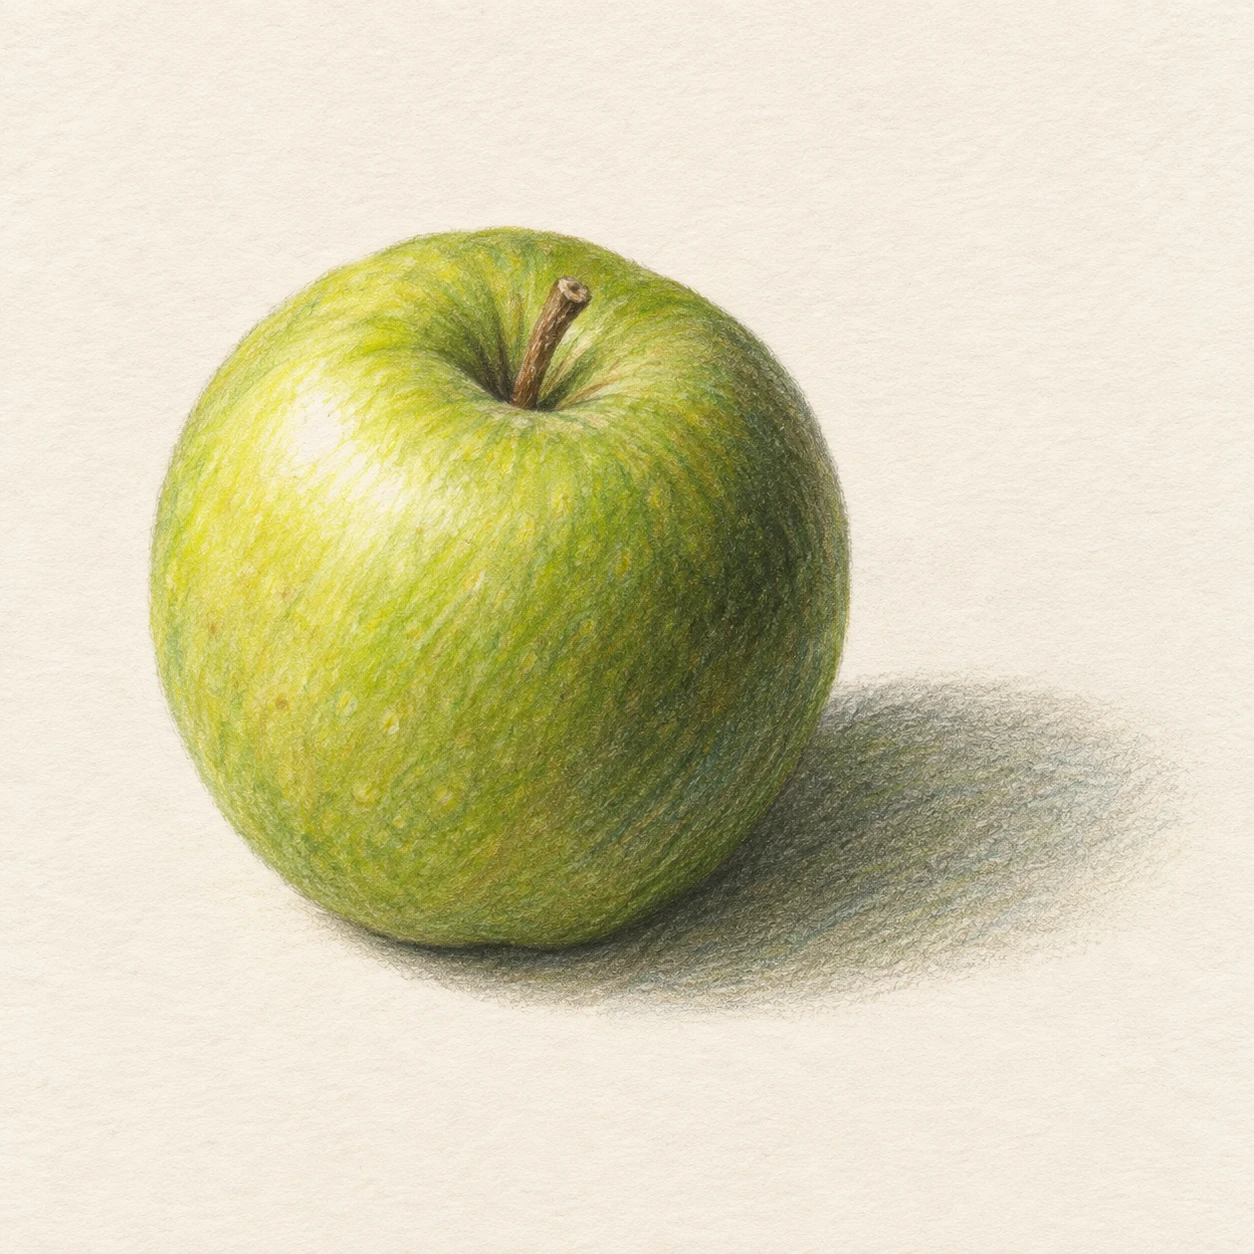
One green apple with a short brown stem seated in its top indentation, resting on ivory paper; its cast shadow extends toward image-right.

COMPOSITION
A square still life viewed slightly from above, with the entire apple and its short cast shadow visible. Place the apple just left of center and leave generous ivory margins.

STYLE GUIDE
1. Shape & line
Build the apple from a slightly uneven rounded silhouette with a shallow top dip; curve short pencil strokes around its volume, and merge the contour into the adjacent color instead of drawing a heavy enclosing outline.

2. Color & light
Place the light at image-upper-left: layer yellow-green on the upper-left bulge, deepen the lower-right curve with olive green, and preserve a small pale highlight. Let the soft gray-green contact shadow begin beneath the apple and spread toward image-right.

3. Texture & material
Start with light, grainy colored-pencil layers, then press a pale yellow-green pencil over the bright and middle-value areas to fill the paper tooth and fuse the strokes into a smooth waxy finish. Keep some broken grain in the darkest curve and loose shadow so the burnished surface has a visible comparison.

4. Composition
Keep the apple large enough for the transition from grainy marks to polished color to read clearly. Show the stem indentation from the slightly elevated viewpoint, contain the rightward shadow within the frame, and leave the surrounding ivory paper mostly untouched.

PRIORITY
Preserve the requested identity, count, action, composition and output settings. Apply the style rules within those constraints; a style reference must not replace the subject or layout. Within the style: Make the contrast between burnished color and visible pencil grain the clearest stylistic feature.

AVOID
Avoid uniformly smooth digital gradients or glossy photographic reflections that conceal the pencil process.

OUTPUT
One image, 1:1 aspect ratio, with no lettering, labels, signature, or watermark.

SELF-CHECK
Check that one apple reads clearly and that smooth compressed color visibly transitions into grainy pencil marks.
Model information comes from image provenance. The same prompt may produce a different result.