Text to imageSpace & architectureStyle guide
Small Brick Entry · Wall-Grazing Light
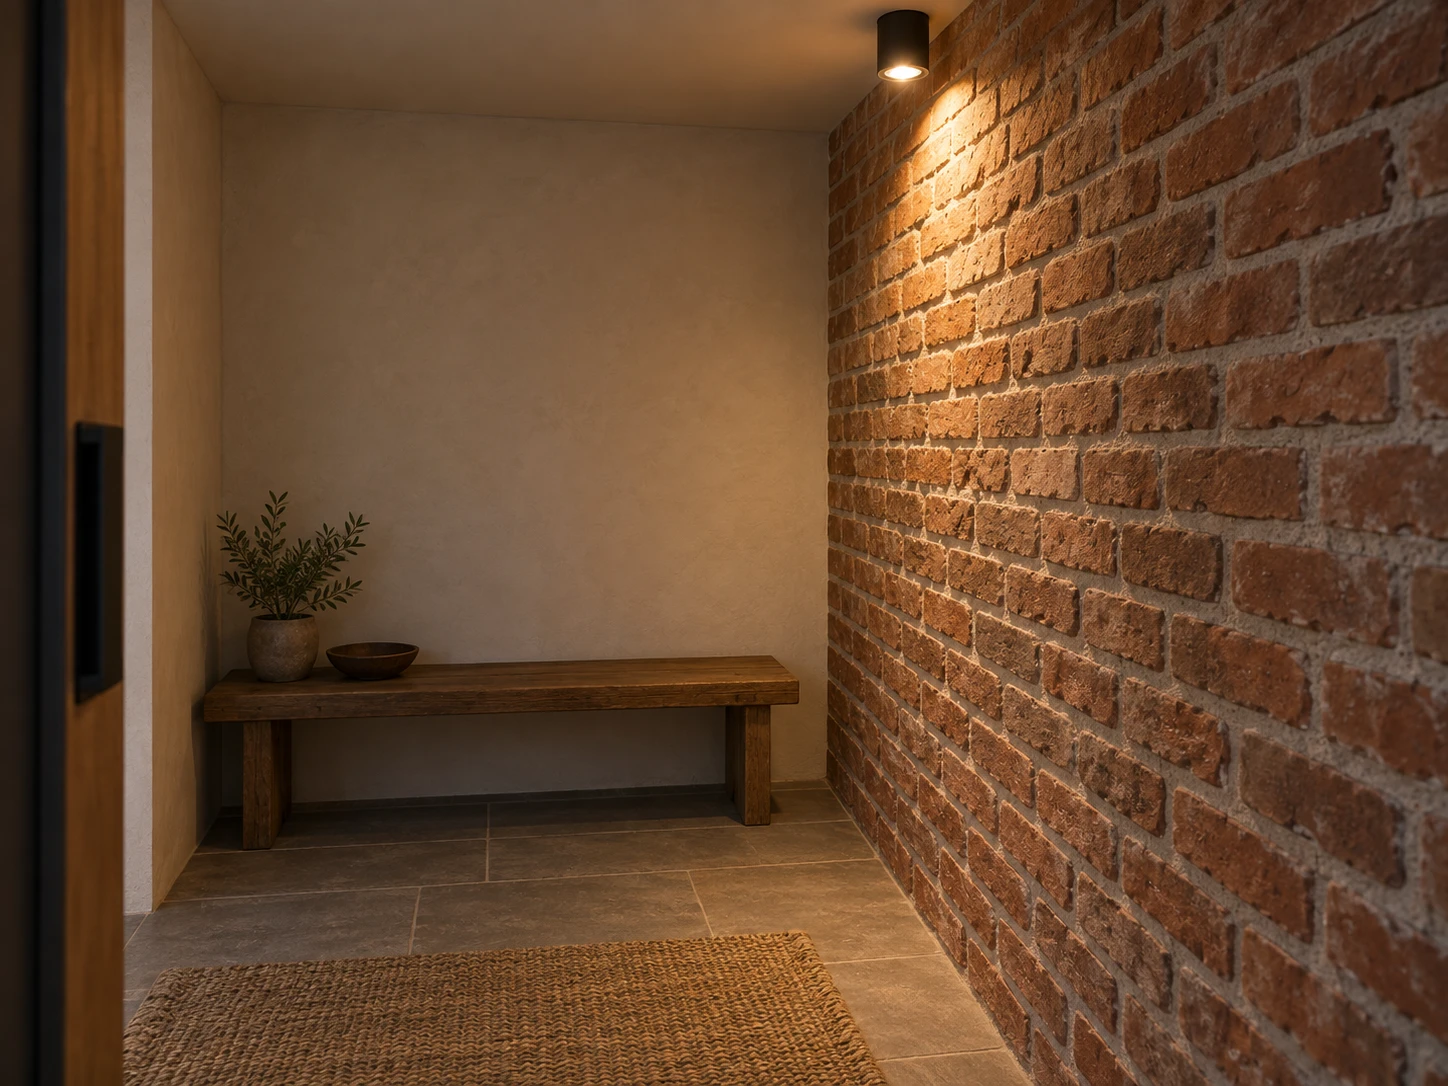
A small entry uses downward light close to a brick wall to reveal projecting faces and recessed mortar shadows.
Small Brick Entry · Wall-Grazing Light
- Shape & line
- Build the nook from clear rectangular planes with upright vertical edges; draw horizontal brick courses receding toward the back corner, and give the bricks subtly uneven faces so the grazing light can reveal shallow relief.
- Color & light
- Place the warm light visibly at the ceiling beside the image-right wall and aim it downward close to that wall; brighten the upper lips of projecting bricks and cast small shadows immediately beneath them into the recessed joints, with illumination fading toward the floor.
- Texture & material
- Render the brick as matte muted terracotta with broad, irregular surface patches and pale recessed mortar; keep the back wall softly smooth and the bench's wood grain quiet so the illuminated masonry remains the strongest material detail.
- Composition
- Let the right wall occupy roughly half the frame and retain a continuous view from the ceiling light to the lower brick courses; place the bench left of the bright wall area and keep the entrance unobstructed so the light's path and the room's depth read together.
Priority
Prioritize visible brick relief created by light grazing downward along the right wall.
What to avoid & what to check
Avoid flat frontal illumination or dark outlines that replace the shallow cast shadows.
Check that the visible ceiling light, bright upper brick edges, and shadows beneath them describe one coherent downward light direction.
Exact prompt for this example
SUBJECT
One small entry nook with an exposed brick wall on image-right, a plain plaster back wall, and one low wooden bench against the back wall. One ceiling-mounted light sits close to the right brick wall and directs light downward along its surface.

COMPOSITION
View from the open entrance at standing eye height in a restrained three-quarter perspective. Show the right brick wall prominently, the back-wall bench in full, and enough ceiling to establish the light's position. Include a modest foreground floor area.

STYLE GUIDE
1. Shape & line
Build the nook from clear rectangular planes with upright vertical edges; draw horizontal brick courses receding toward the back corner, and give the bricks subtly uneven faces so the grazing light can reveal shallow relief.

2. Color & light
Place the warm light visibly at the ceiling beside the image-right wall and aim it downward close to that wall; brighten the upper lips of projecting bricks and cast small shadows immediately beneath them into the recessed joints, with illumination fading toward the floor.

3. Texture & material
Render the brick as matte muted terracotta with broad, irregular surface patches and pale recessed mortar; keep the back wall softly smooth and the bench's wood grain quiet so the illuminated masonry remains the strongest material detail.

4. Composition
Let the right wall occupy roughly half the frame and retain a continuous view from the ceiling light to the lower brick courses; place the bench left of the bright wall area and keep the entrance unobstructed so the light's path and the room's depth read together.

PRIORITY
Preserve the requested identity, count, action, composition and output settings. Apply the style rules within those constraints; a style reference must not replace the subject or layout. Within the style: Prioritize visible brick relief created by light grazing downward along the right wall.

AVOID
Avoid flat frontal illumination or dark outlines that replace the shallow cast shadows.

OUTPUT
One realistic architectural image, landscape 4:3 aspect ratio, with no text, labels, logos, or watermark.

SELF-CHECK
Check that the visible ceiling light, bright upper brick edges, and shadows beneath them describe one coherent downward light direction.
Model information comes from image provenance. The same prompt may produce a different result.