Text to imageIllustrationStyle guide
One Open Envelope · Line-Weight Hierarchy
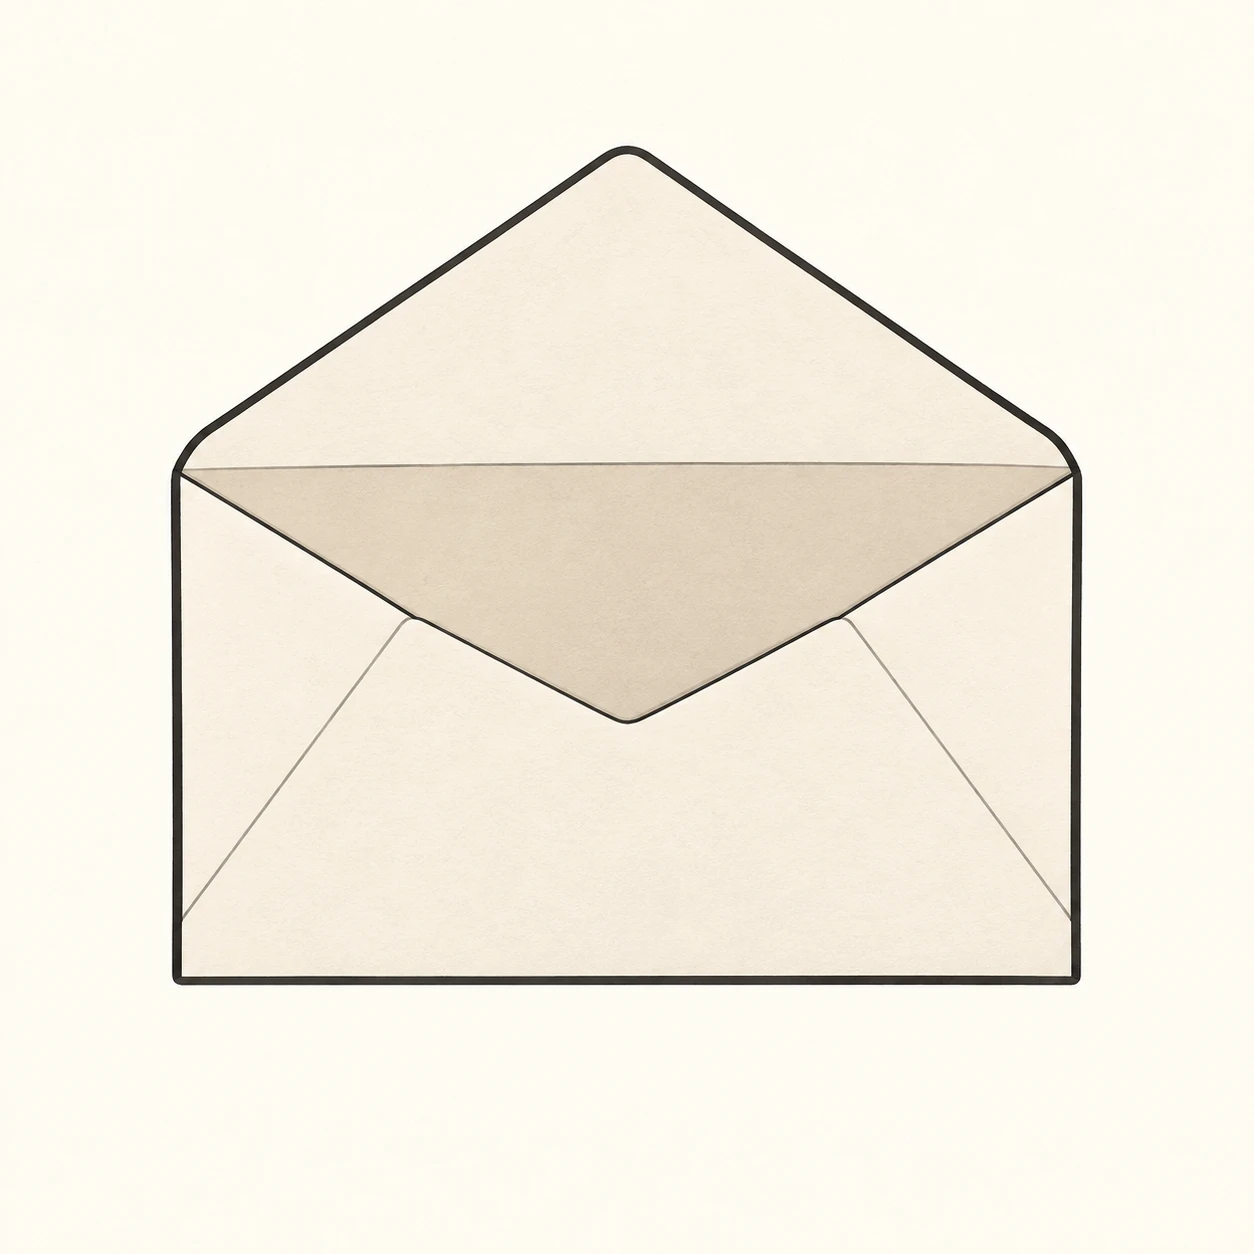
An illustration that makes an envelope’s structure and depth readable through different weights for silhouettes, overlaps, and folds.
One Open Envelope · Line-Weight Hierarchy
- Shape & line
- Trace the complete outer silhouette with the heaviest line, draw edges where one panel covers another with a medium line, and mark folds within continuous paper with the thinnest line. Keep each weight consistent so the outline reads first and the construction reads second.
- Color & light
- Fill the paper with pale cream and use dark warm-gray ink. Add one muted beige shape inside the opening, directly below the raised flap, to distinguish the recessed interior; keep the outward-facing panels nearly equal in value so shading does not replace the line hierarchy.
- Texture & material
- Make the envelope read as smooth matte paper through broad clean fills and gently rounded fold tips. Keep the ink edges crisp and the crease marks unbroken, allowing only a faint paper grain that remains quieter than the thinnest structural lines.
- Composition
- Keep the flap apex, opening, and lower body clearly separated vertically. Stop the covered side-panel edges at the front panel’s overlap boundary, while preserving the exposed diagonal seams; leave enough margin that no heavy silhouette line touches the frame.
Priority
Make the three line weights visibly distinct while preserving a coherent folded envelope.
What to avoid & what to check
Avoid uniform line weight and dark shading that overwhelms the panel edges.
Check that the silhouette is strongest, overlaps are intermediate, and folds are lightest.
Exact prompt for this example
SUBJECT
Draw exactly one plain paper envelope with its triangular flap raised above the rectangular body. The front panel overlaps the side panels, and the empty opening is visible beneath the raised flap. Keep all panels connected as one folded object.

COMPOSITION
Show the envelope centered in a square frame, viewed almost straight on with a slight view down into its opening. Place the raised flap toward the top of the image and the body below it. Leave generous clear space around the complete silhouette.

STYLE GUIDE
1. Shape & line
Trace the complete outer silhouette with the heaviest line, draw edges where one panel covers another with a medium line, and mark folds within continuous paper with the thinnest line. Keep each weight consistent so the outline reads first and the construction reads second.

2. Color & light
Fill the paper with pale cream and use dark warm-gray ink. Add one muted beige shape inside the opening, directly below the raised flap, to distinguish the recessed interior; keep the outward-facing panels nearly equal in value so shading does not replace the line hierarchy.

3. Texture & material
Make the envelope read as smooth matte paper through broad clean fills and gently rounded fold tips. Keep the ink edges crisp and the crease marks unbroken, allowing only a faint paper grain that remains quieter than the thinnest structural lines.

4. Composition
Keep the flap apex, opening, and lower body clearly separated vertically. Stop the covered side-panel edges at the front panel’s overlap boundary, while preserving the exposed diagonal seams; leave enough margin that no heavy silhouette line touches the frame.

PRIORITY
Preserve the requested identity, count, action, composition and output settings. Apply the style rules within those constraints; a style reference must not replace the subject or layout. Within the style: Make the three line weights visibly distinct while preserving a coherent folded envelope.

AVOID
Avoid uniform line weight and dark shading that overwhelms the panel edges.

OUTPUT
Produce one square illustration with crisp ink lines and restrained flat color on a warm off-white background. Include no lettering, postage, labels, captions, or watermark.

SELF-CHECK
Check that the silhouette is strongest, overlaps are intermediate, and folds are lightest.
Model information comes from image provenance. The same prompt may produce a different result.