Text to imageIllustrationStyle guide
One Hollow Tube · Section Hatching
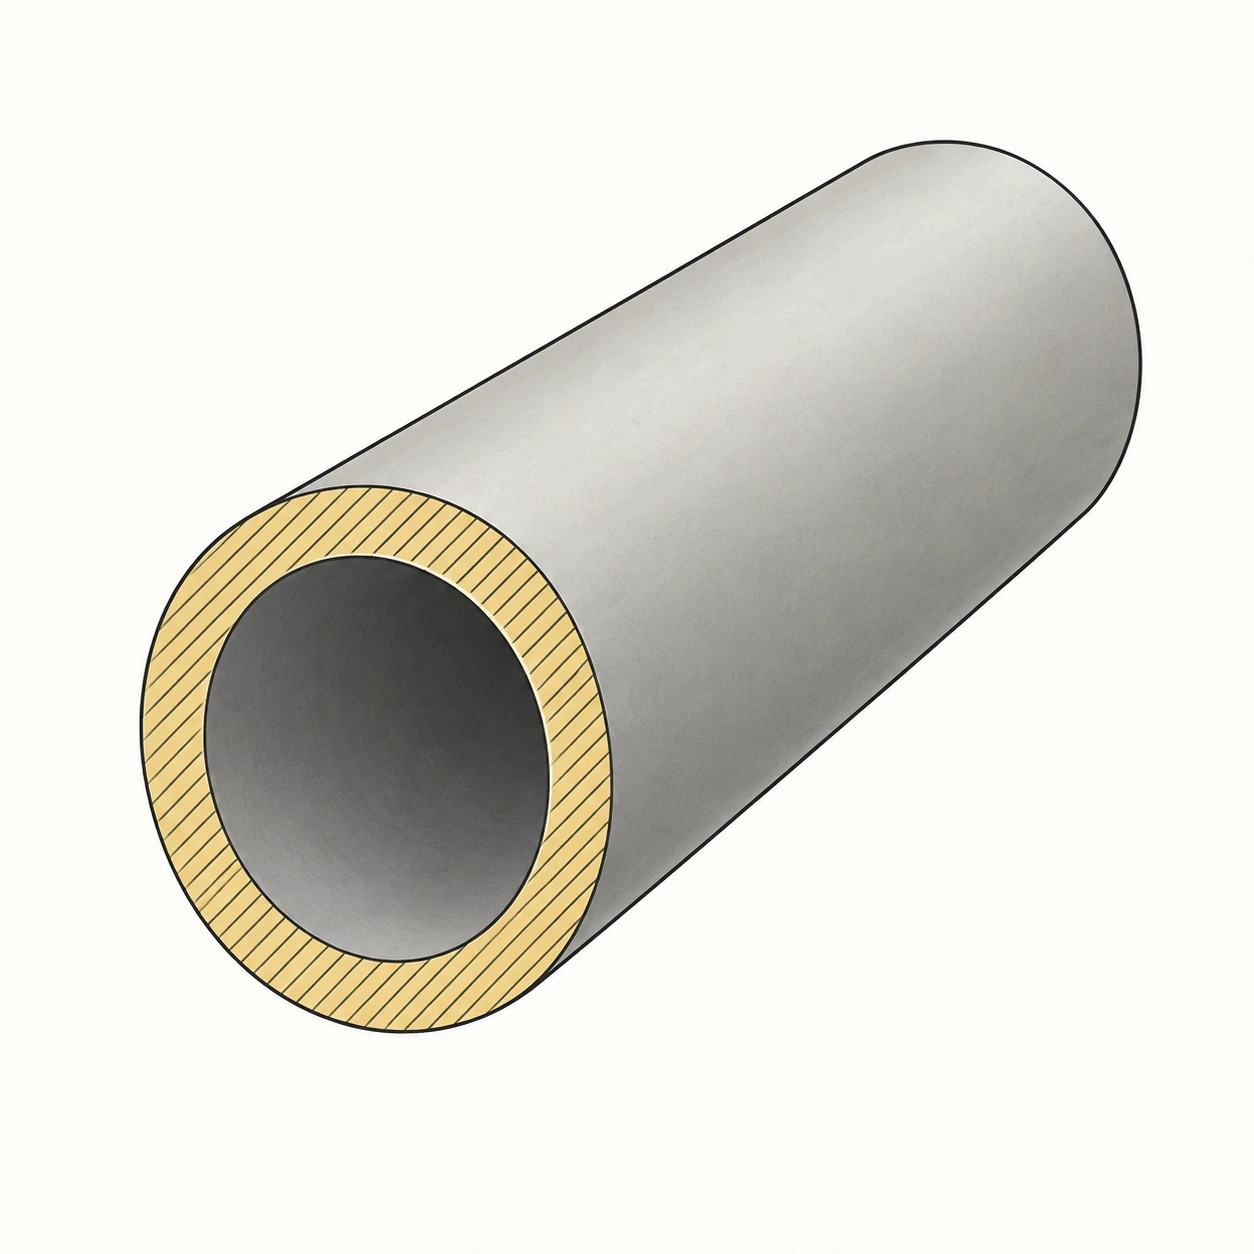
An explanatory illustration using diagonal hatching only on a tube’s cut end to distinguish its solid wall from its empty bore.
One Hollow Tube · Section Hatching
- Shape & line
- Draw the near cut face as two nested ellipses sharing an axis, with the inner ellipse defining the bore. Join the outer rim to the receding tube body with straight side contours, using a heavier silhouette and finer interior lines.
- Color & light
- Fill the cut ring with pale ochre and the exterior with light warm gray. Make the visible inner wall a darker gray so the opening reads as depth, while keeping the cut ring evenly lit and clearly separate from the cavity.
- Texture & material
- Cover only the solid cut ring with fine, evenly spaced parallel hatch lines rising from image lower left to upper right. Clip every stroke at the inner and outer rim; leave the bore and uncut surfaces unhatching, so the marks identify exposed material rather than surface grain.
- Composition
- Make the near opening the largest readable feature and keep the tube diagonal within the square. Preserve a broad visible band of hatched material around the opening, with empty background around the silhouette so the ring, cavity, and exterior can be compared at a glance.
Priority
Prioritize the distinction between hatched solid material and the open bore.
What to avoid & what to check
Avoid hatch lines crossing the opening or spreading onto the exterior.
Check that every hatch stroke stays inside the cut ring and the bore reads as one continuous cavity.
Exact prompt for this example
SUBJECT
Show exactly one short, straight hollow tube with a flat cut end. Its continuous wall surrounds one open bore; the visible cut face is a ring of solid material, and the central opening connects to the tube’s interior.

COMPOSITION
Use a three-quarter view with the open cut end at image lower left and the tube’s length receding toward image upper right. Show the complete near rim, enough inner wall to establish the cavity, and a broad exterior side. Center the tube with generous blank margins.

STYLE GUIDE
1. Shape & line
Draw the near cut face as two nested ellipses sharing an axis, with the inner ellipse defining the bore. Join the outer rim to the receding tube body with straight side contours, using a heavier silhouette and finer interior lines.

2. Color & light
Fill the cut ring with pale ochre and the exterior with light warm gray. Make the visible inner wall a darker gray so the opening reads as depth, while keeping the cut ring evenly lit and clearly separate from the cavity.

3. Texture & material
Cover only the solid cut ring with fine, evenly spaced parallel hatch lines rising from image lower left to upper right. Clip every stroke at the inner and outer rim; leave the bore and uncut surfaces unhatching, so the marks identify exposed material rather than surface grain.

4. Composition
Make the near opening the largest readable feature and keep the tube diagonal within the square. Preserve a broad visible band of hatched material around the opening, with empty background around the silhouette so the ring, cavity, and exterior can be compared at a glance.

PRIORITY
Preserve the requested identity, count, action, composition and output settings. Apply the style rules within those constraints; a style reference must not replace the subject or layout. Within the style: Prioritize the distinction between hatched solid material and the open bore.

AVOID
Avoid hatch lines crossing the opening or spreading onto the exterior.

OUTPUT
Create one square explanatory illustration on an off-white background, with no text, labels, dimensions, arrows, or watermark.

SELF-CHECK
Check that every hatch stroke stays inside the cut ring and the bore reads as one continuous cavity.
Model information comes from image provenance. The same prompt may produce a different result.