Text to imageProductStyle guide
Emergency Lantern · Magnetic Dock Interface
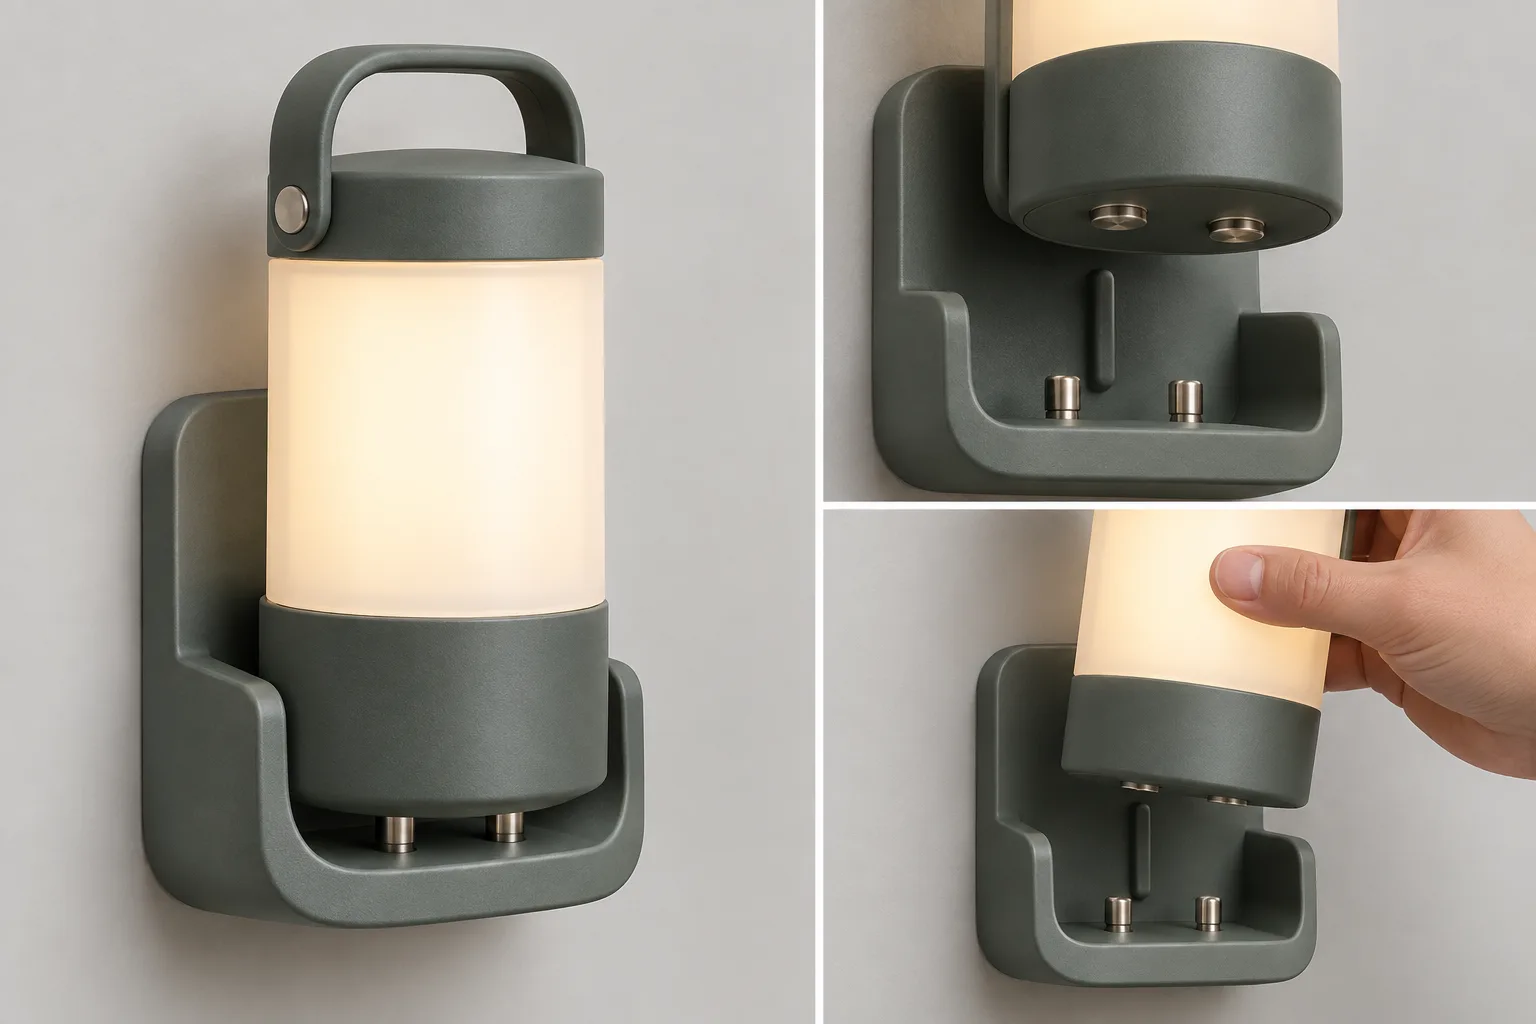
A product study showing how a magnetic dock and charging contacts meet in use.
Emergency Lantern · Magnetic Dock Interface
- 1
- Show the seated state and lifted state with matching lantern proportions.
- 2
- Expose both sides of the charging contact pair in the lifted close view.
- 3
- Use one visible ridge-and-recess geometry to explain magnetic alignment.
- 4
- Include a hand only in the guided-docking view to establish scale and grip.
Priority
Preserve the four style rules when changing subject or composition.
What to avoid & what to check
Avoid unwanted lettering, logos and watermarks.
Check silhouette and composition at thumbnail size.
Build assets in this style
Shared style locked
Exact prompt for this example
Exact prompt · Original
Create a precise product presentation for one original portable emergency lantern and its wall dock. Show a large three-quarter hero view with the lantern seated in the dock, then two smaller close views: the lantern lifted a few centimeters to reveal the paired charging contacts, and a hand guiding it back toward the magnetic alignment ridge. Use realistic matte molded housing, translucent light diffuser, and brushed metal contacts. Make the docking direction and the parts that touch physically clear without arrows or technical labels. Keep all three views consistent in proportions and materials on a clean neutral background. No lettering, logos, or watermarks.
Model information comes from image provenance. The same prompt may produce a different result.