Text to imageArt stylesStyle guide
One Oak Leaf · Layered Silverpoint Lines
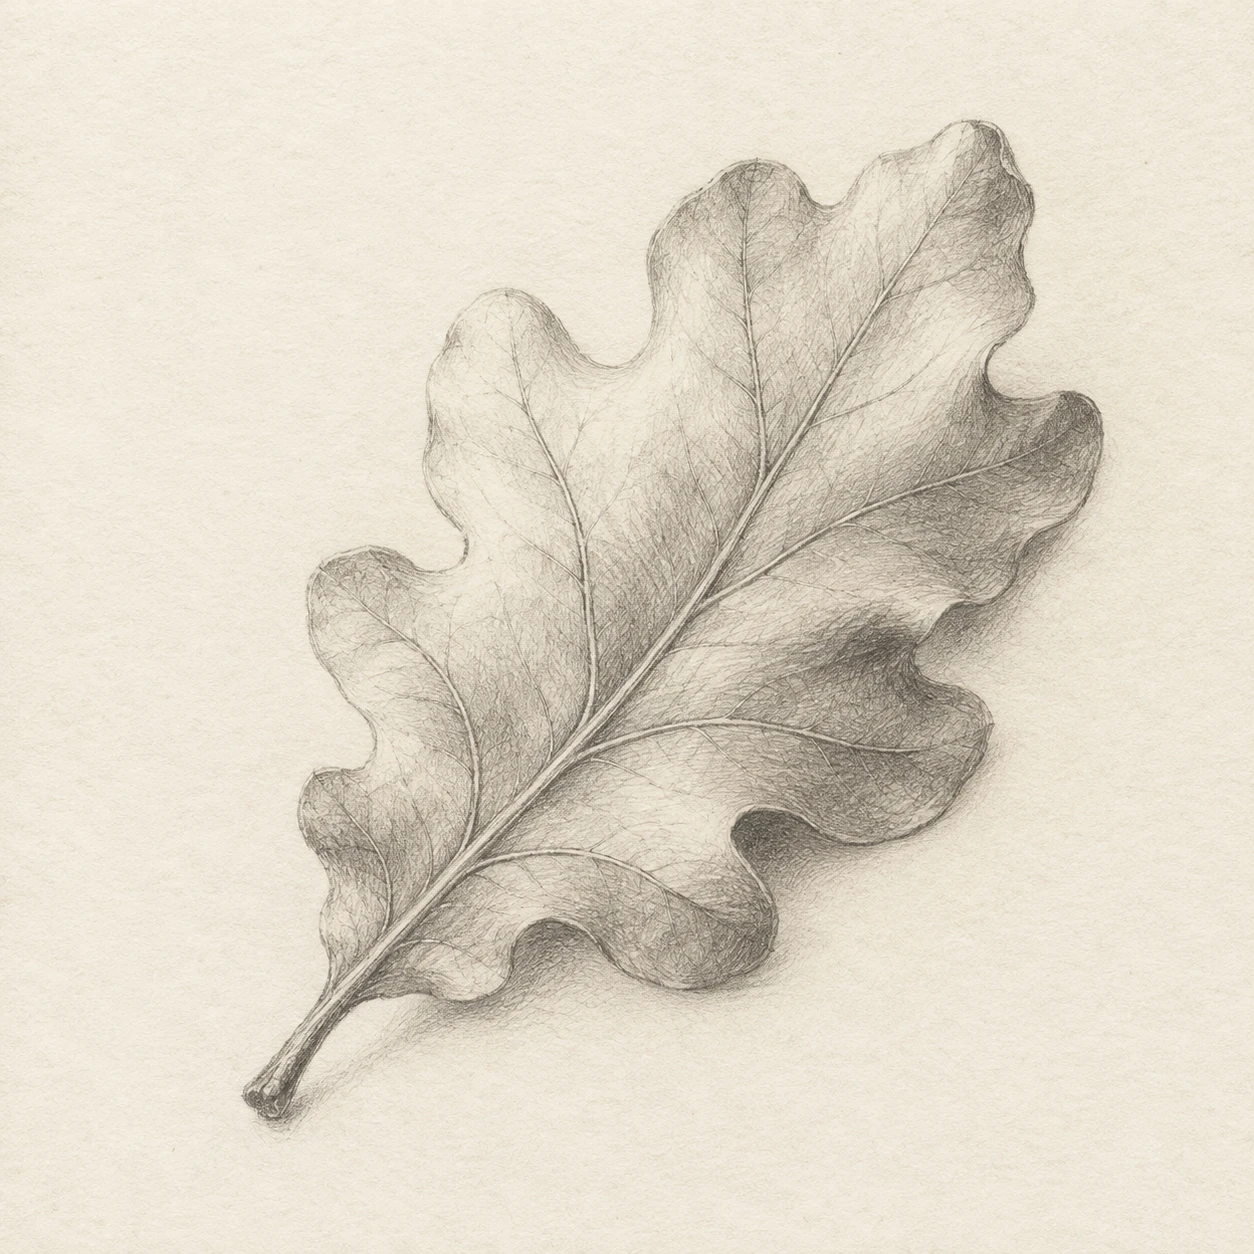
A silverpoint drawing that builds an oak leaf’s folds and veins through repeated layers of pale gray lines.
One Oak Leaf · Layered Silverpoint Lines
- Shape & line
- Draw the lobed silhouette with delicate, slightly overlapping silver-gray strokes. Describe the midrib with two closely spaced lines, then taper the branching veins as they approach the edges; keep their joins visibly connected.
- Color & light
- Use a warm ivory ground and a restrained range of pale to medium gray marks. Let light arrive from the upper left of the image: leave the upper-left-facing folds mostly bare and deepen the lower-right-facing folds by adding more lines, without solid black fills.
- Texture & material
- Make the prepared paper softly matte, with fine tooth interrupting some metalpoint strokes. Build shadow through successive fine hatching layers that curve with the leaf surface; retain individual marks and small gaps of ground instead of blending them into smooth graphite-like shading.
- Composition
- Place the leaf near the center and let it occupy roughly two thirds of the image height, with generous paper visible on every side. Concentrate the richest line layering around the midrib and the lower-right curl, keeping the outer lobes lighter so the silhouette remains easy to read.
Priority
Prioritize visible line accumulation and the quiet tonal range of silverpoint.
What to avoid & what to check
Avoid heavy black outlines, blended charcoal shadows, and metallic surface glare.
Check that darker folds contain denser fine lines while lighter folds preserve the ivory ground.
Exact prompt for this example
SUBJECT
One detached oak leaf with rounded lobes and one short stem; a central midrib connects the stem to the tip, and secondary veins branch toward the lobes.

COMPOSITION
Show the entire leaf from slightly above, with its stem toward the lower left and its tip toward the upper right. Keep the gently curled edges readable against an open paper ground.

STYLE GUIDE
1. Shape & line
Draw the lobed silhouette with delicate, slightly overlapping silver-gray strokes. Describe the midrib with two closely spaced lines, then taper the branching veins as they approach the edges; keep their joins visibly connected.

2. Color & light
Use a warm ivory ground and a restrained range of pale to medium gray marks. Let light arrive from the upper left of the image: leave the upper-left-facing folds mostly bare and deepen the lower-right-facing folds by adding more lines, without solid black fills.

3. Texture & material
Make the prepared paper softly matte, with fine tooth interrupting some metalpoint strokes. Build shadow through successive fine hatching layers that curve with the leaf surface; retain individual marks and small gaps of ground instead of blending them into smooth graphite-like shading.

4. Composition
Place the leaf near the center and let it occupy roughly two thirds of the image height, with generous paper visible on every side. Concentrate the richest line layering around the midrib and the lower-right curl, keeping the outer lobes lighter so the silhouette remains easy to read.

PRIORITY
Preserve the requested identity, count, action, composition and output settings. Apply the style rules within those constraints; a style reference must not replace the subject or layout. Within the style: Prioritize visible line accumulation and the quiet tonal range of silverpoint.

AVOID
Avoid heavy black outlines, blended charcoal shadows, and metallic surface glare.

OUTPUT
One square image, presented as a finished drawing on prepared paper, with no text, labels, signature, or border.

SELF-CHECK
Check that darker folds contain denser fine lines while lighter folds preserve the ivory ground.
Model information comes from image provenance. The same prompt may produce a different result.