Text to imageArt stylesStyle guide
One Watering Can · Pochoir Stencil Color
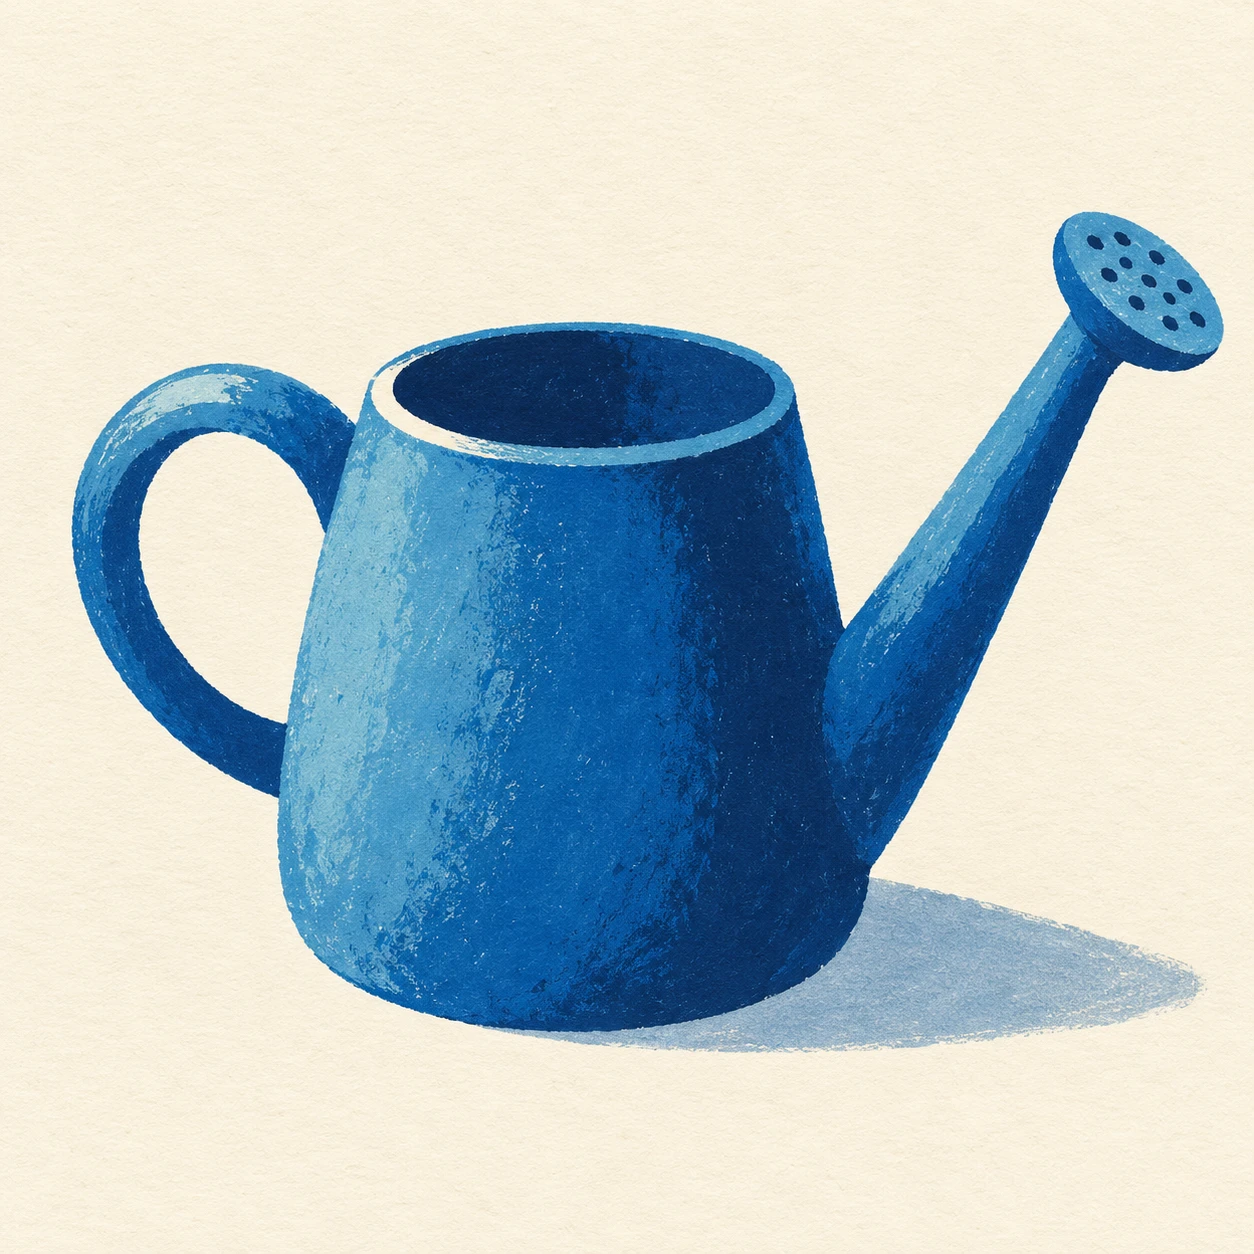
A pochoir study that builds a watering can through crisp stencil boundaries and brushed pigment along their edges.
One Watering Can · Pochoir Stencil Color
- Shape & line
- Construct the can from a few clean stencil silhouettes: a rounded body, a narrow curved spout, and a loop handle with a sharply cut interior opening. Define the top rim with nested flat shapes instead of a continuous drawn outline.
- Color & light
- Use opaque blue for the body, pale turquoise for its image-left lit plane, and deep navy for the image-right side and top opening. Keep these colors in broad separate patches, with a small cream reserve on the upper-left rim suggesting light.
- Texture & material
- Suggest pigment brushed through a stencil by adding soft, irregular bristle stippling just inside selected body edges while keeping the cut boundary crisp. Let subtle cream paper grain show through thinner blue passages; keep the dark opening densely covered.
- Composition
- Balance the handle on image-left against the rising spout on image-right, preserving open paper around both. Ground the can with one flattened muted-blue shadow extending from its base toward lower-right, and leave the remaining background unpainted.
Priority
Prioritize crisp stencil shapes and visibly brushed opaque pigment.
What to avoid & what to check
Avoid glossy photographic shading and smooth digital gradients.
Check that the can reads clearly and the brush texture stays inside crisp stencil edges.
Exact prompt for this example
SUBJECT
Show one blue watering can with a rounded body, an open loop handle attached on image-left, and a long spout rising toward image-right, ending in a small oval sprinkler rose. The handle opening reveals the cream paper behind it.

COMPOSITION
Use a slightly elevated three-quarter view so the top opening, front body, handle gap, and spout remain readable. Center the complete can with generous cream margins; place its base below the image center and keep the spout clear of the frame.

STYLE GUIDE
1. Shape & line
Construct the can from a few clean stencil silhouettes: a rounded body, a narrow curved spout, and a loop handle with a sharply cut interior opening. Define the top rim with nested flat shapes instead of a continuous drawn outline.

2. Color & light
Use opaque blue for the body, pale turquoise for its image-left lit plane, and deep navy for the image-right side and top opening. Keep these colors in broad separate patches, with a small cream reserve on the upper-left rim suggesting light.

3. Texture & material
Suggest pigment brushed through a stencil by adding soft, irregular bristle stippling just inside selected body edges while keeping the cut boundary crisp. Let subtle cream paper grain show through thinner blue passages; keep the dark opening densely covered.

4. Composition
Balance the handle on image-left against the rising spout on image-right, preserving open paper around both. Ground the can with one flattened muted-blue shadow extending from its base toward lower-right, and leave the remaining background unpainted.

PRIORITY
Preserve the requested identity, count, action, composition and output settings. Apply the style rules within those constraints; a style reference must not replace the subject or layout. Within the style: Prioritize crisp stencil shapes and visibly brushed opaque pigment.

AVOID
Avoid glossy photographic shading and smooth digital gradients.

OUTPUT
Create one square image presented as a handmade pochoir print on cream paper, with no lettering, captions, signature, or watermark.

SELF-CHECK
Check that the can reads clearly and the brush texture stays inside crisp stencil edges.
Model information comes from image provenance. The same prompt may produce a different result.